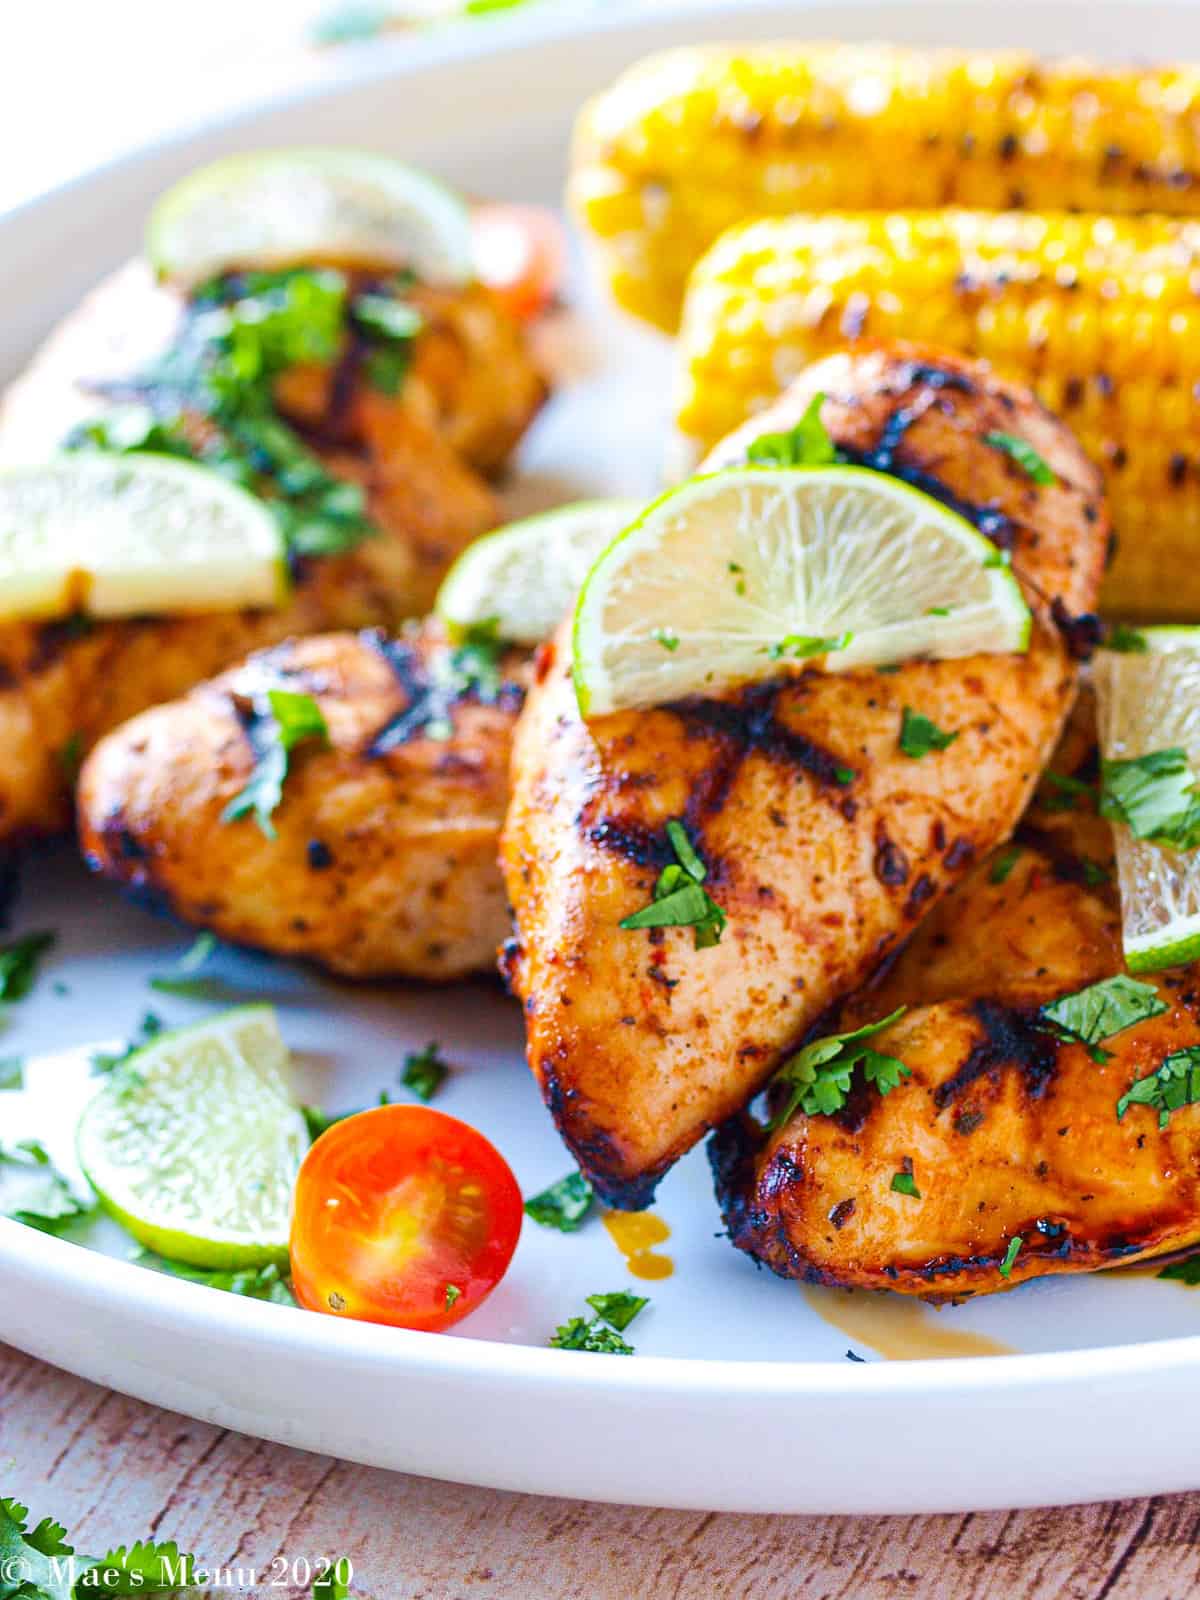
Honey Garlic Lemon Pepper Chicken Thighs are tender, juicy, and covered in a honey garlic sticky sauce that is simply out of this world. Serve with lemon slices and orzo, white rice, or noodles for a delicious dinner that will be a hit with the whole family!


This post may contain affiliate links. As an Amazon Associate, I earn from qualifying purchases. Please see my disclosure policy for details.
For more easy chicken dinner recipes, check out my Asian Chicken Thigh Marinade, Sheet Pan Mojo Chicken, and Peanut Butter Chicken Curry.
Table of Contents
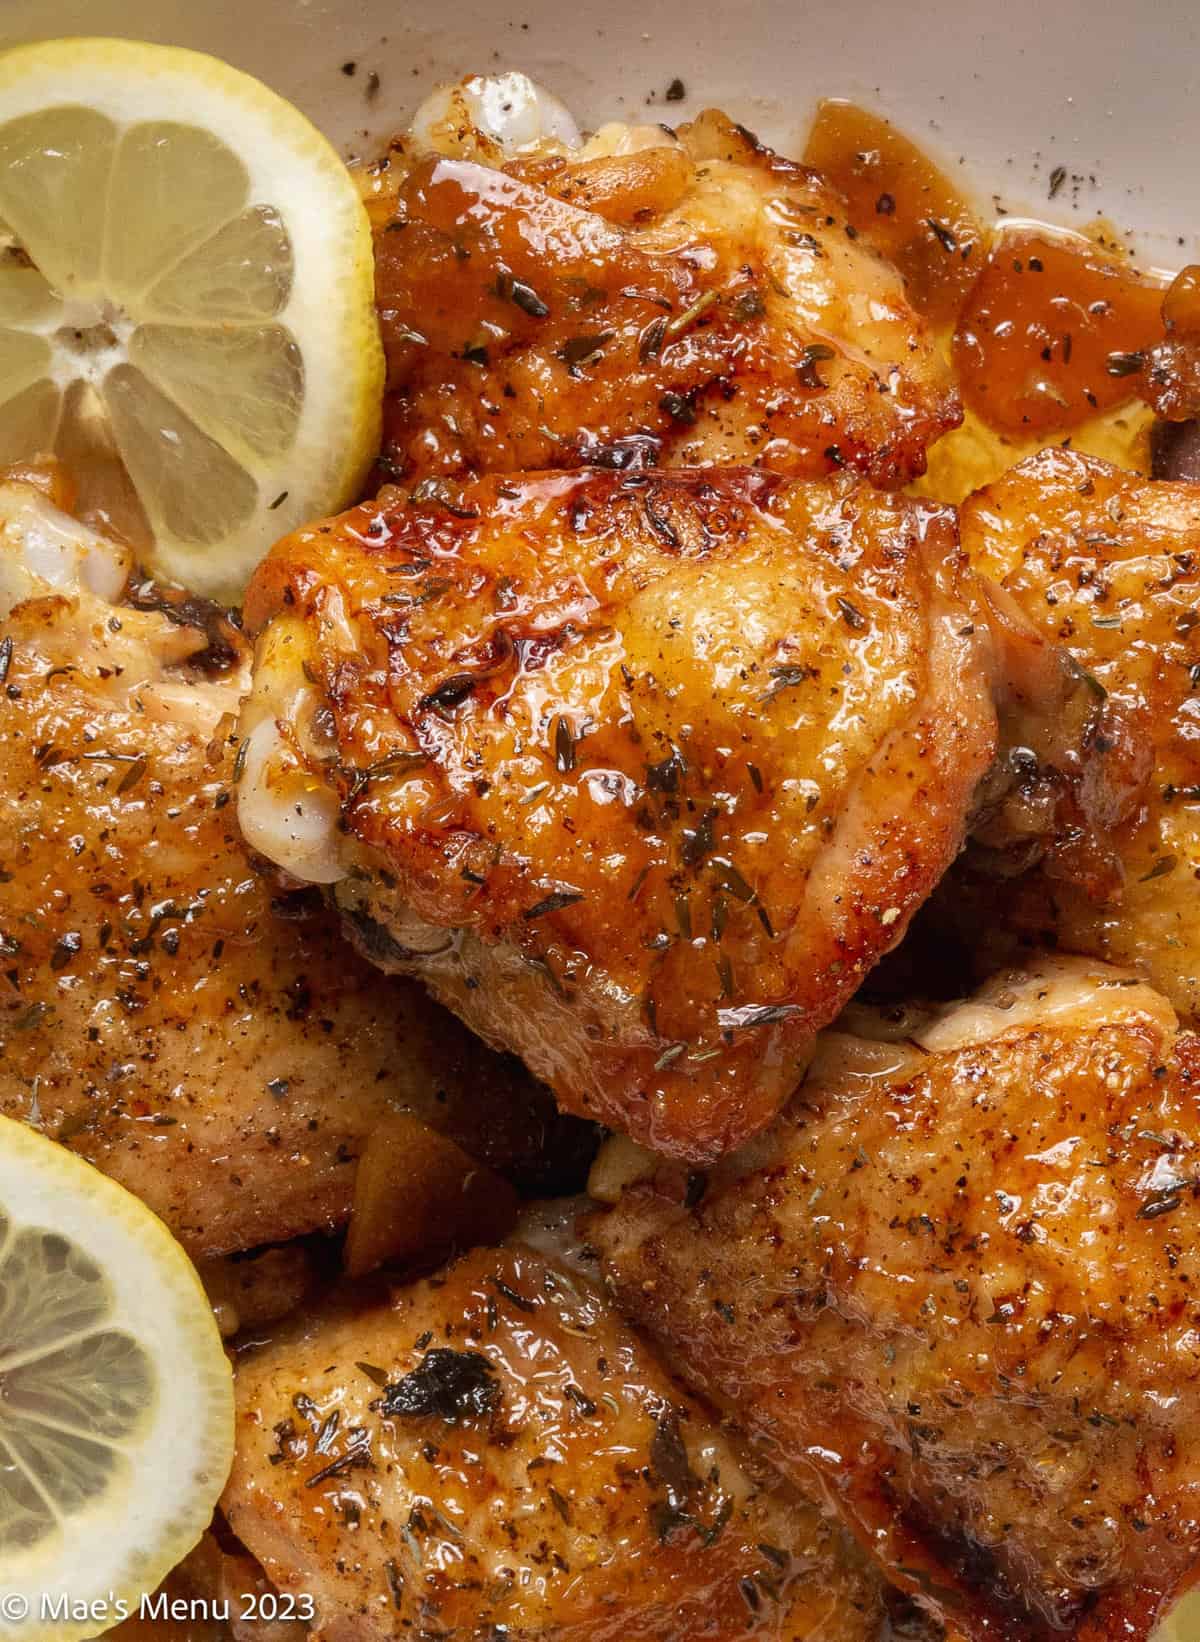
This is the chicken recipe I make when I want to impress someone without admitting how easy it was. These honey garlic chicken thighs are sticky, garlicky, and have a bright lemon pepper finish that makes the sauce taste like it came from a restaurant. Twelve five-star reviews and counting — it delivers every single time.
The technique is what makes these honey lemon garlic chicken thighs special. Bone-in thighs sear skin-side down in a hot skillet on the stovetop until golden and crispy, then finish in the oven, bathed in a sticky honey-garlic-lemon sauce that glazes and caramelizes as it bakes. Ready in 50 minutes with only 20 minutes of active cooking time — it's as perfect for a busy Tuesday as it is for a dinner party.
For more easy chicken dinner recipes, check out my Asian Chicken Thigh Marinade, Sheet Pan Mojo Chicken, and Peanut Butter Chicken Curry.

The Honey Garlic Lemon Sauce
This is the hero of the recipe — and what makes this version of honey garlic chicken thighs so much better than most.
|
What's In It |
Honey, fresh lemon juice, low-sodium soy sauce, apple cider vinegar, fresh lemon zest, and dried thyme. Together, they create a tangy, sweet, savory, and sticky sauce that coats every bite. |
|
Why Fresh Lemon Juice Matters |
Bottled lemon juice is flat and slightly bitter. Fresh lemon juice is bright and vibrant. This sauce has ½ cup, so you'll taste the difference. Don't skip the lemon zest either; it adds an extra layer of citrus complexity. |
|
How to Adjust |
More honey for sweeter, more lemon juice for tangier, a pinch of red pepper flakes for heat. The sauce is forgiving and responds well to adjustments. |
|
What to Do with Leftover Sauce |
Spoon it over white rice, roasted vegetables, or noodles. It's delicious on everything |
|
How to Make it Ahead |
The sauce keeps covered in the fridge for up to 1 week. Make a double batch and use it as a marinade or glaze all week. |
The Sear & Roast Technique
Here's the secret to crispy honey garlic chicken thighs: Sear skin-side down in a HOT skillet for 5 minutes without moving — then finish in the oven on high heat. The stovetop sear creates a beautiful golden crust that the oven alone can never achieve.
Internal Temperature Guide:
- Safe minimum: 165°F
- Best for juicy, tender thighs: 175°F ← the sweet spot
- Where to check: the thickest part of the thigh, away from the bone
Important Notes:
- Don't move the chicken while it sears — leave it completely undisturbed for the full 5 minutes. It will release naturally when the crust is ready. Moving it early tears the skin and kills the crisp.
- Preheat the oven before you start — the chicken goes straight from the stovetop to the oven, so it's best to keep it hot and ready. A cold oven adds time and throws off the final texture.
Important Ingredients and Substitutions

Bone-in chicken thighs — The recipe is designed for bone-in, skin-on thighs. The bone adds flavor and keeps the meat juicy during the longer roasting time. See Variations for boneless options.
Honey — The base of the sauce and what creates that sticky, lacquered finish. Raw or regular honey both work.
Fresh lemon juice — Use fresh, not bottled. You need ½ cup — about 3–4 lemons. The brightness is essential.
Low-sodium soy sauce — Adds savory depth and balances the sweetness of the honey. Regular soy sauce can substitute but the dish will be saltier — reduce added salt accordingly.
Apple cider vinegar — Adds sharpness and helps balance the sweetness. White wine vinegar substitutes well.
Unsalted butter — Just 1 tablespoon, added mid-sear. Use vegan butter to keep this dairy-free.
Recipe Variations
These honey garlic chicken thighs are excellent as written, but there a few ways to riff on them, if you please:
- Boneless Skinless — Use boneless skinless chicken thighs and bake for 15–20 minutes. The sauce won't be as rich without the drippings, but it will still be delicious.
- Spicy Honey Garlic — Add ½ teaspoon red pepper flakes to the sauce for a sweet heat combination.
- Extra Lemon — Double the lemon zest and add an extra tablespoon of lemon juice for a brighter, more citrus-forward version, perfect lemon honey chicken if you love citrus.
- Orange Honey Garlic — Swap the lemon juice for fresh orange juice and add a teaspoon of orange zest for a sweeter, slightly more mellow sauce
- Fresh Herb Finish — Top with fresh thyme, parsley, or rosemary right before serving for a brighter, fresher finish
How to Make Honey Garlic Chicken Thighs
For the complete recipe and measurements, scroll to the recipe card at the bottom of this post.
Prepare: Preheat the oven to 400°F.
Step 1: Add the chicken thighs to a large, deep oven-safe skillet or cast iron pan. Season generously with salt and freshly cracked black pepper. Place skin-side down in the pan.

Step 2: Heat over medium-high heat. Once sizzling, cook for 5 minutes without moving until the skin releases easily from the pan and is deep golden brown.

Step 3: Flip the chicken. Cook 2½ minutes. Add the butter and sliced garlic to the skillet. Cook another 2½ minutes, nudging the chicken and garlic occasionally.

Step 4: While the chicken cooks, whisk together the honey, lemon juice, soy sauce, apple cider vinegar, lemon zest, and thyme in a small bowl.

Step 5: Pour the honey mixture over the chicken. Turn the chicken skin-side up. Bring to a boil, then cook for 1 minute.

Step 6: Transfer the skillet to the oven and roast 30–35 minutes until the chicken reaches an internal temperature of 175°F at the thickest part.
Chelsea's Recipe Pro-Tips

- Start skin-side down in a cold pan — Adding chicken to a cold pan and heating together renders the fat gradually, giving you crispier skin than dropping it into a hot pan.
- Don't move the chicken during the sear — Leave it completely undisturbed for the full 5 minutes. It will release naturally from the pan when it's ready. Moving it early tears the skin and prevents the crust from developing.
- Add sauce after the sear — Never add honey-based sauces before searing. The sugar burns before the chicken cooks through. Always sear first, sauce second.
- Use an instant-read thermometer — Don't guess. Insert it into the thickest part of the thigh, away from the bone. Pull at 175°F for the juiciest, most tender result.
- Don't skip the baking dish variation if needed — No oven-safe skillet? Transfer the chicken and all the sauce to a baking dish after the stovetop sear and bake as directed. Works perfectly.

Storage Directions
- Refrigerating: Store covered in an airtight container for 4–5 days.
- Reheating: Microwave on medium heat in 45-second to 1-minute intervals until warmed through. For crispier skin, reheat in the oven at 350°F covered for 10–15 minutes, uncovering for the last 3–4 minutes.
- Freezing: Freeze in an airtight freezer-safe container for up to 3 months. Thaw overnight in the refrigerator before reheating.
Serving Suggestions
These chicken thighs are tailor-made for a simple weeknight dinner — serve them over white or brown rice with the pan sauce spooned generously on top (the review saying the pan juices are "wonderful on rice" is 100% accurate).
For sides, Air Fryer Broccolini, Air Fryer Green Beans, or Caramelized Dutch Oven Sweet Potatoes both pair beautifully with the sweet-savory sauce.

Honey Garlic Chicken Thighs FAQs
Pat the chicken completely dry with paper towels before seasoning — moisture is the enemy of crispy skin. Sear skin-side down in a HOT skillet without moving for 5 minutes, and never add the sauce until after the initial sear. Wet skin = steamed skin, not crispy.
Yes, these are essentially lemon pepper chicken thighs elevated with a honey garlic sauce. The lemon juice, lemon zest, and black pepper give the dish a bright, peppery finish that takes it beyond a standard honey garlic recipe.
Yes — skin-on boneless thighs follow the recipe exactly, baking for 15–20 minutes. Boneless skinless thighs also work with the same baking time, though the sauce won't be quite as rich without the skin drippings.
Use an instant-read thermometer inserted into the thickest part of the thigh, away from the bone. Safe minimum is 165°F, but 175°F gives you the most tender, juicy result — the connective tissue fully breaks down at this temperature.
Yes — the sauce keeps covered in the fridge for up to 1 week, so you can make it ahead and have dinner on the table even faster. Cooked chicken thighs keep for up to 4 days in the refrigerator. Reheat in the oven at 350°F covered for 10–15 minutes, uncovering for the last few minutes to re-crisp the skin (you can also heat on gentle in the microwave).
Chicken thighs are strongly recommended — their higher fat content keeps them juicy during the longer roasting time and pairs better with the sweet, sticky sauce. If you want to use breasts, go with bone-in, skin-on breasts and add 5–10 extra minutes to the oven time, turning halfway through and basting with the sauce.
White or brown rice is the classic pairing — the pan sauce is exceptional over grains. Roasted or Air Fryer Vegetables, noodles, grain bowls, and simple Roasted Broccoli all work beautifully.
Save this Recipe for Later on Pinterest

More Chicken Recipes


If you liked and made this Honey Garlic Chicken Thighs Recipe, don't forget to rate it and let me know how you liked it in the comments. I always love hearing from you!
Recipe Card
Honey Garlic Chicken Thighs
Ingredients
- 6 bone-in chicken thighs
- ½ teaspoon salt
- freshly cracked black pepper
- 1 tablespoon unsalted butter or vegan butter to make it dairy-free
- 6 cloves garlic sliced
- ⅔ cup honey
- ½ cup fresh-squeezed lemon juice
- ¼ cup low-sodium soy sauce
- 2 tablespoons apple cider vinegar
- 1 tablespoon fresh lemon zest
- ¾ teaspoon dried thyme or 2 teaspoons fresh
Instructions
- Preheat the oven to 400°F.
- Place chicken thighs in a large, deep oven-safe skillet or cast iron pan. Season generously with salt and freshly cracked pepper. Place skin-side down.
- Heat over medium-high heat. Once sizzling, cook 5 minutes without moving until the skin is deep golden and releases easily from the pan.
- Flip the chicken. Cook 2½ minutes. Add butter and sliced garlic. Cook another 2½ minutes, nudging the chicken and garlic occasionally.
- While chicken cooks, whisk together honey, lemon juice, soy sauce, apple cider vinegar, lemon zest, and thyme in a small bowl.
- Pour the honey mixture over the chicken. Turn chicken skin-side up. Bring to a boil and cook 1 minute.
- Transfer skillet to the oven. Roast 30–35 minutes until chicken reaches an internal temperature of 175°F at the thickest part.
Notes
- Crispy skin tip: Pat chicken completely dry with paper towels before seasoning. Don't move the chicken during the initial 5-minute sear, and add the sauce after (not before) the sear.
- No oven-safe skillet? Transfer the chicken and sauce to a baking dish after the stovetop sear, then bake as directed.
- Boneless thighs: Skin-on boneless or boneless skinless both work — bake 15–20 minutes. The sauce won't be as rich without the drippings.
- Storage: Refrigerate up to 4 days. Freeze up to 3 months. Reheat in the microwave in 45-second intervals, or in the oven at 350°F, covered, for 10–15 minutes.


Tried this tonight - got rave reviews! I made white rice as a side dish - the juice from the chicken pan went wonderfully on the rice.
Hi, Bambi! So glad to hear that you loved it! Thanks so much for the review. Have a great weekend!
Chelsea
Made these for dinner and they were a huge hit - especially with my son😉
Awe, that makes my heart so happy, Ai! 🥹
Would marinate the meat in the sauce for up to 24 hours prior. The sauce is really good and could make double the amount of chicken and still be flavorful
Hi there!
Great idea to marinade! If you're going to do that you may want to only marinate for 8-12 hours; the sauce has a high acid content so you don't want to 'overcook' the chicken in the marinade. Also would recommend using a non-stick pan, as the chicken may stick more during the initial browning step.
Thanks so much for sharing and reviewing!
Best,
Chelsea
This was sooooo good!! I added a bit of extra lemon juice and ACV since I love acidity. The sauce is absolutely delicious and the chicken is beautiful and tender. Thanks for the recipe xx
Hi Mel,
So glad to hear you love the chicken as much as we do! Thanks for reviewing and sharing and have a great weekend!
Best,
Chelsea