Dairy-Free Waffles are easy to make, family-friendly, and perfectly sweet, fluffy, and nutty. They're idyllic for weekend breakfast and brunch, or make a large batch at the beginning of the week and freeze for easy reheating during the week!


This post may contain affiliate links. As an Amazon Associate, I earn from qualifying purchases. Please see my disclosure policy for details.
Table of Contents
No lactose? No problem: this waffle recipe is made without milk or butter but still creates the light, crispy, and delicious waffles that you know and love! Cinnamon, vanilla, and brown sugar flavor this classic and warm breakfast, creating such comforting flavors that you'll never even think about missing the dairy!

Why You'll Love Dairy-Free Waffles
- One Bowl. Enjoy a satisfying and delicious breakfast without much fuss or mess! This recipe only calls for one bowl and no complex cooking techniques!
- Comforting Flavor. There's nothing like the light sweetness and warm cinnamon notes in a homemade waffle recipe and this one sure does not disappoint!
- Simple Ingredients. Most of which you probably already have in your pantry!
- Great for Meal Prep. Make a large batch at the beginning of the week and freeze for easy reheating during the week, making for tasty and easy breakfasts on busy mornings.

Ingredients
It doesn't take much to whip up this dairy-free waffle mix. Here's what you need:
- Dairy-Free Milk: Choose your favorite variety of unsweetened non-dairy, plant-based milk. Oat, almond, soy, and coconut are all great picks!
- White Vinegar: Mixes with the milk to make plant-based sour milk, which tenderizes the waffles and balances the flavors.
- All-Purpose Flour: Provides structure to the milk-free waffles. For best results, use flour with a good expiration date.
- Whole Wheat Flour: Adds nutty notes and additional structure to the waffles, along with whole grains.
- Light Brown Sugar: Packed firmly to measure. For extra molasses flavor, choose dark brown sugar.
- Large Eggs: Binds the no milk waffle recipe and adds savory flavor.
- Vegan Butter: Melted. For rich and homey notes!
- Cinnamon: Opt for cinnamon with a good expiration date.
- Baking Soda & Salt: For fluffy waffles and a balanced flavor.
How to Make Dairy-Free Waffles
For the complete recipe and measurements, scroll to the recipe card at the bottom of this post.
Step 1: Add the 2 tablespoons of distilled white vinegar to a 2-cup measuring cup. Add oat milk or plant milk to fill to the 2-cup line. Stir well to combine and let sit for 3-5 minutes, or until the milk starts to curdle.

Step 2: Preheat the waffle iron to medium-high heat.
Step 3: Whisk the dry ingredients (all-purpose flour, whole wheat flour, seasonings, and brown sugar) in a large mixing bowl until combined.

Step 4: Add the wet ingredients (egg, curdled milk, and melted vegan butter) to the dry ingredients. Whisk in until no streaks of flour remain.


Step 5: Once the waffle iron is preheated, spray the iron with non-stick cooking spray and pour ½ cup of batter into each section of the waffle iron or until the waffle iron grids are filled with batter, but not overflowing.

Step 6: Cook the waffles according to the waffle iron's directions or until golden brown and crisp.

Step 7: Repeat steps 4 & 5 until the rest of the waffle batter is cooked, making about 3 large waffles. Store waffles on a wire rack or in an oven preheated to 200 degrees to keep warm until serving.
Step 8: Serve the waffles hot with your favorite toppings.

Recipe Pro-Tips
- Don't Overmix the Batter: Doing so will make the waffles stiff and chewy. Mix the batter until the flour is just absorbed into it.
- Waffle Iron Notes: You can use any kind of waffle iron for this recipe: a Belgian waffle iron or round waffle iron are both great picks. Whichever iron you choose, follow the waffle iron's operating instructions for the ideal cooking time for the waffles.
- Keep the Cooked Waffles Warm in the Oven: Preheat the oven to 200 degrees Fahrenheit and store cooked waffles on a baking sheet or heat-proof plate until serving, or for up to 1 hour.
- Mix-Ins: Make this no-milk waffle recipe your own by stirring in ½ cup of any of the following mix-ins to the batter before cooking: vegan chocolate chips, blueberries, diced apples, chopped bananas, walnuts, and more.
- Gluten-Free: Make gluten-free dairy-free waffles by substituting 2 ⅔ cups (330g) 1-to-1 gluten-free flour for all-purpose and wheat flour and following the recipe directions as listed.

Serving Suggestions
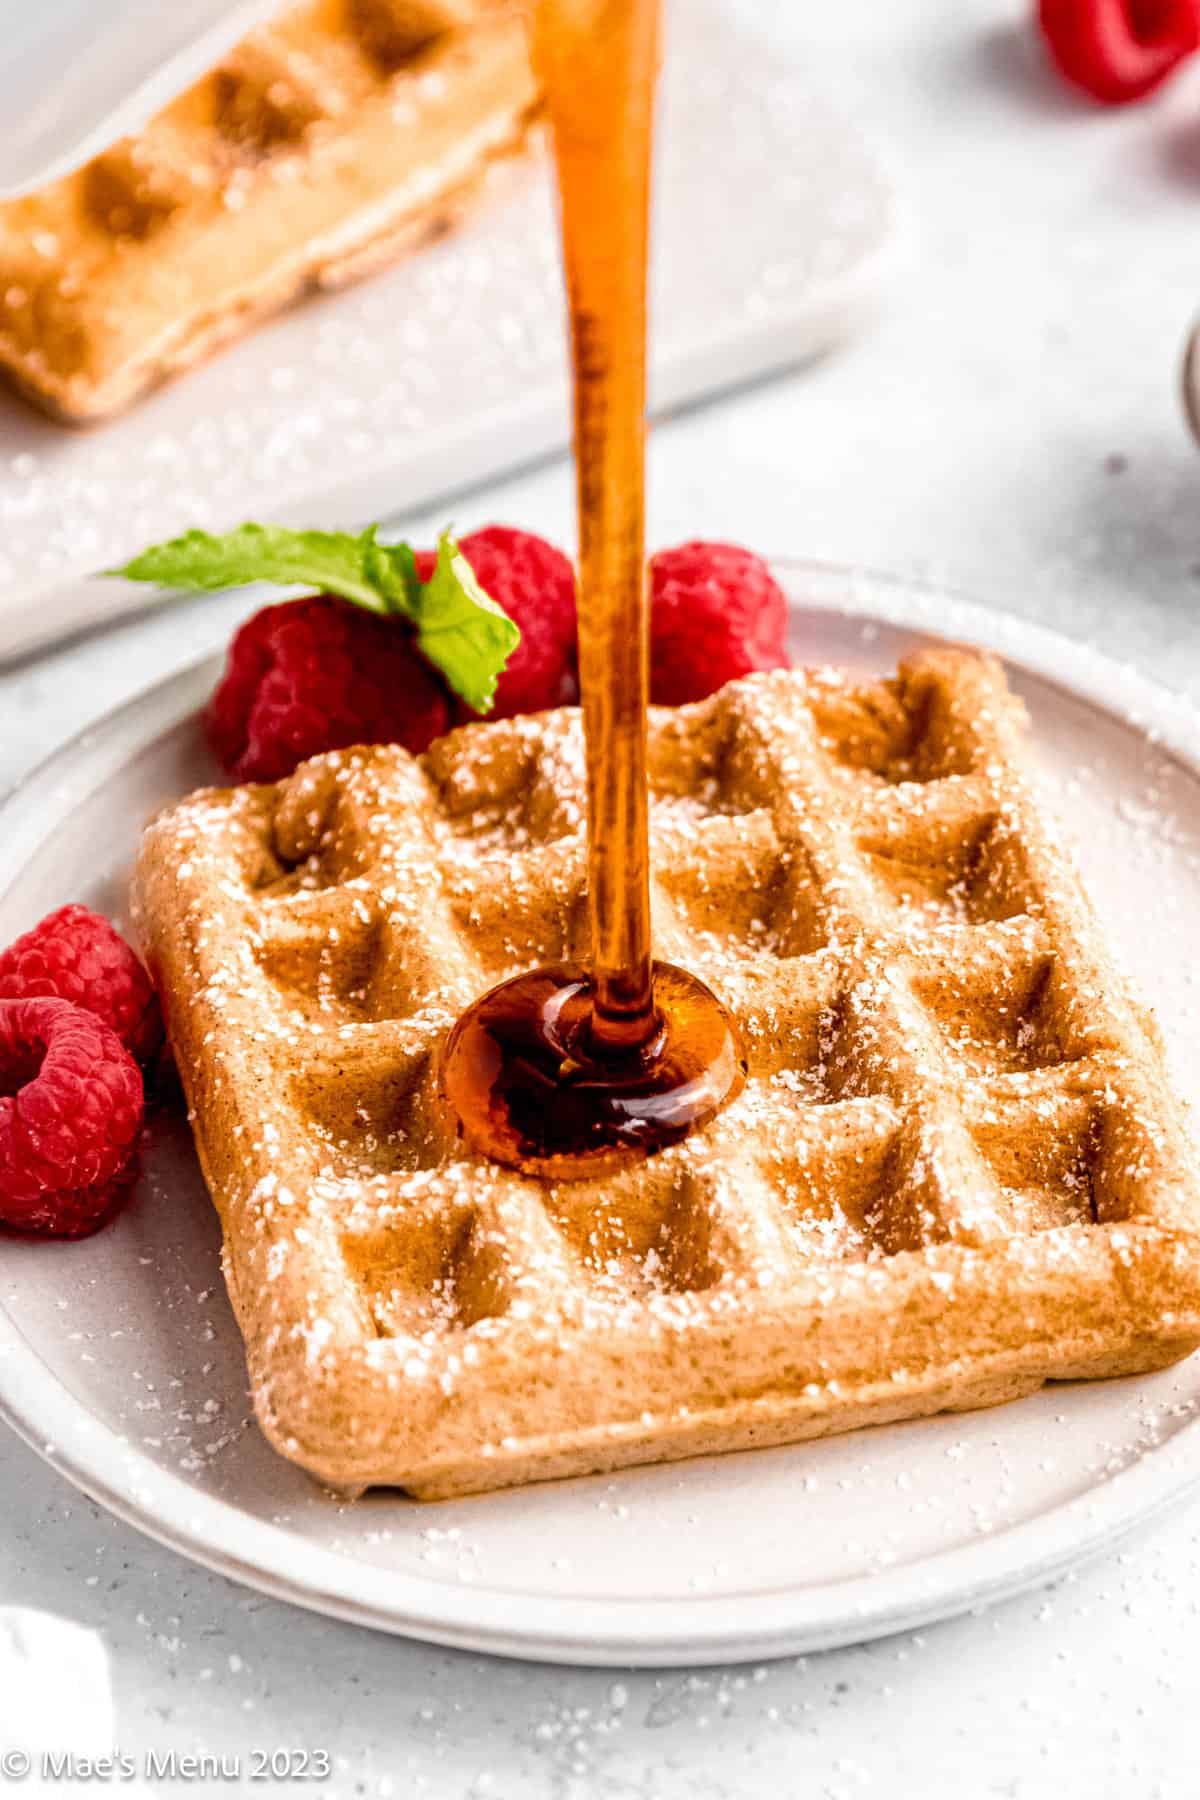
Serve these homemade waffles warm with your favorite toppings: vegan butter, peanut butter, maple syrup, whipped coconut cream, fresh berries, sliced bananas, or even vegan chocolate chips.
Waffles make for a great light breakfast or brunch or you can also serve them with scrambled eggs, fruit salad, coconut milk yogurt, or tater tot egg casserole.
Storage Directions
- Refrigeration: Leftover waffles keep covered in an airtight container in the refrigerator for 2-3 days.
- Freezing: Waffles can also be frozen in a freezer-safe bag in the freezer for up to 3 months. Always cool the waffles to room temperature before freezing. For the easiest de-frosting, store the waffles with small sheets or parchment paper or wax paper between them. Defrost the waffles at room temperature for 10-15 minutes before reheating.
- Reheating: Warm up waffles in a toaster oven on medium heat for 1-2 minutes, or until heated through. The waffles can also be warmed on medium heat in the microwave for 30 seconds each.

FAQs
The best milk substitute for waffles is a dairy-free milk, such as soy milk, almond milk, oat milk, or coconut milk. Simply substitute the plant milk for the dairy milk in a 1:1 ration and follow the recipe directions as listed.
The secret to perfectly crispy and fluffy waffles is to add a bit of sweetener to the waffle batter, not to overmix the batter, and to serve the waffles fresh and hot. Adding sugar to the waffles, such as light brown sugar or granulated sugar, not only adds light sweetness to the recipe but also helps to create perfectly crispy waffles. Not overmixing the batter keeps the waffles from getting stiff and gummy. Finally, it's important to serve the cooked waffles fresh and hot, as the waffles will lose their crispiness as they sit out and absorb any humidity in the air.

Tools Needed to Make This Recipe
- Mixing Bowl
- Measuring Cups & Spoons
- Food Sale
- Whisk
- Silicone Spatula
- Waffle Iron (Belgian or Round)
More Dairy-Free Breakfast Recipes
- Oat Milk Pancakes
- Dairy-Free Breakfast Casserole
- Dairy-Free Banana Bread
- Dairy-Free Banana Muffins
- Dairy-Free Blueberry Muffins
Recipe Card
Dairy-Free Waffles
Ingredients
- 2 tablespoons distilled white vinegar
- Scant 2 cups oat milk or other plant milk; see directions
- 1 ⅓ cup (165g) all-purpose flour
- 1 ⅓ cup (165g) whole wheat flour
- 3 teaspoons baking powder
- ¼ teaspoon salt
- 1 teaspoon ground cinnamon
- ¼ cup light brown sugar packed firmly to measure
- 2 large eggs
- ¼ cup vegan butter melted
- Non-stick cooking spray
- Favorite waffle toppings bananas, berries, maple syrup, vegan butter, vegan chocolate chips, etc.
Instructions
- Add the 2 tablespoons of distilled white vinegar to a 2-cup measuring cup. Add oat milk or plant milk to fill to the 2-cup line. Stir well to combine and let sit for 3-5 minutes, or until the milk starts to curdle.

- Preheat the waffle iron to medium-high heat.
- Whisk the dry ingredients (all-purpose flour, whole wheat flour, baking powder, seasonings, and brown sugar) in a large mixing bowl until combined.
- Add the eggs, curdled milk, and melted vegan butter to the dry ingredients. Whisk in until no streaks of flour remain.
- Once the waffle iron is preheated, spray the iron with non-stick cooking spray and pour in the waffle batter until the waffle iron grids are filled with batter, but not overflowing.
- Cook the waffles according to the waffle iron's directions.
- Repeat steps 4 & 5 until the rest of the waffle batter is cooked, making about 3 large waffles.
- Serve waffles hot with all of your favorite toppings!
Notes
- Refrigeration: Leftover waffles keep covered in an airtight container in the refrigerator for 2-3 days.
- Freezing: Waffles can also be frozen in a freezer-safe bag in the freezer for up to 3 months. For the easiest de-frosting, store the waffles with small sheets or parchment paper or wax paper between them. Defrost the waffles at room temperature for 10-15 minutes before reheating.
- Reheating: Warm up waffles in a toaster oven on medium heat for 1-2 minutes, or until heated through. The waffles can also be warmed on medium heat in the microwave for 30 seconds each.
- Gluten-Free: Make gluten-free and dairy-free waffles by substituting 2 ⅔ cup (330g) 1-to-1 gluten-free flour for all-purpose and wheat flour.
- All-Purpose Flour: Substitute additional all-purpose flour for the whole wheat flour if desired.
- How to Keep the Waffles Warm to Serve: Preheat the oven to 200 degrees Fahrenheit and store cooked waffles in it until serving, or for up to 1 hour.
- Mix-Ins: Make these non-dairy waffles your own by stirring in ½ cup of any of the following mix-ins to the batter before cooking: vegan chocolate chips, blueberries, diced apples, chopped bananas, etc.