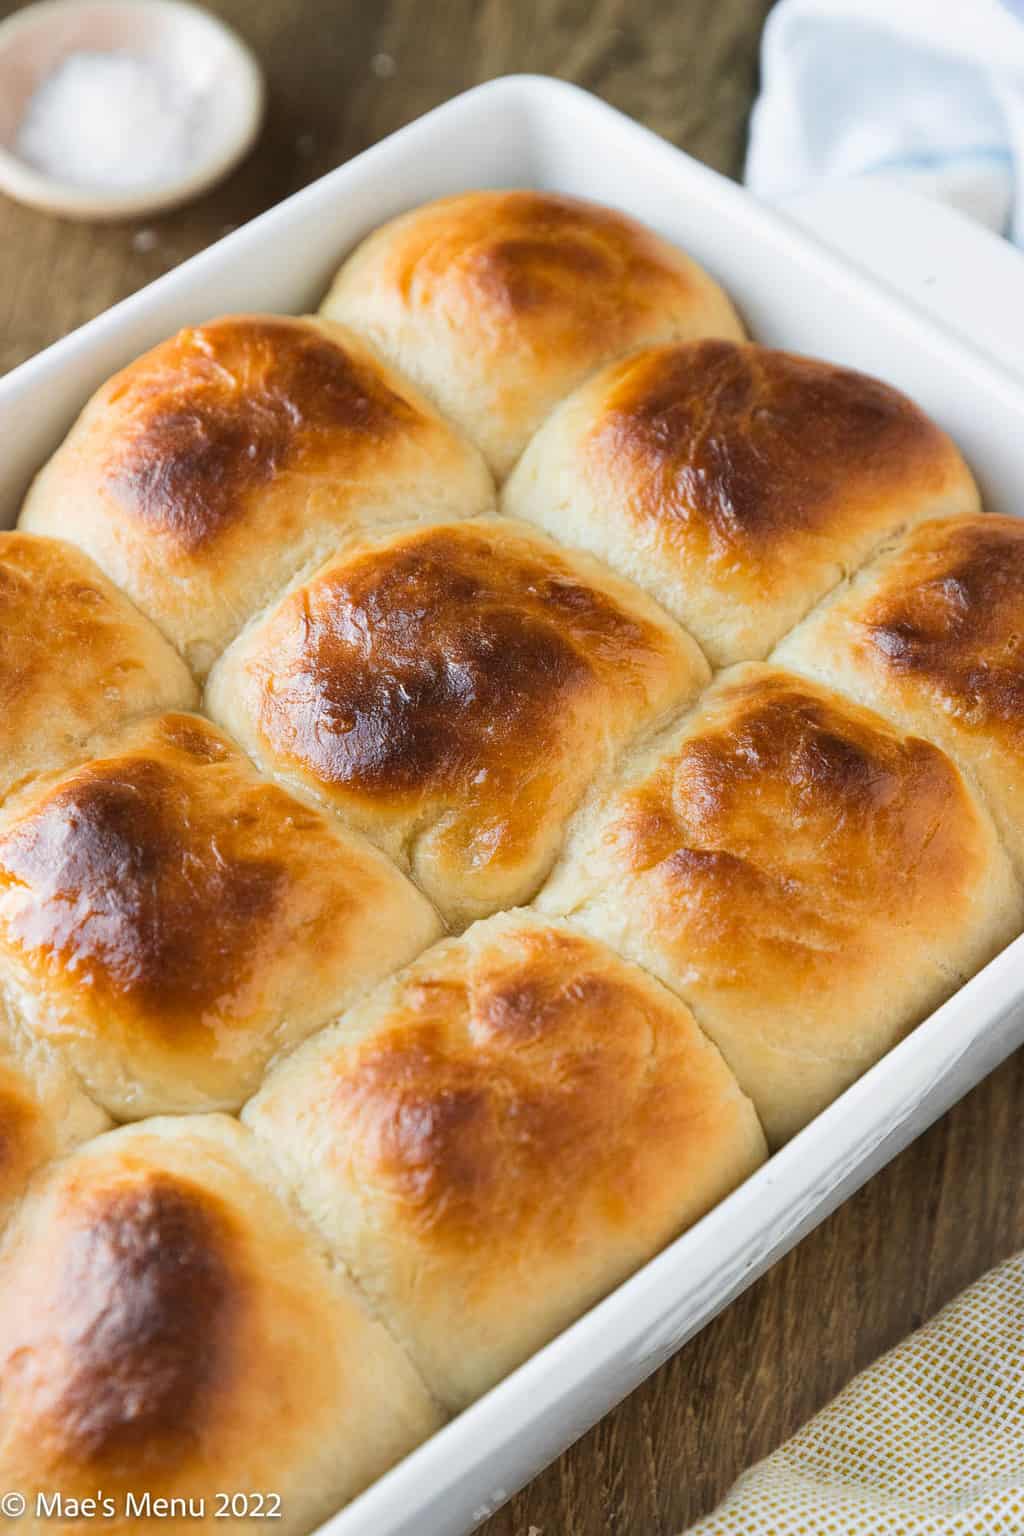
These sweet rolls are golden, pillowy, and irresistibly buttery — the kind of homemade rolls that make any meal feel special. Whether it’s a Sunday roast or your Friendsgiving spread, these easy yeast rolls are light, tender, and guaranteed to disappear fast.


This post may contain affiliate links. As an Amazon Associate, I earn from qualifying purchases. Please see my disclosure policy for details.
For more rolls and bread recipes, check out my No Yeast Dinner Rolls, Whole Wheat Naan, and Beer Bread.
At A Glance: Sweet Dinner Rolls
- Prep Time: 10 minutes
- Rise Time: 1 hour 45 minutes
- Bake Time: 20 minutes
- Total Time: ~2 hours 15 minutes
- Makes: 12 dinner rolls
- Nutrition (per serving): Calories: 207 | Carbohydrates: 36g | Protein: 5g | Fat: 5g
- What it Tastes Like: Soft, buttery, and lightly sweet — like a bakery roll, made at home.
- Why You'll Love It: Soft, pillowy, and bakery-style from scratch — made with simple pantry ingredients and foolproof steps.
- Difficulty Level: Takes a little patience, but I walk you through every step.
There’s just something magical about a basket of warm, buttery rolls on the dinner table. These soft and fluffy dinner rolls are exactly that — soft, golden, and melt-in-your-mouth tender. They’re made from scratch with simple pantry ingredients, but taste like something straight from your favorite bakery.
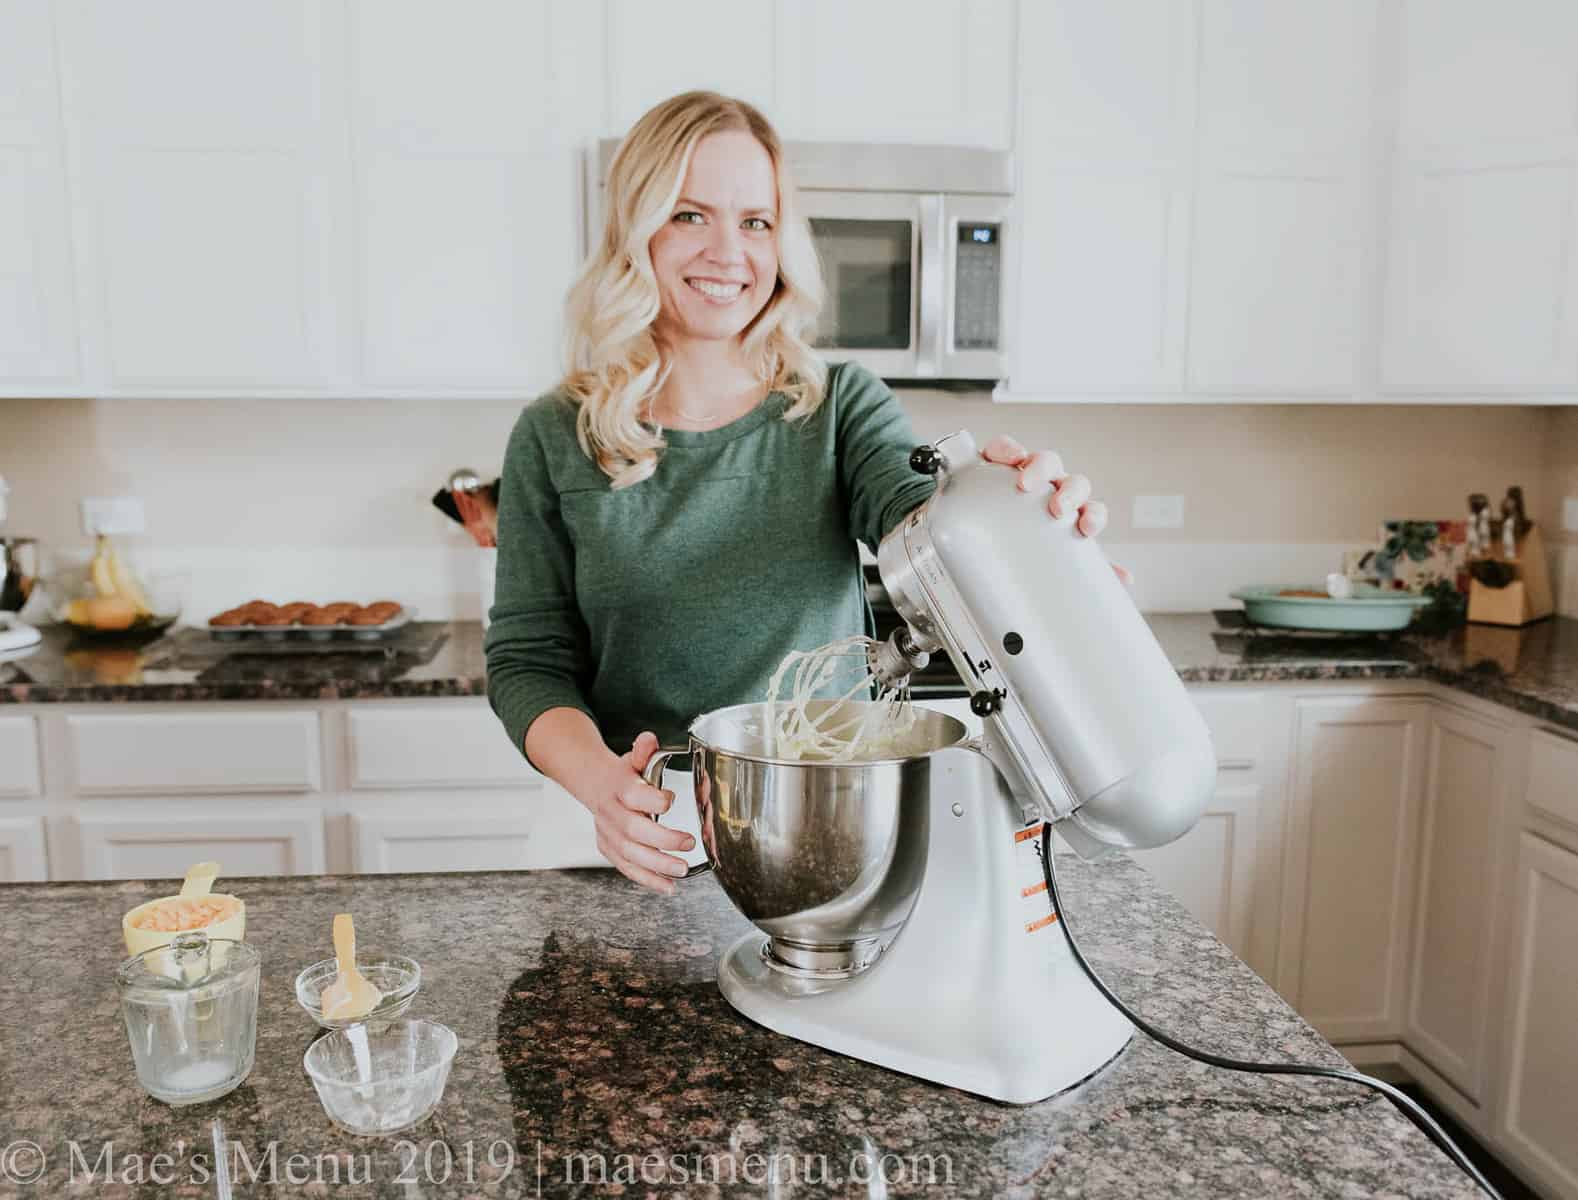
I make these rolls year-round, but especially for Friendsgiving, when I really go all out on the meal. They’re rich and slightly sweet, with that classic homemade bread flavor that makes everyone reach for seconds (and maybe thirds). Also known as sweet dinner rolls or sweet yeast rolls, it's the recipe I reach for for everything from weeknight dinners to holiday spreads.
The best part? You don’t need to be an expert bread baker to make them. With a few smart tips — like using warm milk to activate the yeast and proofing the dough in a cozy spot — these yeast dinner rolls turn out fluffy and golden every time.
If you’re ready to level up your dinner spread, this is the dinner roll recipe to keep in your back pocket.
For more homemade yeasted bread and dough recipes, check out my Walnut Bread and Neapolitan Pizza Dough.

Why You'll Love These Sweet Rolls
- Soft and pillowy texture — Each roll bakes up tender, buttery, and light as air.
- Beginner-friendly — With clear steps and no tricky techniques, anyone can bake these rolls successfully.
- Made with simple ingredients — Just pantry staples like flour, butter, milk, and yeast.
- Perfect for any occasion — Great for weeknight dinners, Sunday suppers, and holiday feasts.
- Easily doubled — Make a big batch for family gatherings or freeze extras for later.
Important Ingredients and Substitutions

Whole or 2% milk — Warm to 90–95°F (or just warm to the touch) to activate the yeast. Avoid hot milk, which can kill the yeast.
Honey — Adds subtle sweetness and helps the rolls brown beautifully. You can substitute agave syrup or extra sugar if needed.
Granulated sugar — Enhances flavor, giving these rolls that classic old-fashioned taste while also supporting the yeast.
Active dry yeast — Reliable and easy to use. If you prefer, substitute instant yeast and skip the activation step.
Large egg — Adds richness and helps the dough rise beautifully. Don’t skip it — it makes a big difference in texture.
Unsalted butter — Use melted butter that’s cooled slightly so it doesn’t harm the yeast. For extra flavor, brush more on top after baking.
Salt — Balances the sweetness and enhances flavor.
All-purpose flour — Creates the soft, fluffy texture. You can substitute bread flour for slightly chewier rolls. Always check the flour’s expiration date and weigh it on a food scale for the most accurate measurement.
Yeast Guide — Will My Yeast Work?
The biggest fear in any yeast roll recipe is that the yeast won't activate. Here's everything you need to know:
Yeast activation at a glance:
- Ideal milk temperature: 105–115°F (warm to the touch, not hot)
- Activation time: 5–10 minutes
- Signs it's working: mixture looks foamy, bubbly, and slightly puffed
- If it doesn't foam: yeast is likely expired — start over with a fresh packet
Instant yeast vs. active dry yeast — This recipe uses active dry yeast, which needs to be activated in warm liquid first. If you only have instant yeast, you can use it — just skip the activation step and mix it directly with the dry ingredients, then proceed as written. Use the same amount.
What temperature kills yeast? — Anything above 120°F will kill the yeast. Use a quick-read thermometer if you're not sure, or test it with your wrist — it should feel like warm bathwater, not hot.

How to Make Sweet Rolls
For the complete recipe and measurements, scroll to the recipe card at the bottom of this post.

Step 1: In a large mixing bowl or the bowl of a stand mixer, whisk together the warm milk, honey, sugar, and yeast. Let it sit for 5–10 minutes, or until foamy and bubbly.

Step 2: Whisk in the egg and 2 ½ tablespoons of melted butter until combined.

Step 3: Add the salt and flour. Mix with a dough hook or wooden spoon until a dough forms, then knead for 5–7 minutes, or until smooth and elastic.

Step 4: Lightly grease a bowl with butter or oil and place the dough inside. Turn once to coat. Cover with plastic wrap or a towel and let rise in a warm place for 45–60 minutes, or until doubled in size.

Step 5: Gently punch down the dough.

Step 6: Turn the dough onto a lightly floured surface.

Step 7: Divide into 12 equal pieces and roll each into a smooth ball.

Step 8: Arrange the rolls in a greased 9x12 or 8x13-inch baking pan.

Step 9: Cover and let rise again for 45–60 minutes, or until doubled.

Step 10: Preheat the oven to 375°F. Brush the rolls with the remaining tablespoon of melted butter

Step 11: Bake for 19–22 minutes, or until golden brown and hollow-sounding when tapped. For a deeper golden finish, broil on high for 30 seconds to 1 minute, watching carefully.
Brush the rolls with butter and let them cool in the pan on a wire rack until they reach your preferred serving temperature. Serve with butter and/or honey!
Chelsea's Recipe Pro-Tips

- Measure flour accurately — Weighing your flour (420 g) gives consistent results. If measuring by cups, spoon and level rather than scooping.
- Check yeast freshness — If the yeast doesn’t foam after 10 minutes, it may have expired. Start again with a new packet.
- Mind the milk temperature — Milk should be warm to the touch, not hot. Around 90–95°F is ideal for activating yeast. Similarly, let the melted butter cool at room temperature for 5-10 minutes before adding it.
- Proof in a warm place — Aim for a spot around 75°F. Try near a sunny window, on top of the fridge, or in the oven with the light on.
- Keep dough tacky, not sticky — Add a tablespoon or two of flour if the dough is too wet, but don’t over-flour or the rolls will turn dense.
- Mind the pan size. Using a smaller baking dish, like an 8x11 or 12-inch one, helps the rolls rise higher and stay pillowy. A larger pan, such as a 9x13, gives them more room to spread, resulting in rolls that are flatter and wider
- Brush with butter twice — Once before baking and once after for that soft, glossy bakery-style finish.
Recipe Variations
Once you’ve mastered these fluffy dinner rolls, you can have some fun making them your own! Some ideas to get the wheels turning:
- Double Batch for Holidays — Double all ingredients and use two 9x12 or 8x13-inch pans or a large rimmed baking sheet. Proofing time may increase by about 10 minutes.
- Garlic Butter Rolls — Mix ½ teaspoon garlic powder into the melted butter before brushing. Sprinkle with parsley and flaky salt.-
- Honey Wheat Rolls — Replace 1 cup of all-purpose flour with whole wheat flour and add an extra teaspoon of honey.
- Cheesy Dinner Rolls — Fold in ½ cup shredded cheddar or parmesan during shaping for savory, golden cheese rolls.
- Make-Ahead Rolls — Prepare the dough through shaping, cover tightly with plastic wrap, and refrigerate overnight. The next day, let them rise at room temperature for about an hour before baking.
Chelsea's Troubleshooting Tips
Are things not going the way you planned? Let me help! Here are answers to the most common questions:
- Your Dough Isn't Rising — Check your yeast freshness and proofing temperature. Yeast needs warmth and time — not heat. Give it a little patience!
- Your Rolls Are Too Dense — Too much flour or not enough kneading can be the culprit. Next time, weigh the flour with a food scale and aim for a tacky (slightly sticky) dough and knead until smooth and stretchy.
- Your Rolls Browned Too Quickly — Your oven may run hot or the rack may be too high. Tent the rolls loosely with foil halfway through baking or bake on a lower rack.
- Your Rolls Are Dry — Try shortening the bake time slightly, or make sure your oven isn’t convection unless adjusted. Brushing them with butter right after baking also helps lock in moisture.
- Your Rolls Are Fluffy But Flat — You likely used the wrong pan size. A 9x13-inch pan gives the rolls more room to spread. Try a smaller, 3-quart pan (such as an 8x11-inch) for taller rolls.

Serving Suggestions
These sweet rolls are a crowd favorite at holiday gatherings — perfect for Memorial Day cookouts, Thanksgiving, Christmas, and everything in between.
- Sunday Supper — Pair them with roast chicken, mashed potatoes, and green beans for a comforting, old-fashioned meal.
- Weeknight Dinner — Serve alongside soup, chili, or a hearty salad for an easy, homemade touch.
- Friendsgiving — I love piling them into a basket lined with a linen napkin — they stay warm, soft, and are perfect for soaking up gravy.
- Thanksgiving Feast — A must-have on the table! Their light sweetness balances rich holiday favorites like turkey, stuffing, sweet potato casserole, green bean casserole, and cranberry sauce.
- Christmas Dinner — These rolls make any meal feel special. Brush with extra melted butter and sprinkle with flaky salt for a festive finish.
- Leftover Magic — Split them and fill with leftover turkey, ham, or roast beef for the best next-day sliders.
Make-Ahead and Storage Directions
Room Temperature: Store leftovers in an airtight container for up to 2 days.
Freezing baked rolls: Transfer cooled rolls to a freezer-safe container and freeze for up to 2 months. Thaw at room temperature for 30–60 minutes, then warm wrapped in foil in a 300°F oven for 8–10 minutes.
Freeze unbaked rolls: After shaping, place rolls on a parchment-lined baking sheet and freeze until firm. Transfer to a freezer bag and store for up to 1 month. When ready to bake, place in a greased pan, cover, and let thaw and rise at room temperature for 3–5 hours (or overnight in the fridge, then 1–2 hours at room temp) before baking as directed.
Make dough ahead: Prepare through the first rise, then punch down the dough, cover tightly, and refrigerate overnight. The next day, divide and shape the rolls, then let them proof at room temperature for about 1–1½ hours before baking.

Sweet Rolls FAQs
Yes! Skip the activation step and mix instant yeast directly with the dry ingredients, then proceed as written. Use the same amount.
Absolutely. Knead on a lightly floured surface until the dough is smooth, elastic, and slightly tacky — about 8–10 minutes by hand.
Yes! After shaping, cover the rolls tightly with plastic wrap and refrigerate overnight. Before baking, let them rise at room temperature for about an hour, or until doubled in size.
Three things: not over-flouring the dough (it should feel slightly tacky), giving the dough enough time to fully proof both times, and brushing with butter right after baking to lock in moisture.
Yes — both baked and unbaked. See the Storage & Make-Ahead section above for both methods.
Sweet rolls have a slightly higher sugar content than classic dinner rolls, giving them a subtly sweet flavor and a softer, more tender crumb. They're still savory enough to serve with dinner — just with a touch more richness.
They should be light golden brown on top and sound hollow when tapped on the bottom. Internal temperature should read around 190–200°F on an instant-read thermometer.
Save this recipe for later on Pinterest

More Bread Recipes


If you liked and made this Sweet Rolls Recipe, don't forget to rate it and let me know how you liked it in the comments. I always love hearing from you!
Recipe Card
Sweet Rolls
Equipment
- Stand mixer optional
- 8x13-inch baking dish 9x12-inch or another 3-quart baking dish
Ingredients
- 1 cup 2% or whole milk just warm to the touch (90–95°F)
- 3 tablespoons honey
- 2 tablespoons granulated sugar
- 2 ¼ teaspoons active dry yeast 1 packet
- 1 large egg
- 3 ½ tablespoons unsalted butter melted and cooled to room temperature for 5–10 minutes (DIVIDED), plus more to serve
- 1 teaspoon salt
- 3 ½ cups (420g) all-purpose flour measure carefully, ideally with a food scale
Instructions
- In a large mixing bowl or the bowl of a stand mixer, whisk together the warm milk, honey, sugar, and yeast until combined. Let sit for 5–10 minutes, or until the mixture is foamy and the yeast looks puffy.
- Whisk in the egg and 2 ½ tablespoons of the melted butter until fully combined.
- In a small bowl, combine the flour and salt until combined. Fit the mixer with a dough hook or switch to a wooden spoon if mixing by hand and stir in the salt and flour until a dough forms. Knead for 5–7 minutes or until the dough is smooth, elastic, and stretches easily without tearing.
- Lightly grease a clean bowl with butter or oil. Place the dough inside, turning once to coat. Cover with plastic wrap or a clean kitchen towel and let rise in a warm place for 45 minutes to 1 hour, or until doubled in size.
- Grease a 9x12 or 8x13-inch baking dish (or another 3-quart dish). A slightly smaller pan encourages the rolls to rise higher, while a 9x13-inch pan allows them to spread out more. They’ll still be soft and fluffy, just wider rather than taller.
- Gently punch down the dough to release air. Turn it out onto a lightly floured surface and divide into 12 equal pieces. Roll each piece into a smooth ball and space them out evenly in the prepared pan.
- Cover the dish with lightly greased plastic wrap or a towel. Let rise in a warm spot for 45 minutes to 1 hour, or until the rolls have doubled in size.
- Preheat the oven to 375°F while the rolls finish rising. Brush the tops with the remaining 1 tablespoon of melted butter. Bake for 19–22 minutes, or until a light golden brown.
- For deeper browning, move the oven rack to the middle position and broil the rolls on high for 30 seconds to 1 ½ minutes, watching closely to prevent burning.
- Brush the rolls with butter and let them cool in the pan on a wire rack until they reach your preferred serving temperature. Serve with butter and/or honey!
Notes
- Temperature matters — Make sure the milk is just warm to the touch (90–95°F). If it's too hot, it can kill the yeast; if it's too cool, it won't activate properly. Let the melted butter cool for 5–10 minutes before adding it as well.
- Check yeast freshness — If your yeast doesn't foam after 10 minutes in step 1, it may be inactive. Start again with a fresh packet.
- Proof in a warm spot — Yeast dough loves warmth. Aim for around 72–75°F — near a sunny window, on top of the fridge, or in a turned-off oven with the light on.
- Cover the dough — Cover with greased plastic wrap or a clean kitchen towel to trap humidity and prevent the dough from drying out as it rises.
- Flour variation — If the dough feels too sticky, sprinkle in 1–2 tablespoons of extra flour during kneading — but don't overdo it. Slightly tacky dough yields softer rolls.
- Pan size — An 8x11 or 12-inch dish encourages the rolls to rise taller and stay pillowy. A 9x13-inch pan gives them more room to spread, resulting in wider, flatter rolls.
- Brush with butter twice — Once before baking and once right after for that soft, glossy bakery-style finish.
- Make-ahead — Prepare through the first rise, punch down, cover tightly, and refrigerate overnight. Shape the next day and let proof at room temperature for 1–1½ hours before baking.
- Freeze (unbaked) — After shaping, freeze rolls on a parchment-lined sheet until firm, then transfer to a freezer bag for up to 1 month. Thaw and proof at room temperature for 3–5 hours before baking.
- Freeze (baked) — Cool completely, freeze in a freezer-safe container for up to 2 months. Reheat wrapped in foil at 300°F for 8–10 minutes.
