
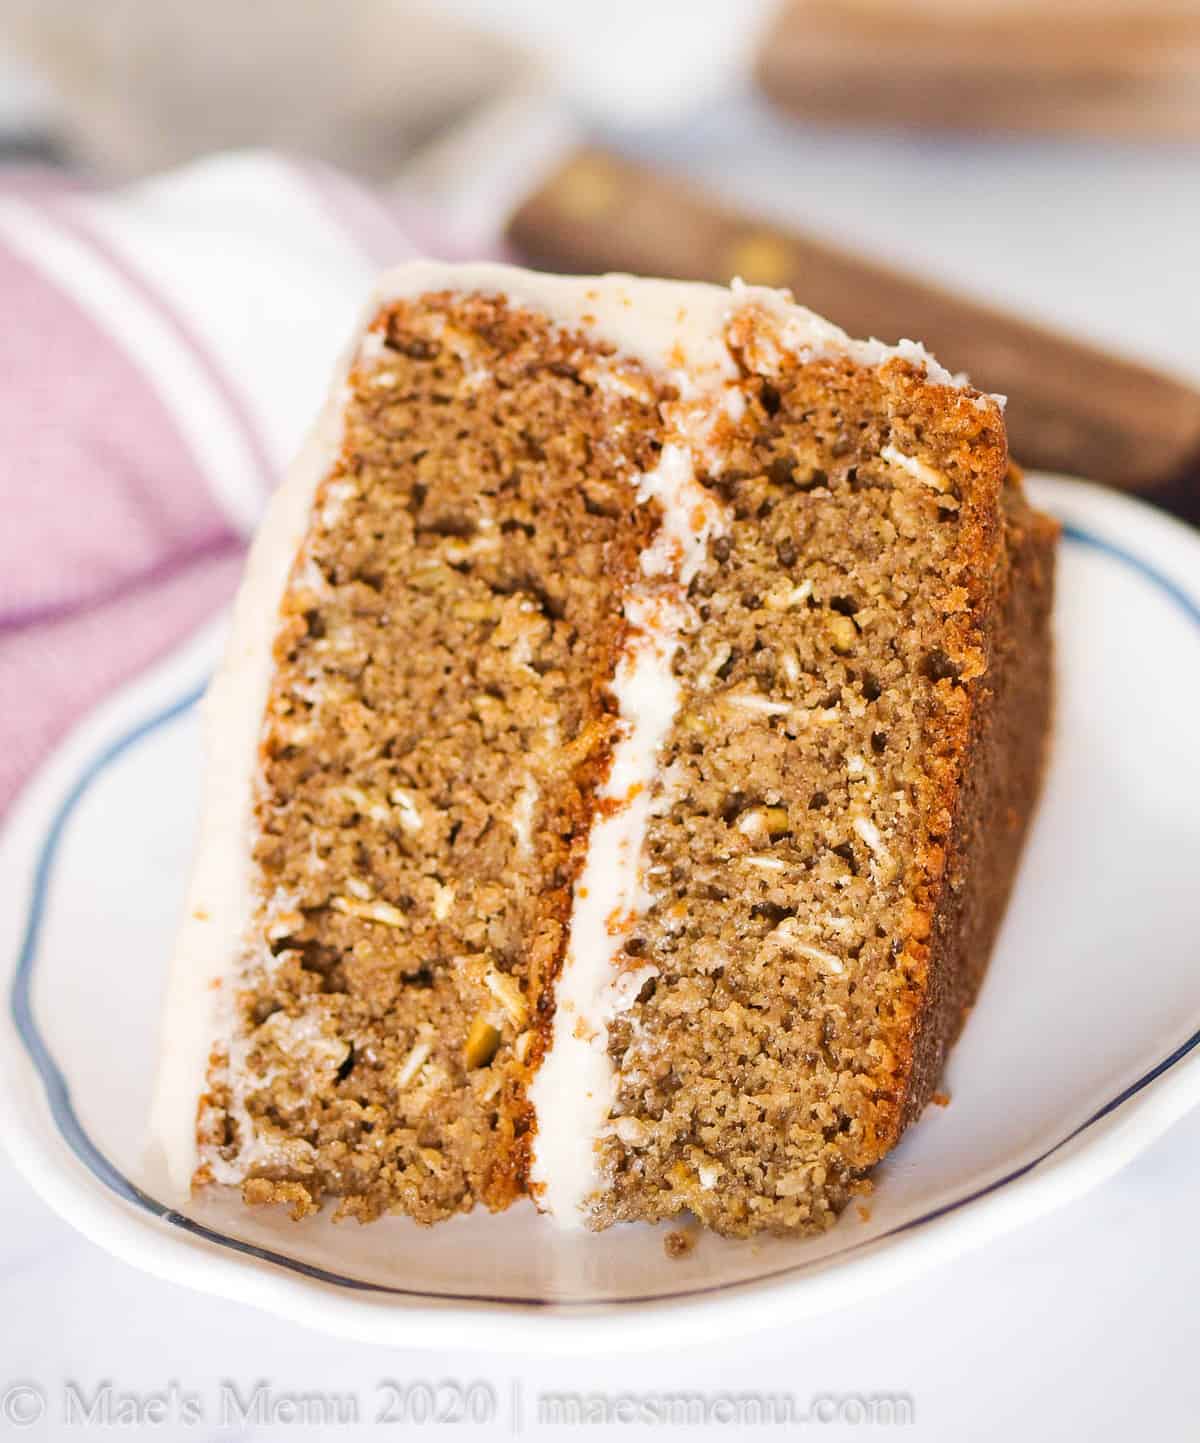
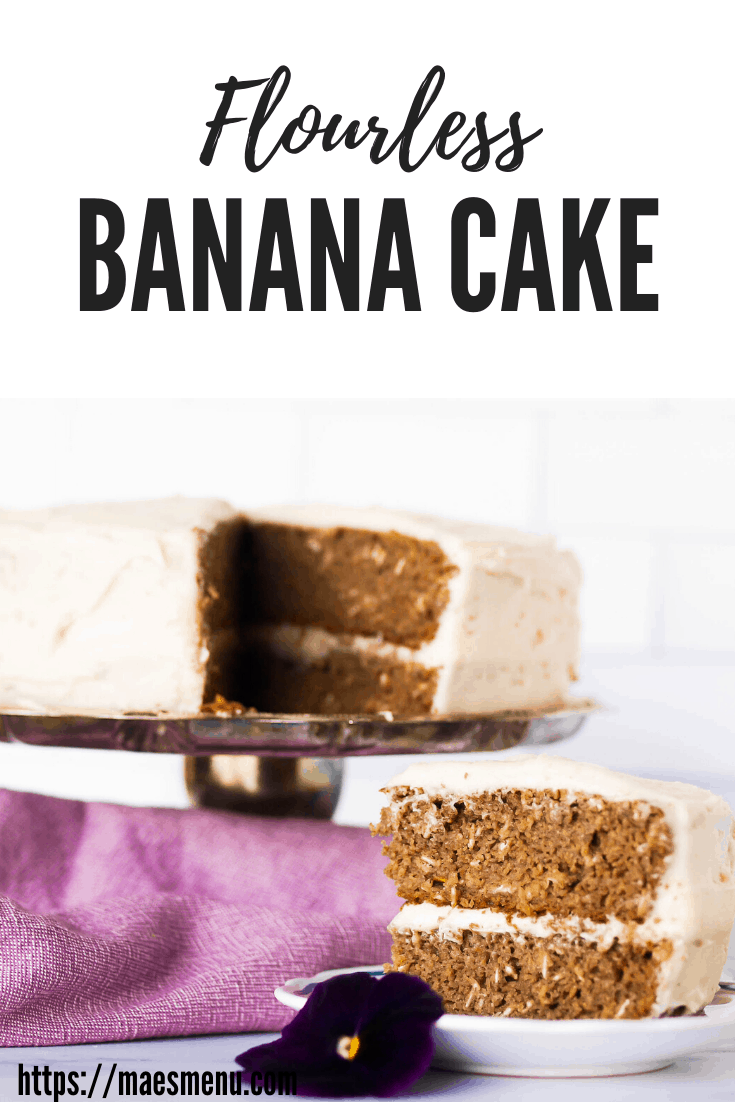
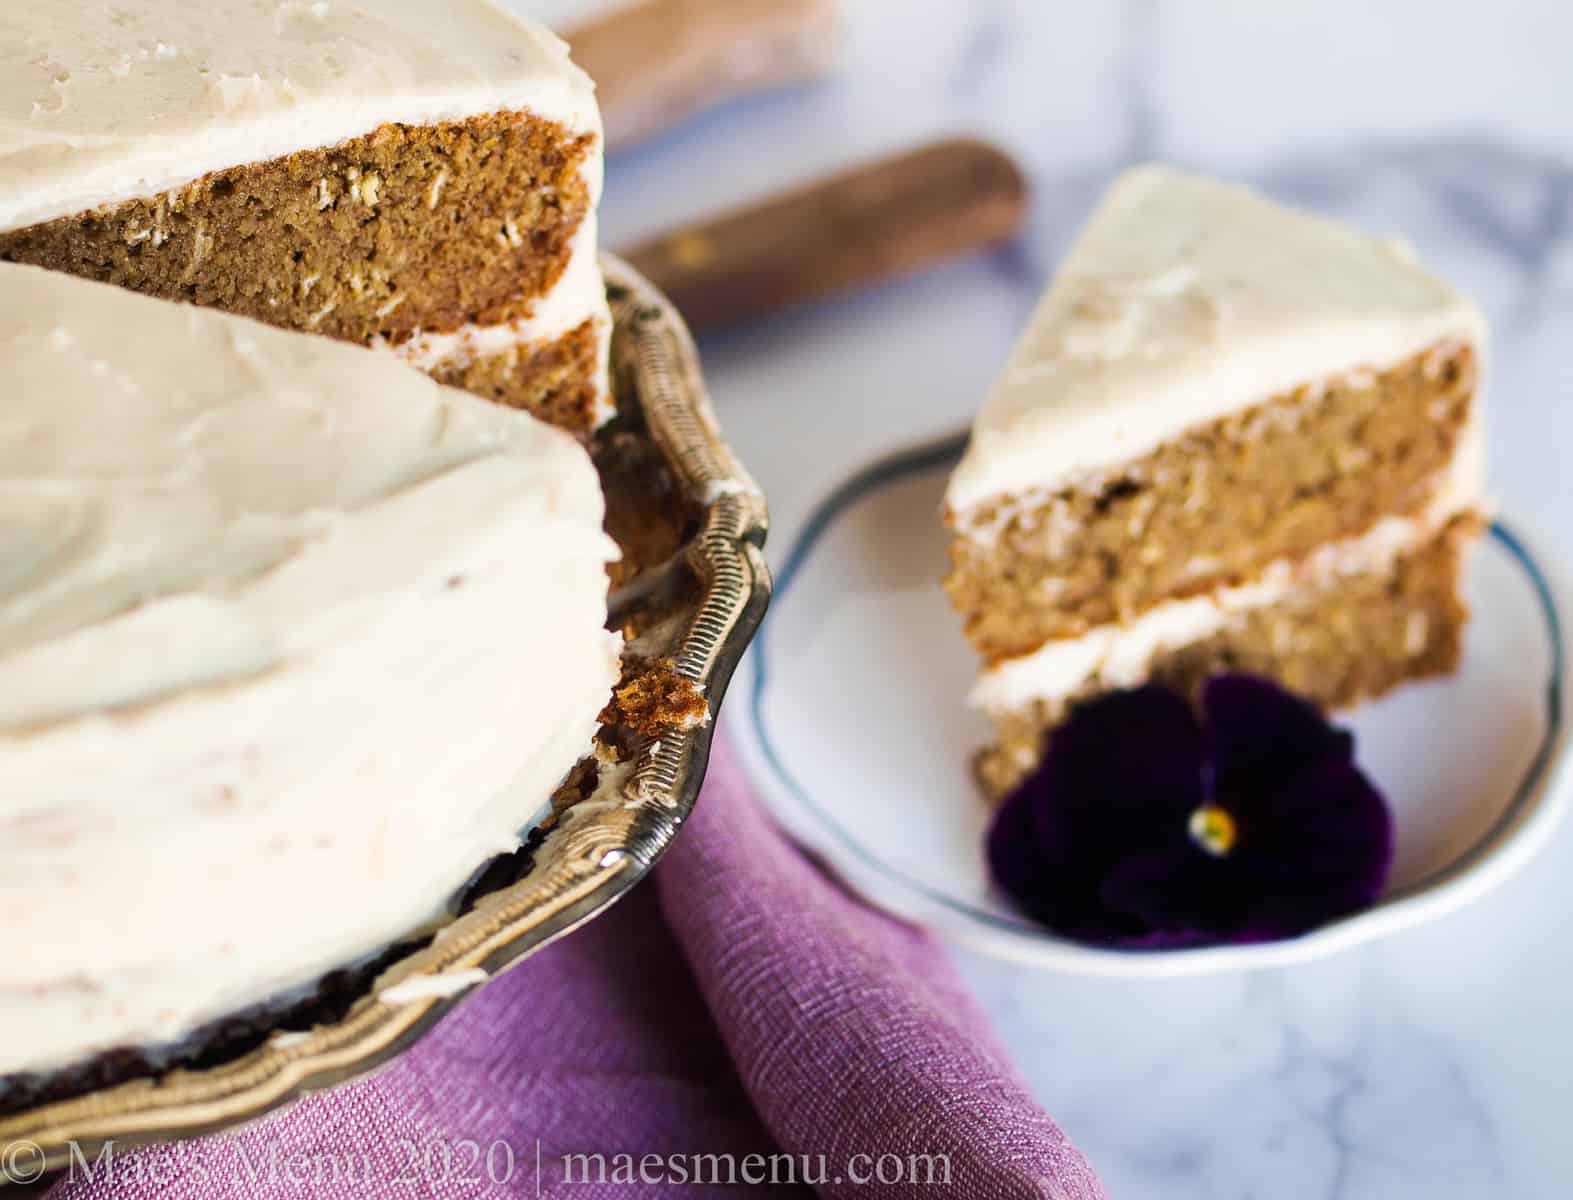
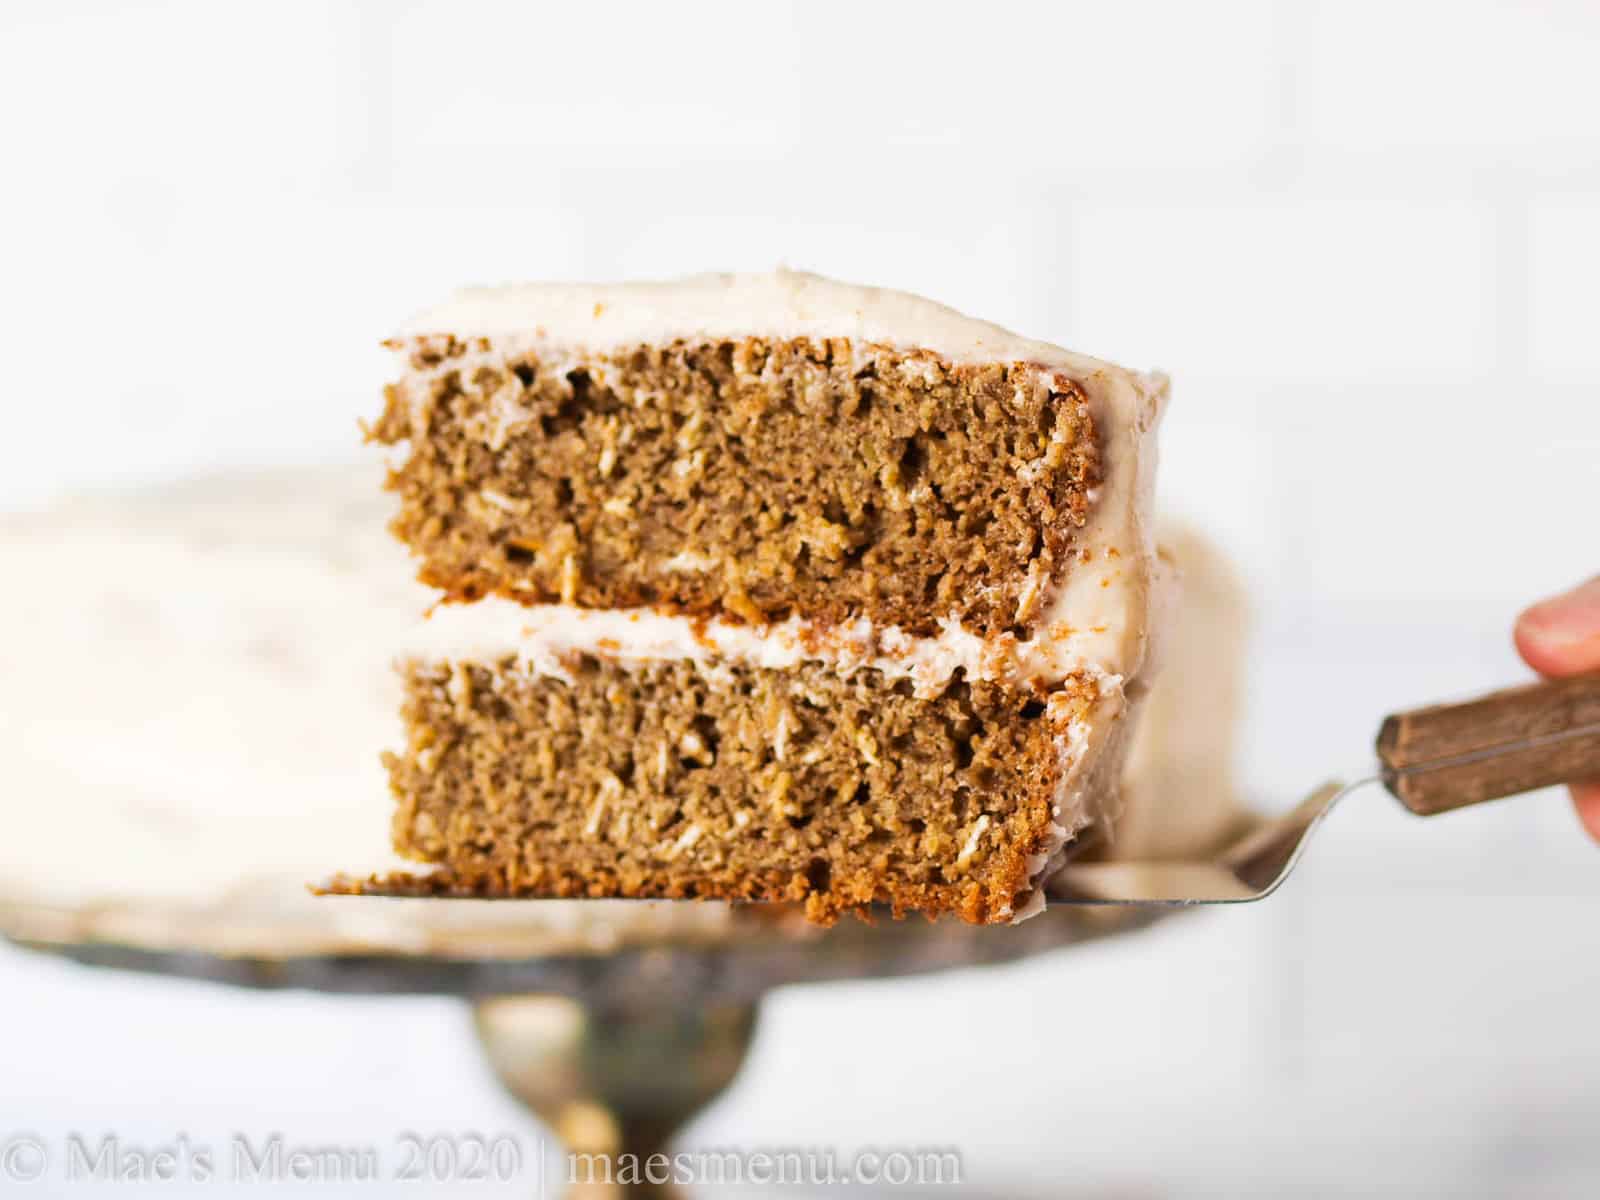
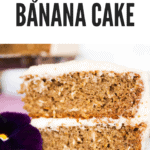
No flour? No fuss! This Banana Oatmeal Cake Recipe is a tender and rich banana-flavored flourless cake the whole family will love!
This post may contain affiliate links. As an Amazon Associate, I earn from qualifying purchases. Please see my disclosure policy for details.

Whether you are gluten-free, out of flour, or simply just looking for something new to bake this Banana Oatmeal Cake Recipe is the perfect option. You will love it because it’s tender, moist, and brimming with banana flavor while being super easy to make (hint: the cake batter is whipped up in a blender!).
Serve this cake for dessert at your next family dinner, cookout, or birthday. It serves a crowd and will satisfy almost any sweet tooth.
Like I hear is happening in many other parts of America, flour is quite hard to come by these days (is it hard to find where you live? Please comment at the bottom of this post!).
Initially I rationed, but I eventually ran out. It was destined to happen, I guess, with all this baking I’ve been up to.
But, just because the flour is out doesn’t mean we need to stop baking!
Instead, it’s time to experiment with all the different flour alternatives.
One of my all time favorite flour alternatives is oats.
That’s right: good, old fashioned (literally) oatmeal.
Why, you may ask? Well, old fashioned oats are…
- Super versatile
- A natural gluten-free alternative (just make sure you have certified gluten-free oats if you can’t eat gluten!)
- Cheaper than gluten-free flours
- Easy to find in the stores
Just give your oats a quick whirl in the blender and you have oat flour to use in so many different recipes.
Use oats in your baking and save even more time and fuss by just throwing all your ingredients in the blender and make your oat flour as you blend up your batter!
It’s one of my favorite recipe hacks… and is so unexpected! The resulting cakes,cupcakes, and muffins are so tender thanks to the way that the oats hold onto moisture and the oats pick up almost all flavors so well.
So, let’s get to baking, shall we? Get ready to reinvent your baking game in the best, and most tastiest way possible, and have a delicious banana cake to show for it.
P.s. See my notes below for how to make this cake if you don’t have a high-speed blender -- you won’t be left out of the fun without one (you will need to find pre-ground oat flour, however)!
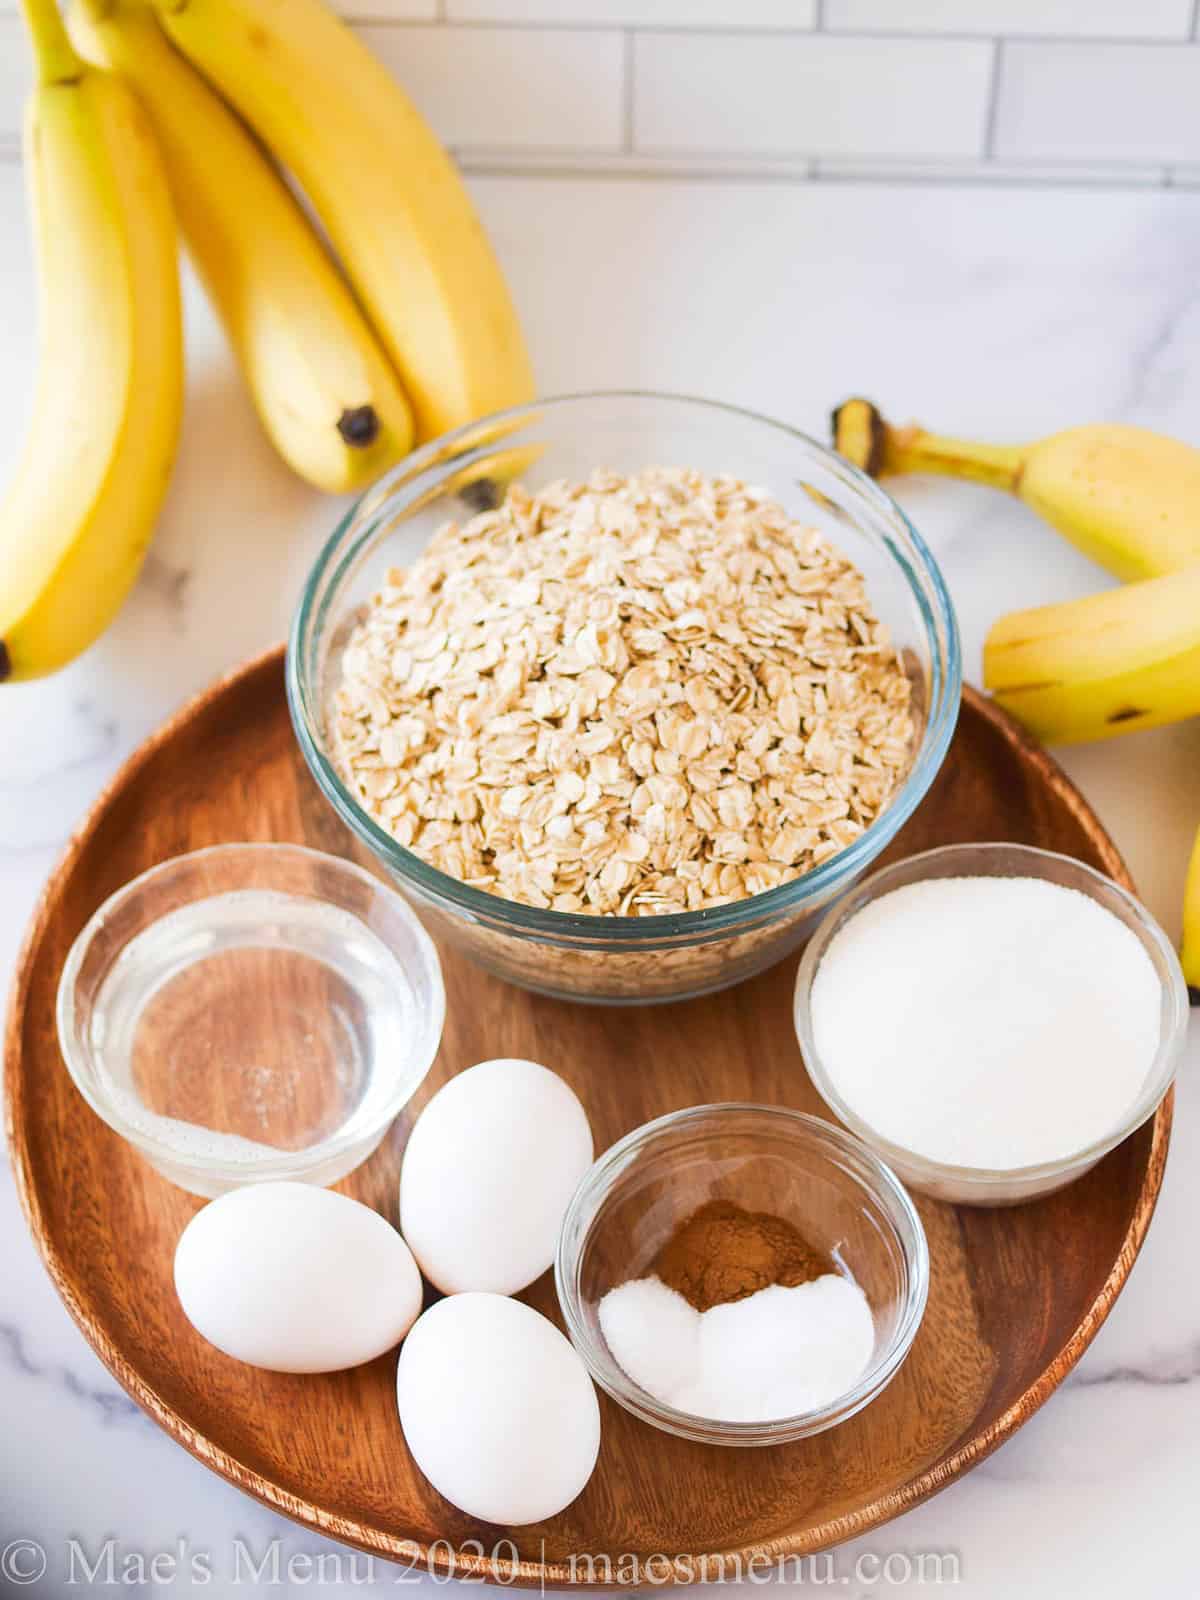
Homemade Banana Oatmeal Cake Ingredients:
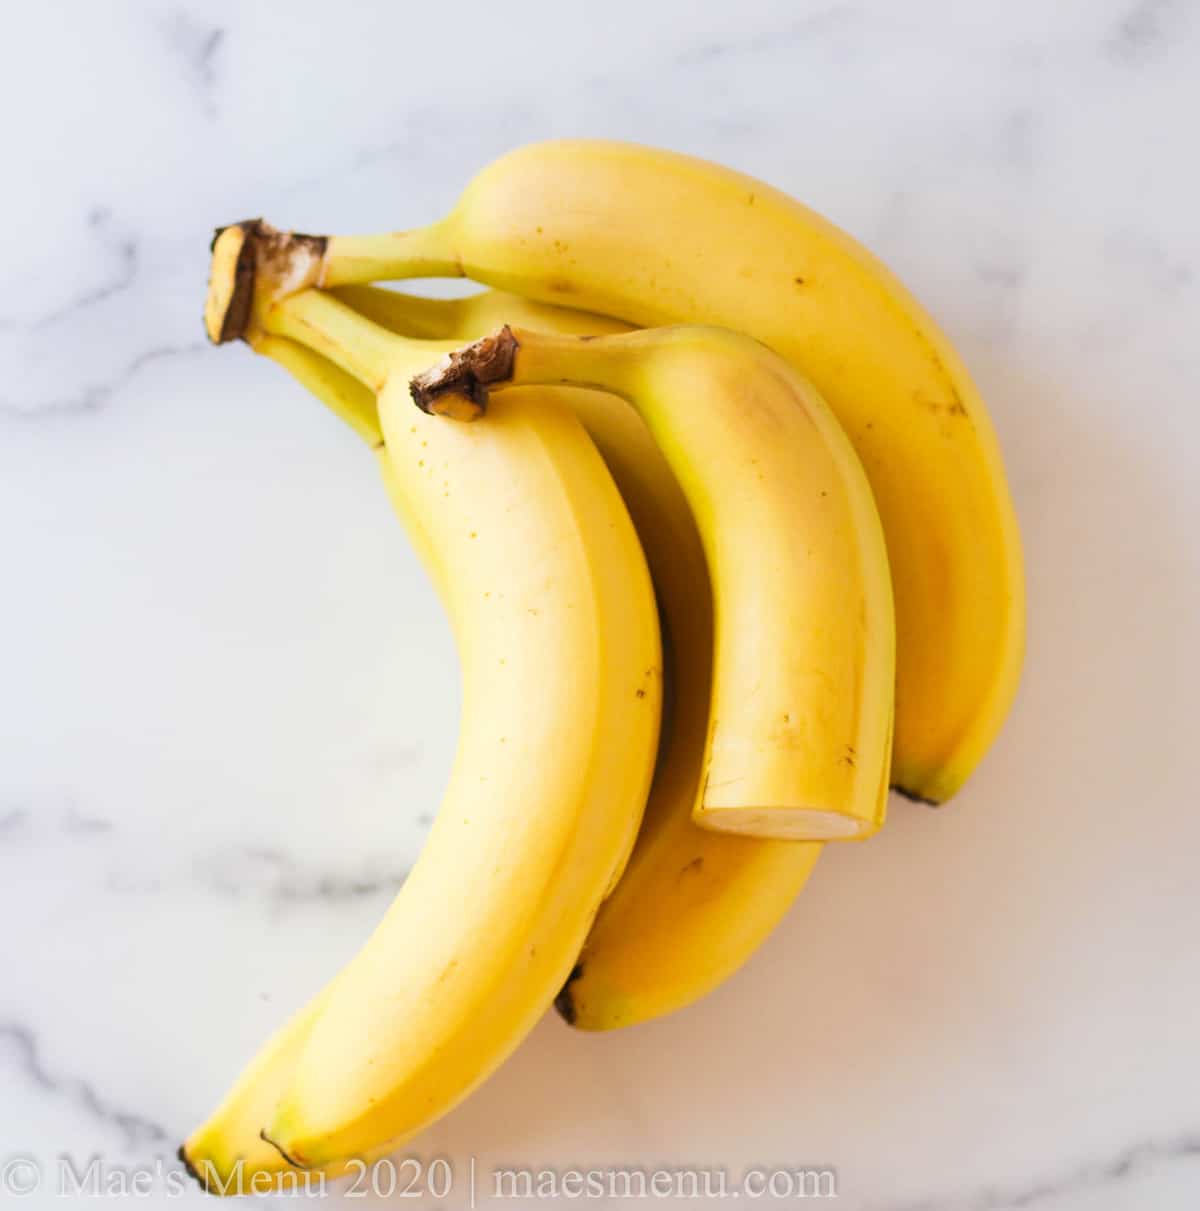
Overripe large bananas - we’ll want 4 ½ of them, or 3 ¼ cups. Don’t skimp on this because the bananas add so much moisture and flavor to the cake.
Eggs - this recipe calls for 3 jumbo eggs. If you don’t have jumbo, you can use 4 medium-sized eggs or 3 large eggs and 1 egg white.
Pure vanilla extract - pure vanilla extract, if you can swing it, will be totally worth it for this cake. It adds a delicious depth of flavor.
Coconut oil - we’ll want melted coconut oil for this cake. Add it to the blender first (along with your milk and eggs), and it will make blending a breeze.
Unsweetened almond milk - the batter is already sweet as it is so we don’t need any extra sweetener in the milk
Granulated white sugar - we’ll be using just enough sweetener to bring out the flavor in this cake. After all, the bananas already add so much natural sweetness to the cake. Believe it or not, we’ll only be using ¾ cup granulated sugar in the cake batter!
Cinnamon - cinnamon enhances the flavor of banana without overpowering the fruit’s flavor. Any type of cinnamon will do but I am personally partial to Vietnamese or Saigon cinnamon.
Old fashioned oats - we want old fashioned, not quick-cooking or instant oats for this recipe.
Butter - unsalted butter is best. This will be for the cream cheese frosting!
Cream cheese - what is a banana cake without a cream cheese frosting?! Don’t skimp and go low fat on the cream cheese, we want the richness of full fat.
Confectioner’s sugar - the lightness of this sugar makes the frosting light and fluffy.
Recipe adaptations or substitutions:
Milk - you can substitute in oat milk or dairy milk (I recommend 1 or 2%) in for the almond milk. Just don’t substitute in a sweetened milk substitute, as it will be too sweet.
Vanilla extract powder - you can substitute in vanilla extract powder in place of the pure vanilla extract. Just use the same amount.
Oats - if you don’t have a blender (see more specific notes below) or don’t have old fashioned oats, you can also use the same amount of oat flour.
Can I make this banana cake with dairy butter instead of coconut butter?
I haven’t personally tried it yet, but you should be able to substitute in the same amount of melted unsalted dairy butter in place of the melted coconut butter.
What kind of bananas are best for banana cake?
Overripe bananas are the best for banana cake. I like them when they are bright yellow and just starting to form spots but you can do them with any amount of brown spots on them.
Can you make this recipe without a blender?
Yes! You can make this recipe without a blender. You will need pre-ground oat flour in order to do so, however.
To use pre-ground oat flour, just measure out the same amount of flour as you would oats (3 ¾ cups) and mix it up with the rest of the ingredients with a hand mixer or stand mixer fitted with a paddle attachment, until the banana is broken down and the batter is smooth and creamy. Then, fold 1 cup + 2 tablespoons old fashioned oats into the batter and continue on with the rest of the recipe as directed.

What is the best way to turn a cake out of a pan?
Here is best way to turn a cake out of a pan:
- Let the cake cool completely to room temperature.
- Run a non-serrated knife around the outside of the cake around the pan to loosen up the cake.
- Place a plate or cooling rack on top of the cake pan.
- Holding the plate or cooling rack firmly on top of the pan, flip the cake pan over. The cake should release from the pan.
- Continue with decorating your cake.
How long do you need to let cakes cool before frosting?
For more cakes it takes around 1.5-3 hours to cool completely, though the exact amount of time it takes to cool a cake depends on the temperature of your house and the size of your cake. You want to let the cake cool until it’s at room temperature or no longer warm to the touch.
What kinds of oats are best for this oatmeal cake?
Old fashioned oats are best for this oatmeal cake. You do not want to use quick-cooking or instant oats.
Is this banana cake gluten-free? Dairy-free?
Yes, if you use certified gluten-free oats this cake will be gluten-free.
The cake itself is dairy-free (if you use almond milk), but the frosting is not dairy-free. To keep the recipe dairy-free, you can make banana muffins with this recipe (see the notes below on how to do so).
How do you prevent crumbs from getting in your frosting?
The best way to prevent crumbs from getting in your frosting is to frost your cake with a crumb frosting before spreading the rest of the frosting on the cake.
A crumb frosting is a very thin layer of frosting you spread on the cake. You chill the cake with the crumb frosting for 15-25 minutes, or until the crumb frosting is cooled and hardened. Then, you can frost your final frosting layer on and the crumb frosting layer will hold the crumbs in.
What kind of blender is best for making this cake?
You will have the most success using a high-speed blender to make this cake.
I love Vitamix blenders because they are durable, powerful, and have an amazing support team. Their blenders are last forever and don't burn out, thanks to their unique technology. This Vitamix blender is a great one to get you started.
What tools do you need to make this oatmeal cake?
- Two 8” round baking pans
- High-speed blender
- Hand mixer or stand mixer
- Dry measuring cups & measuring spoons
- Wet measuring cups
- Rubber scraper or spatula
- Cake stand or tray
- Cake frosting spatula
- Small mixing bowl
How soft do you want your butter and cream cheese for the frosting?
You want your butter and cream cheese soft enough that you can gently press on the butter and or cream cheese and leave a light indent, but not so soft that it’s melted or creamy.
What is the best way to soften your butter and cream cheese for the frosting?
There are a few different wants to soften your butter and cream cheese. Here are some of my favorites:
- Leave them out at room temperature for 1-2 hours
- Leave them out in the sun for 15-30 minutes
- Soften them in the microwave at 20-30% heat in 20-30 second intervals, checking the butter and cream cheese’s softness between intervals
Can you make this banana oatmeal cake into cupcakes or muffins?
Yes, you most definitely can make this banana cake into cupcakes or muffins. In fact, that’s how I first discovered this recipe!
To make them into cupcakes, make the recipe as directed. Then, spray two regular-sized muffin trays with non-stick spray or line with muffin cups. Pour about ½ cup batter into each muffin cup and bake for 24-25 minutes, or until the muffins have baked through and a toothpick inserted into the center of the muffin comes out clean.
Let the muffins cool completely on a wire rack until they’re at room temperature. Serve the muffins as is or make them into cupcakes by frosting with the cream cheese frosting.
How long does oatmeal banana cake last?
This banana cake lasts for 4-5 days in an air-tight container in the refrigerator, though it will be the freshest in the first few days after you’ve baked it.
Can you freeze banana cake?
Yes, you can freeze this banana cake in a freezer-safe container for up to 2 months.

How do you make this homemade banana oatmeal cake?
Make this oatmeal cake by following these steps!
Step 1:
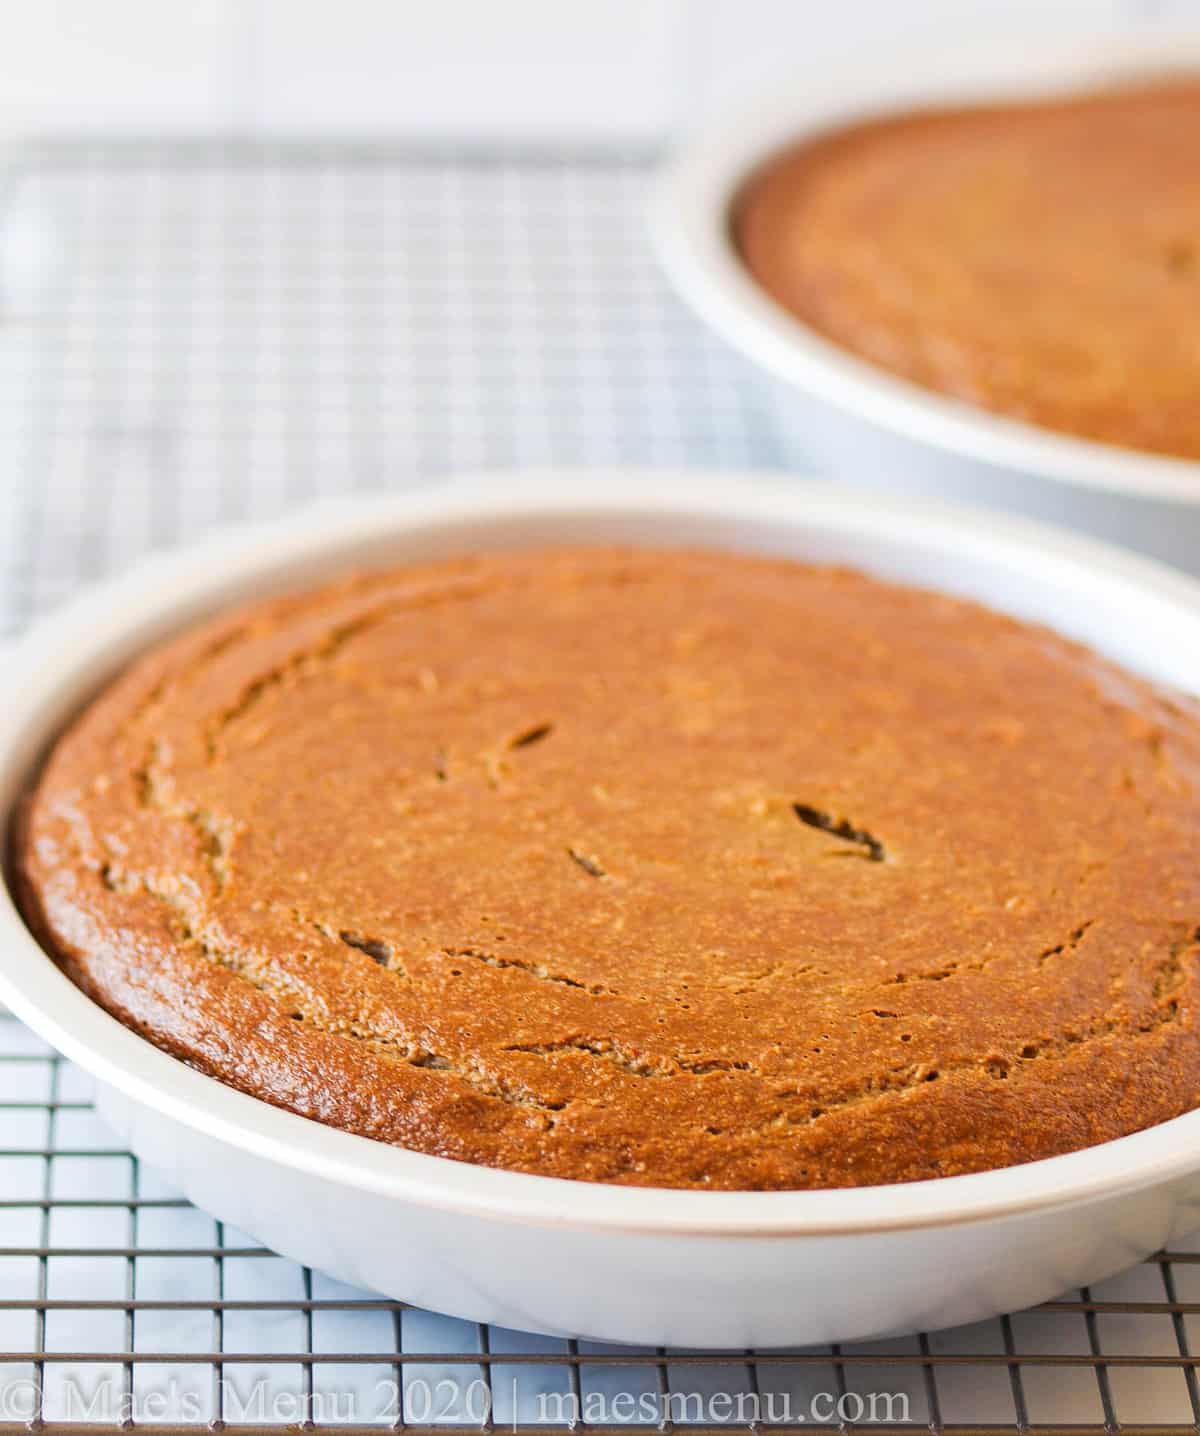
Preheat the oven to 350 degrees Fahrenheit. Spray two 8” round cake pans with coconut oil spray or grease with coconut oil or butter.
Step 2:
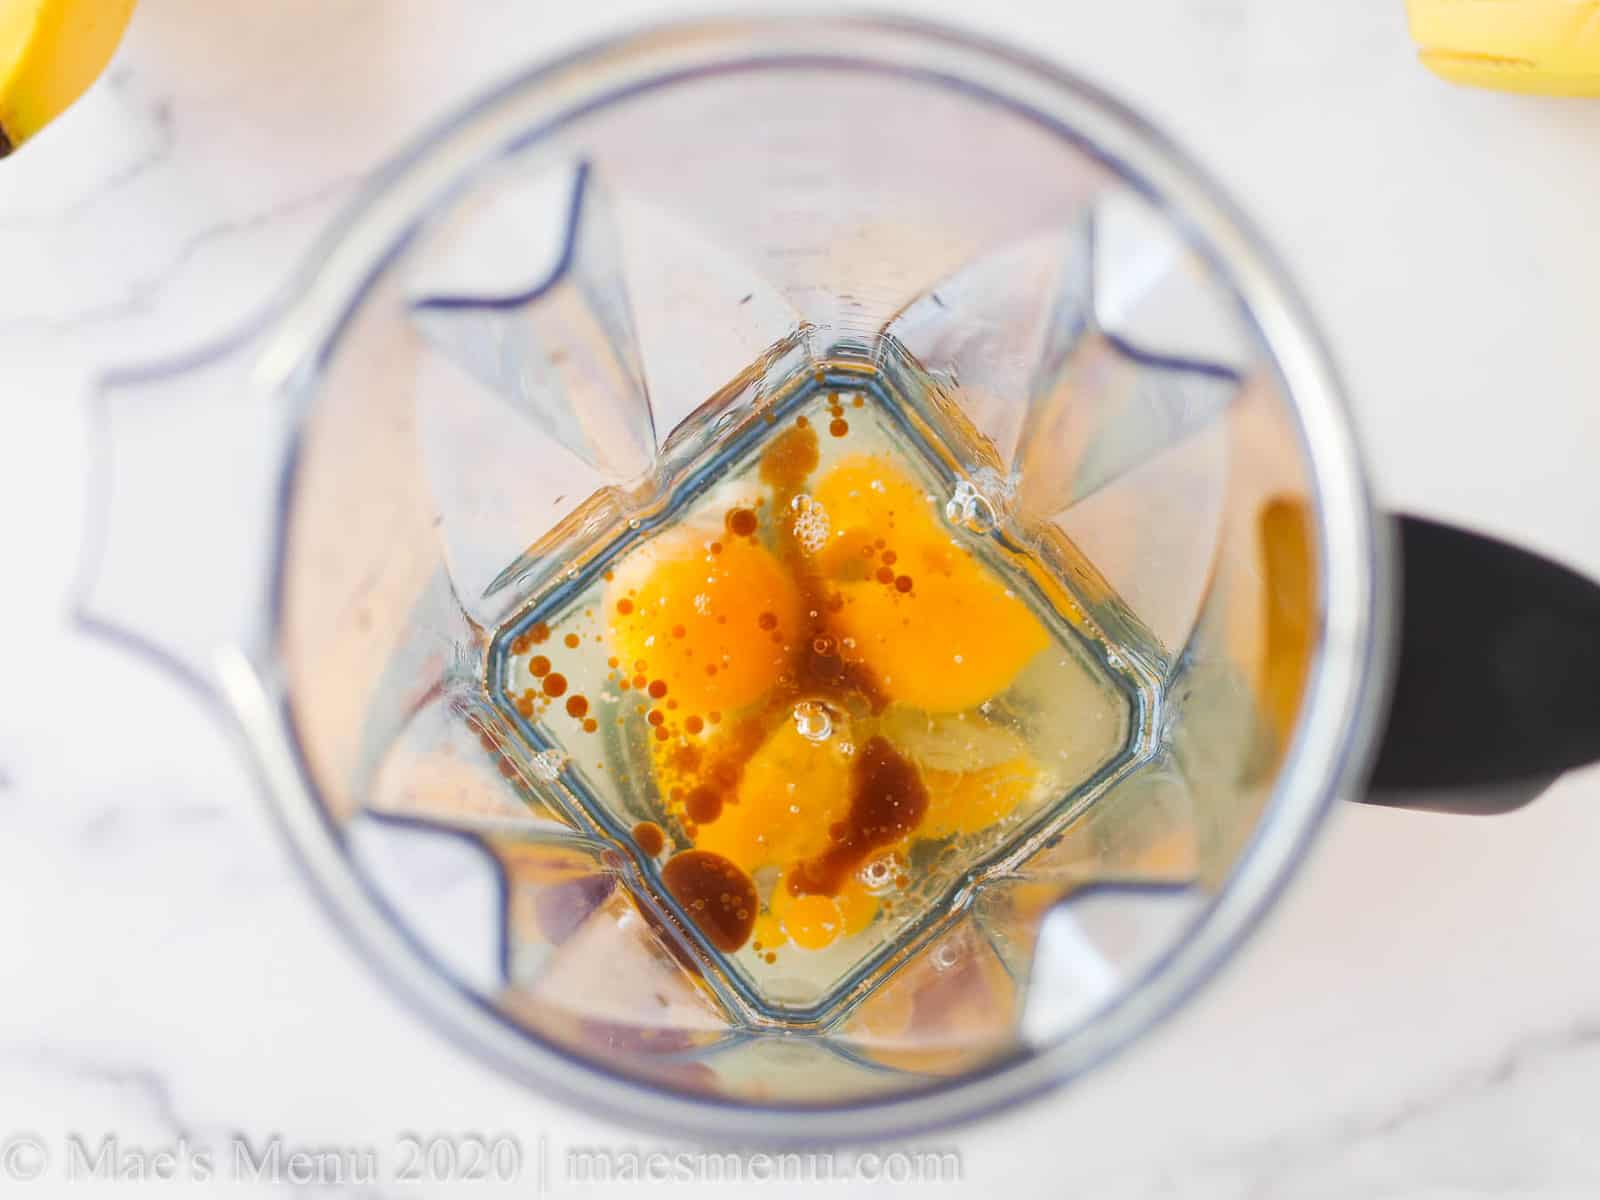
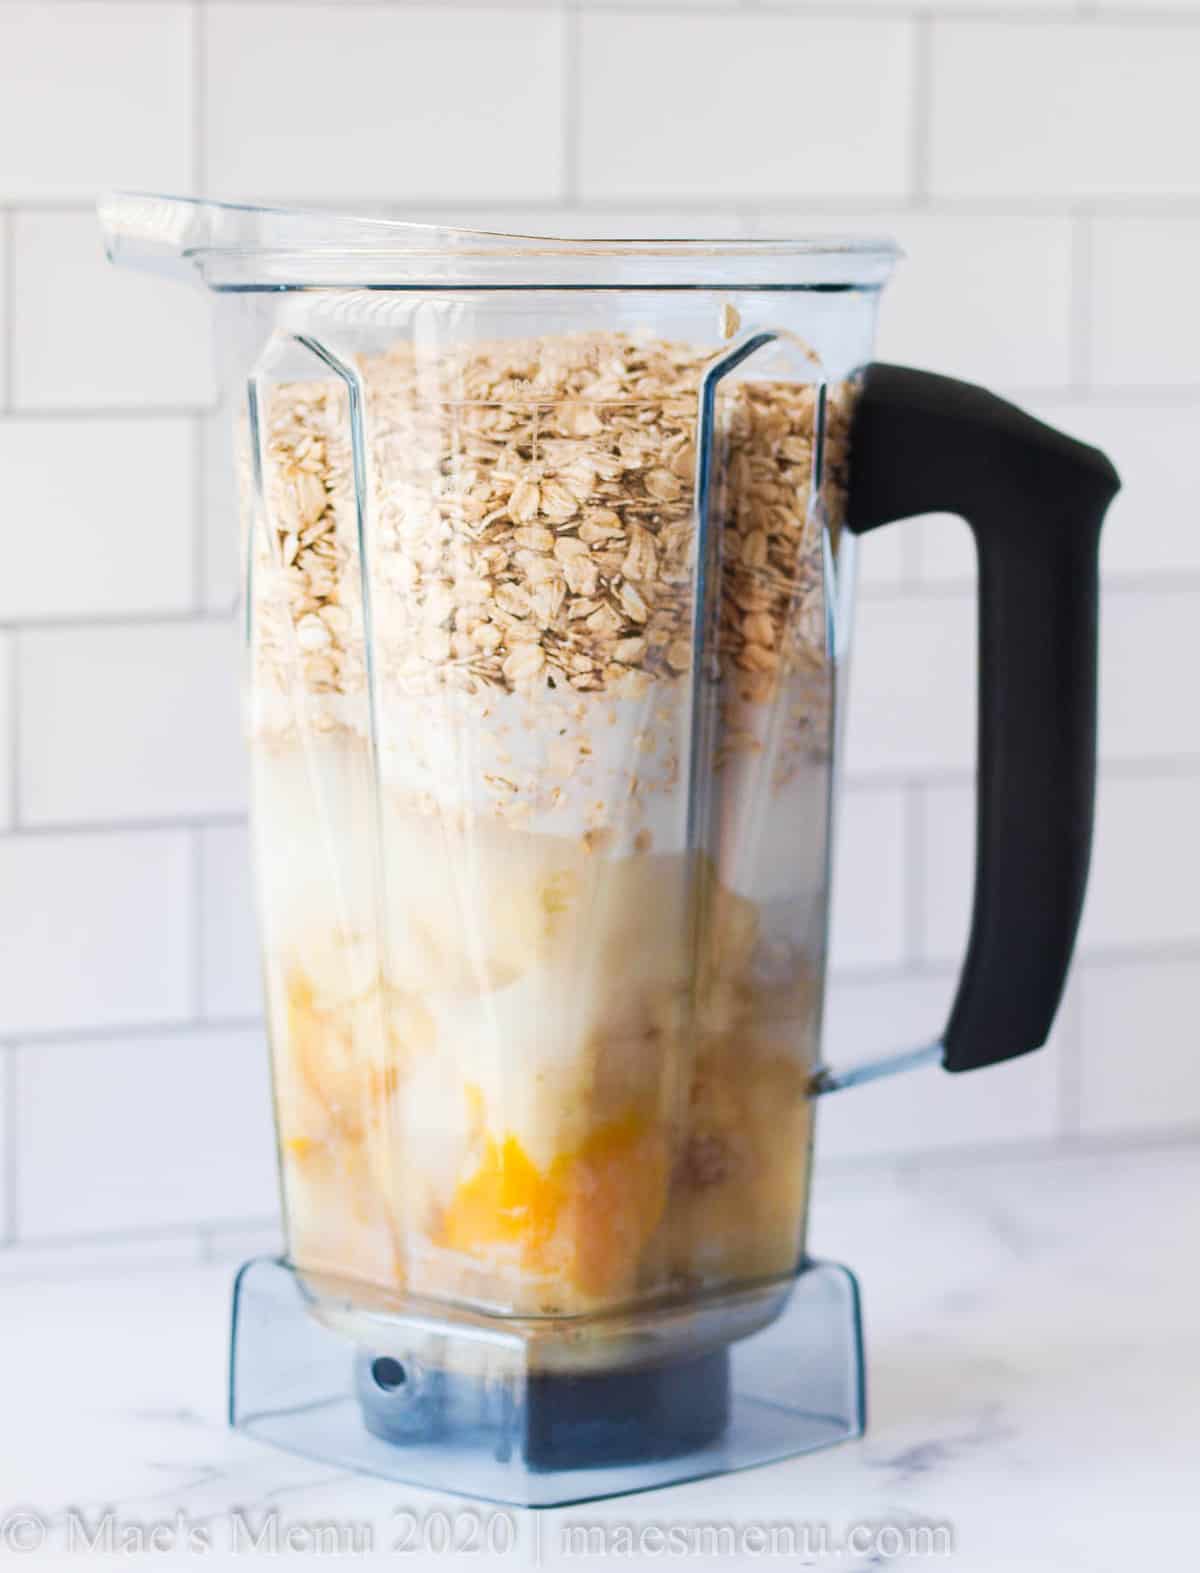
Add all the cake ingredients to the blender in the order listed. Top the blender with the blender lid and run the blender on medium speed for about 1 minute, or until the batter is smooth and creamy and the oats are blended in.
Step 3:
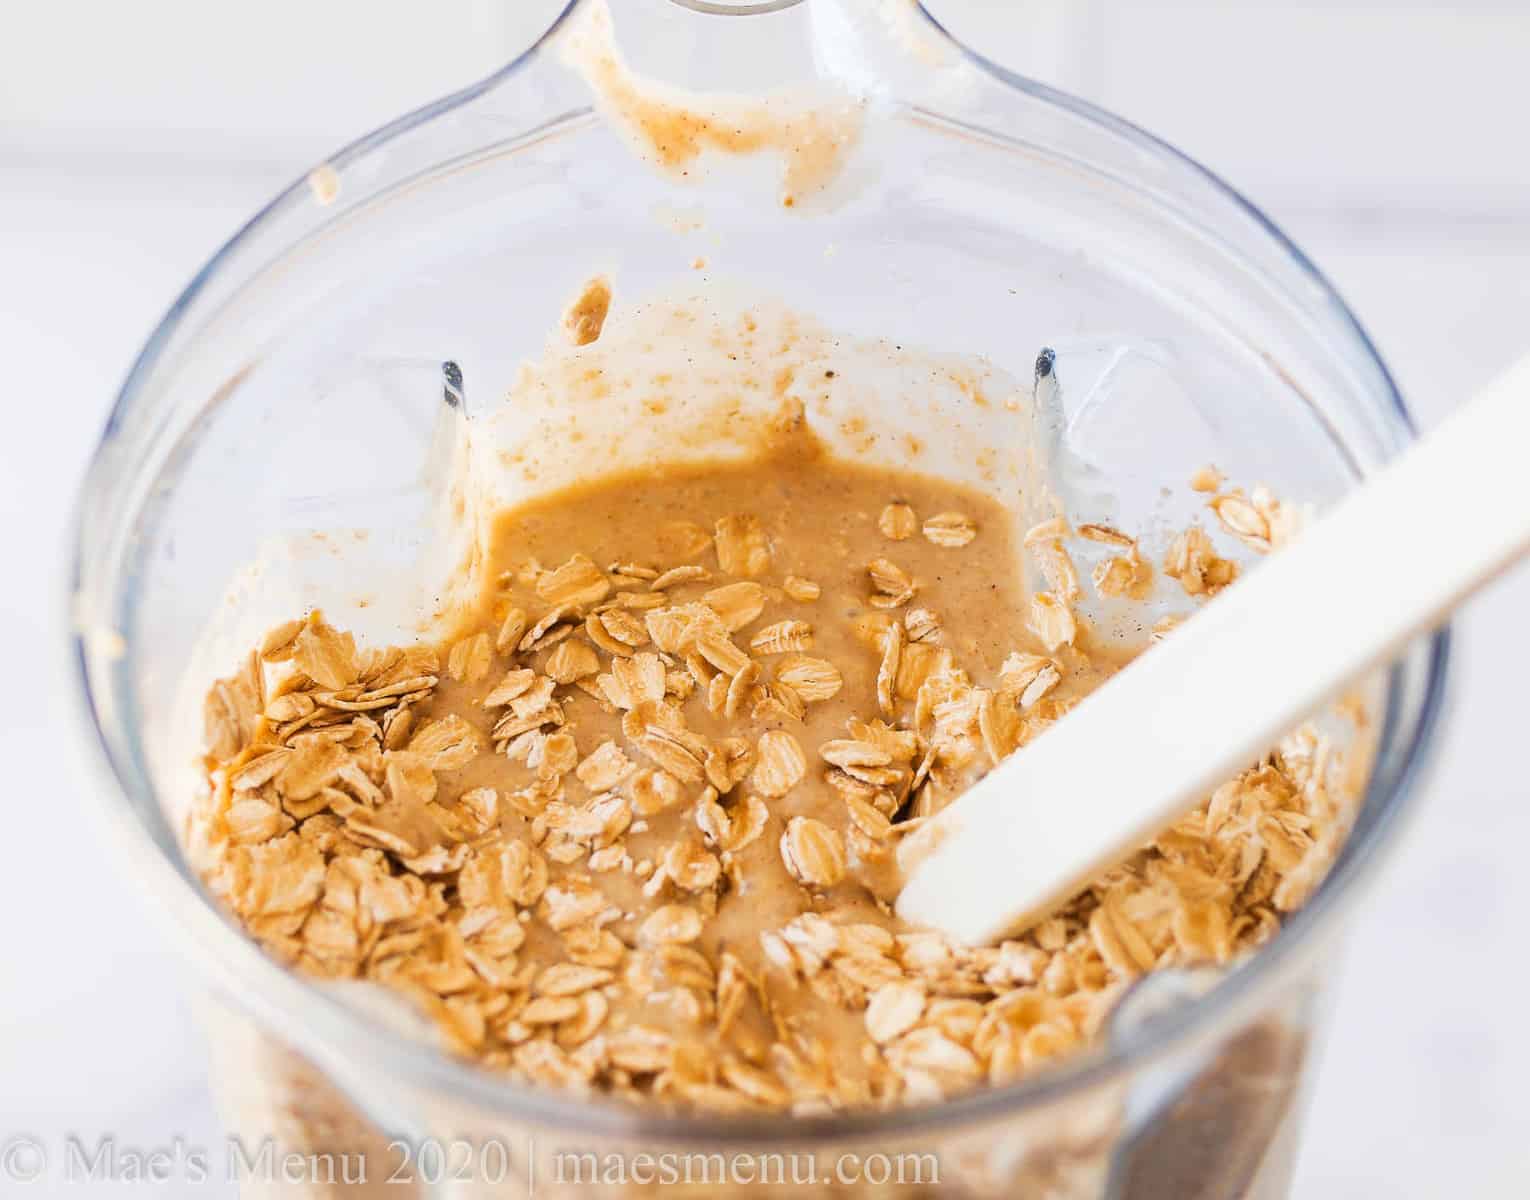
Fold the additional 1 cup + 2 tablespoons oats into the batter (you can do this directly in the blender) with a rubber scraper or spatula until the oats are evenly distributed throughout the batter.
Step 4:
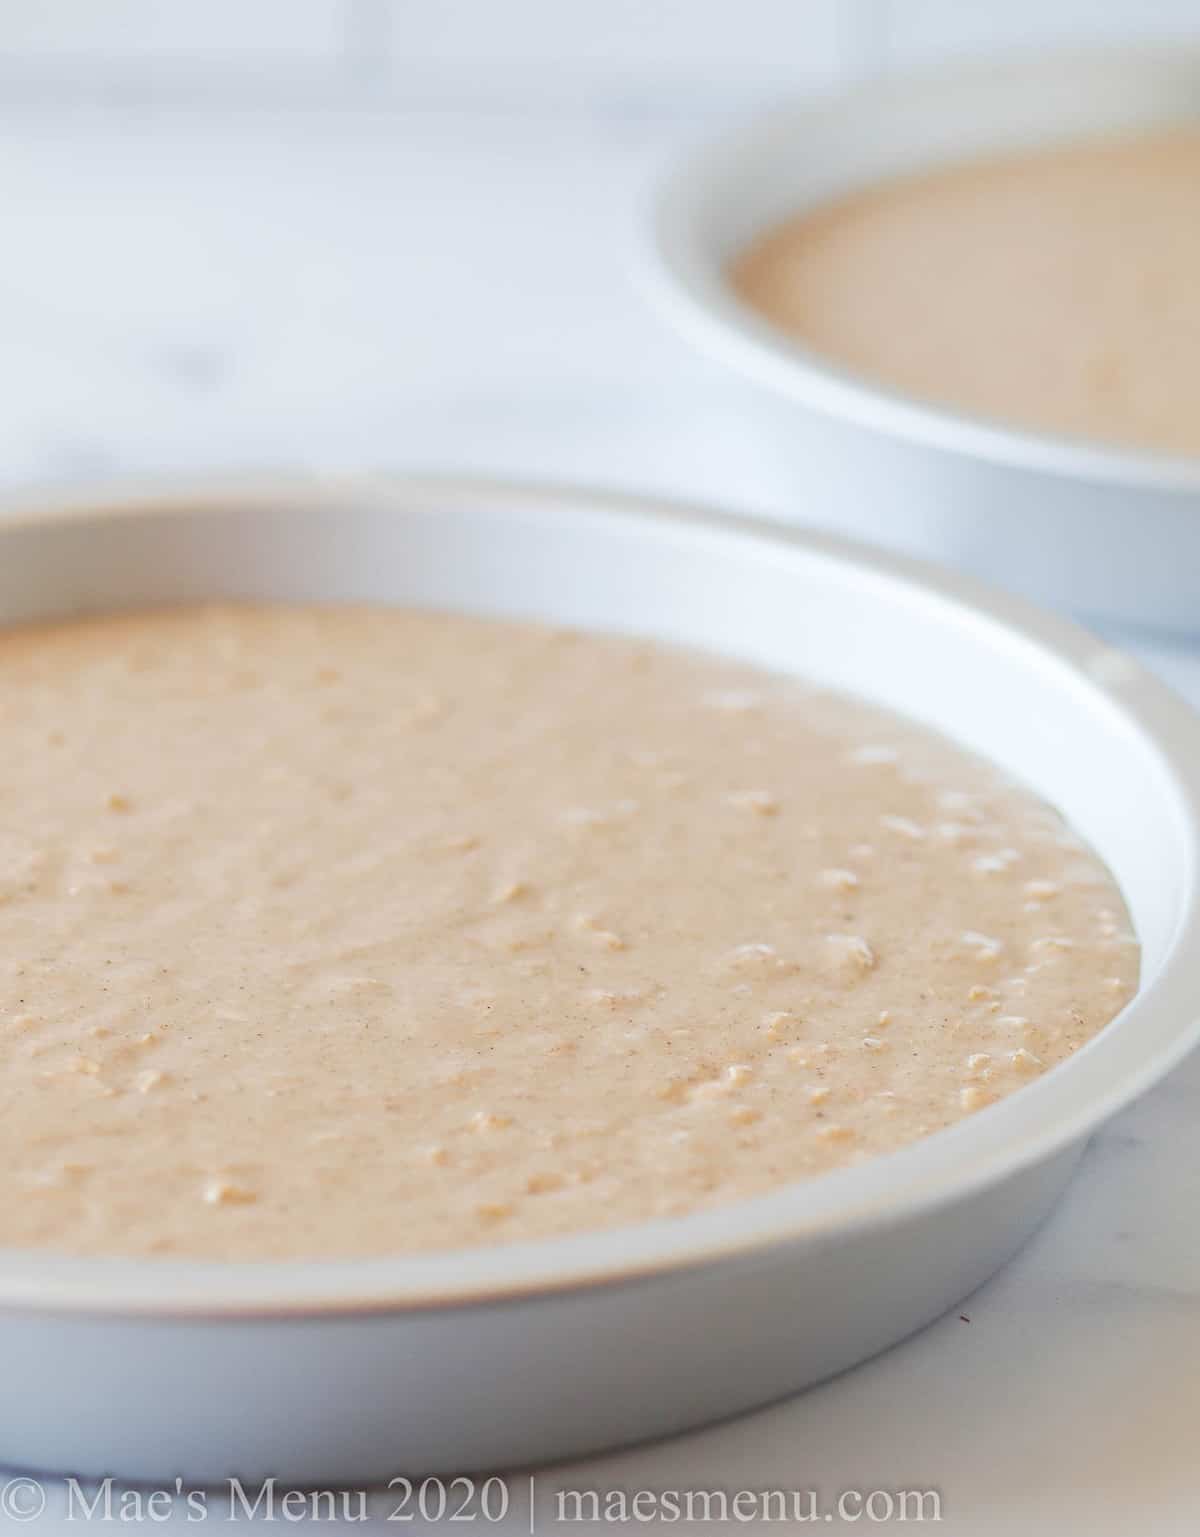
Divide the batter between the two cake pans and bake for 33-36 minutes, or until the cakes are cooked through and a toothpick inserted into the center of the cake comes out clean.
Step 5:
Let the cakes cool completely. Turn the cakes out of the pan (see notes above for the best way to do so) and slice the dome off the top of one of the cakes so it’s leveled off and flat on top.

Step 6:
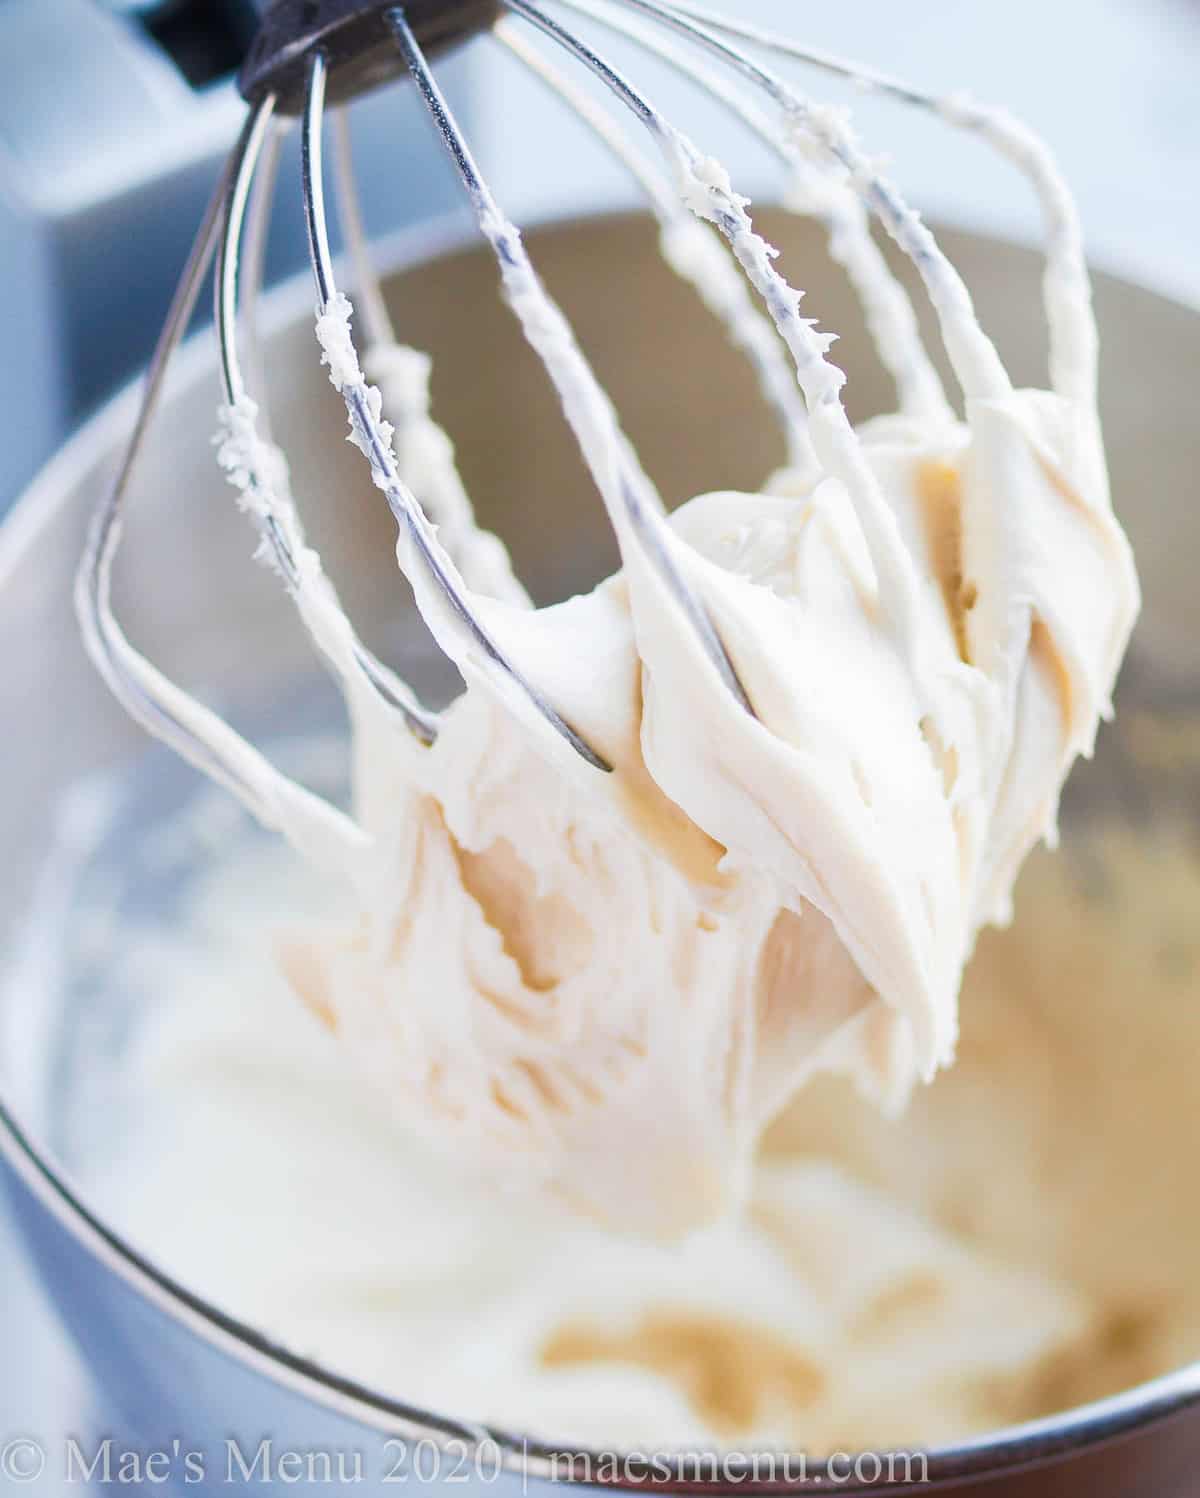
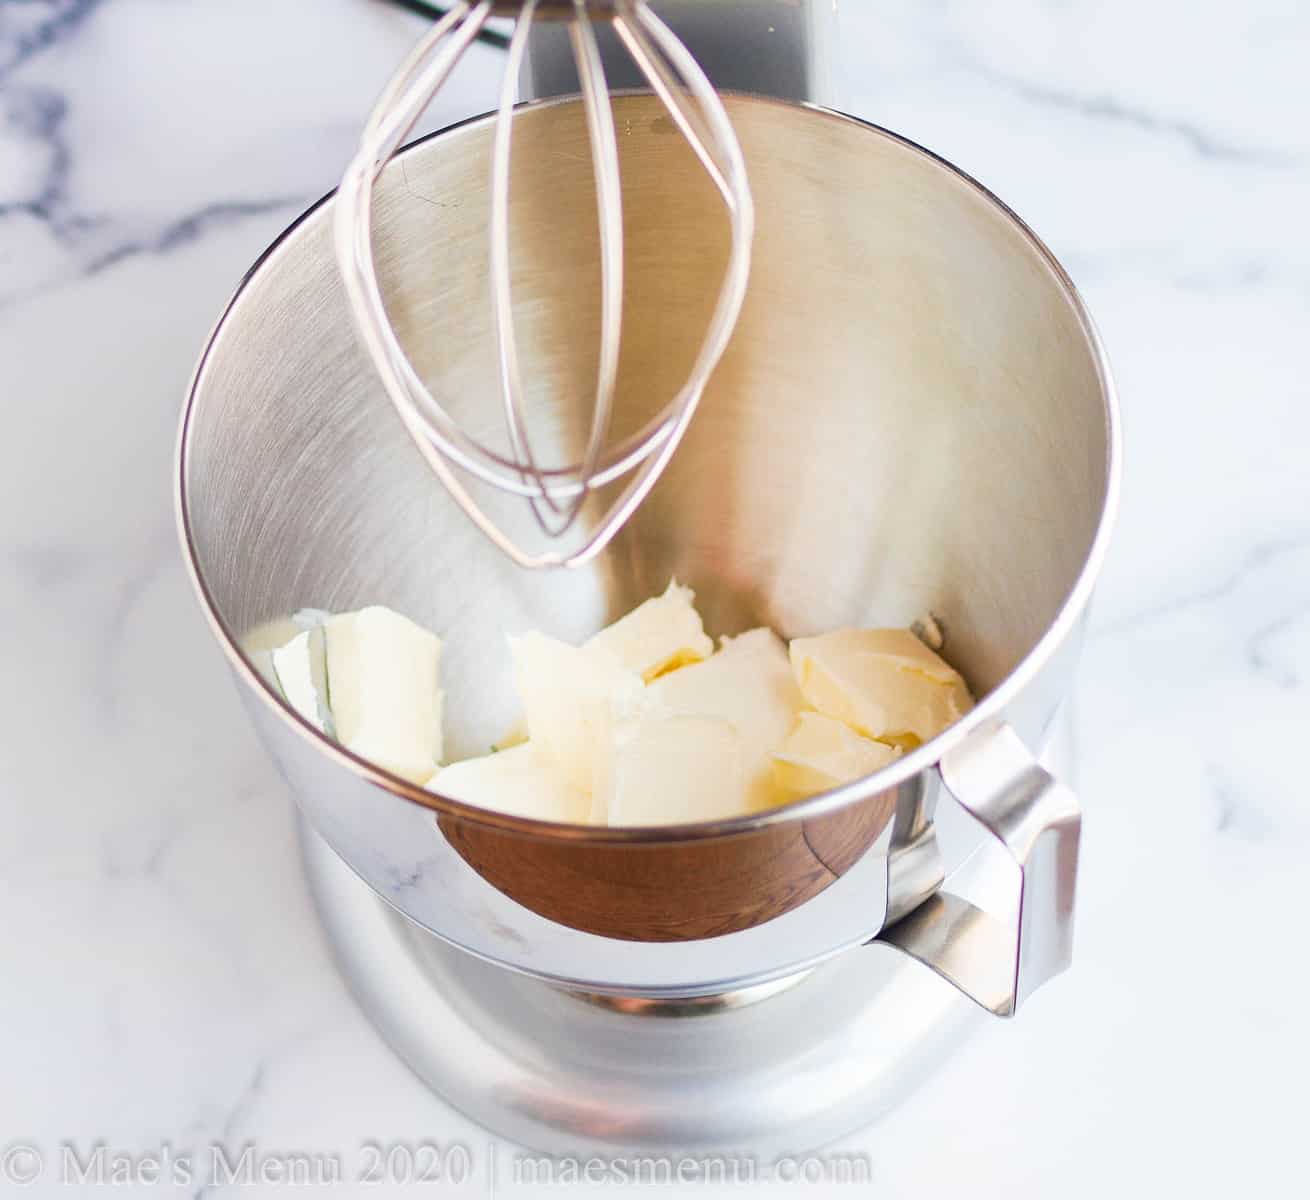
In the bowl of a stand mixer fitted with a whisk attachment, cream together the butter and cream cheese until they are light and fluffy, or about 30-45 seconds.
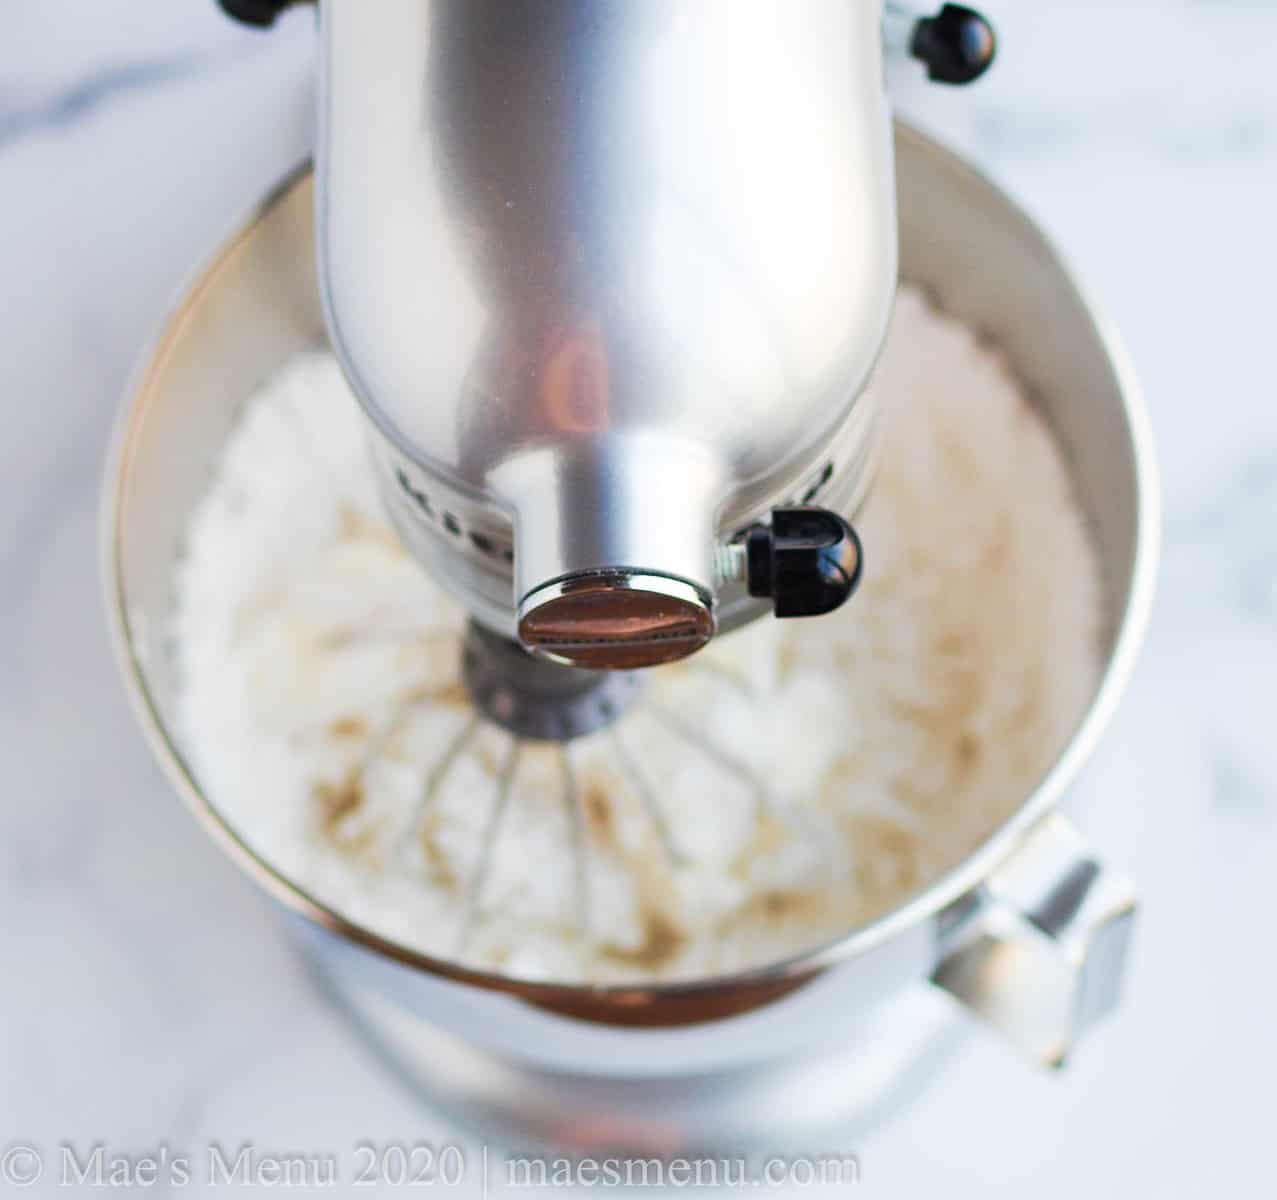
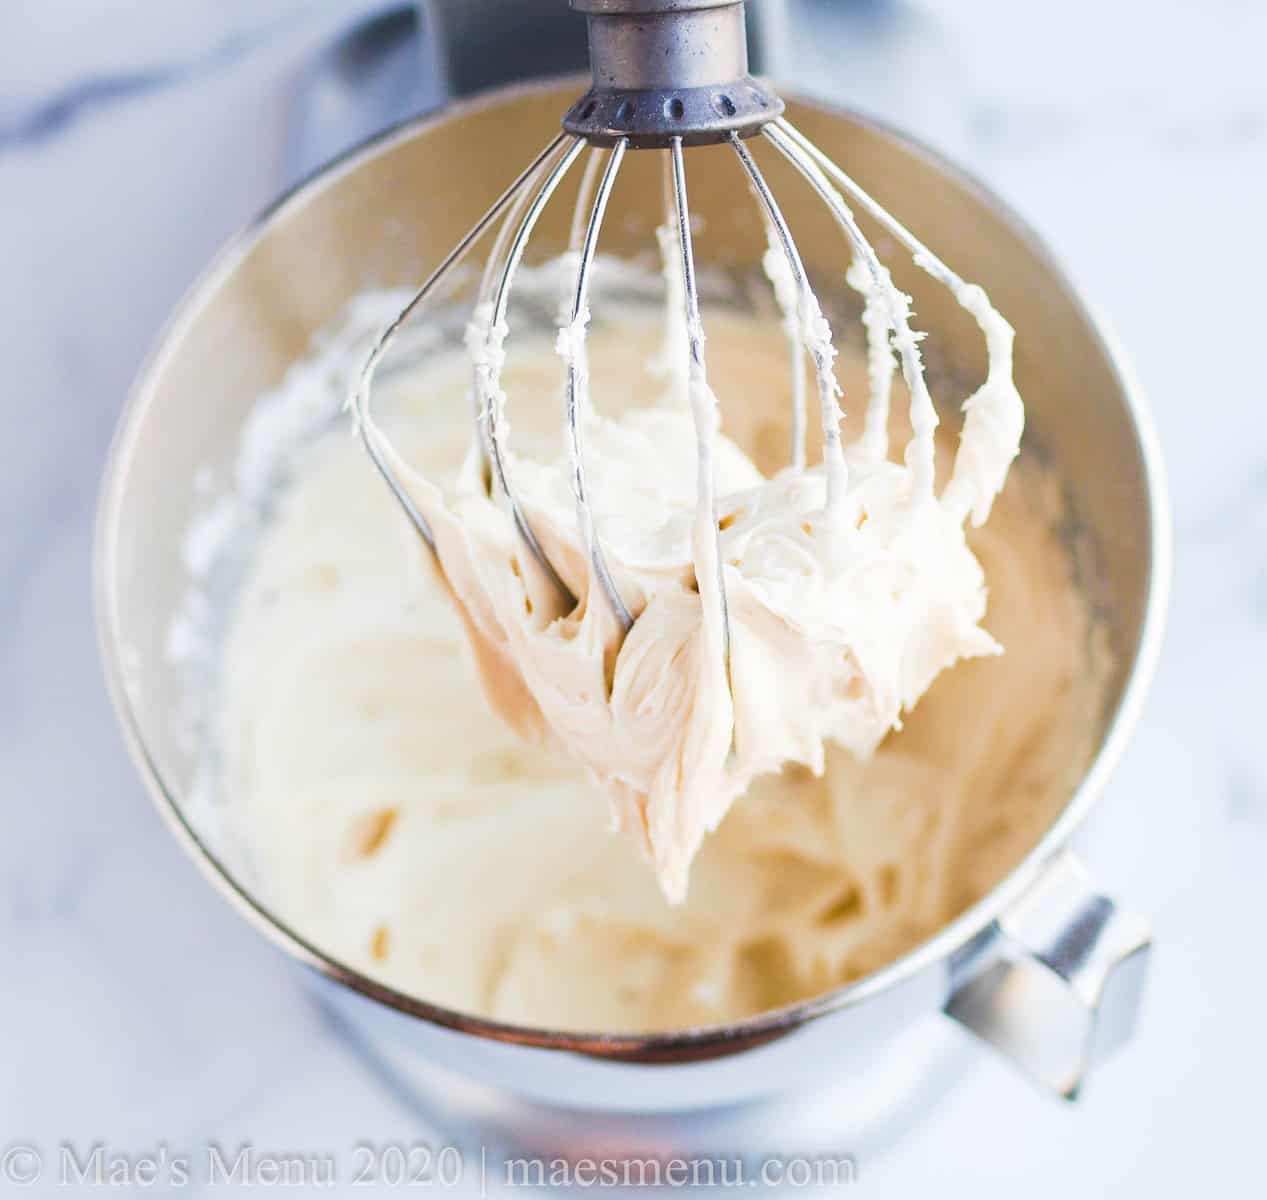
Scrape down the sides of the bowl. Add the vanilla extract and powdered sugar and whisk, starting on a slow speed and building up, for 30 seconds - 1 minute, or until the frosting is thick and fluffy and holds its shape on the end of the whisk attachment. Scrape down the sides of the bowl and whisk for 10-15 seconds more.
Transfer the frosting into a frosting bowl.

Step 7:
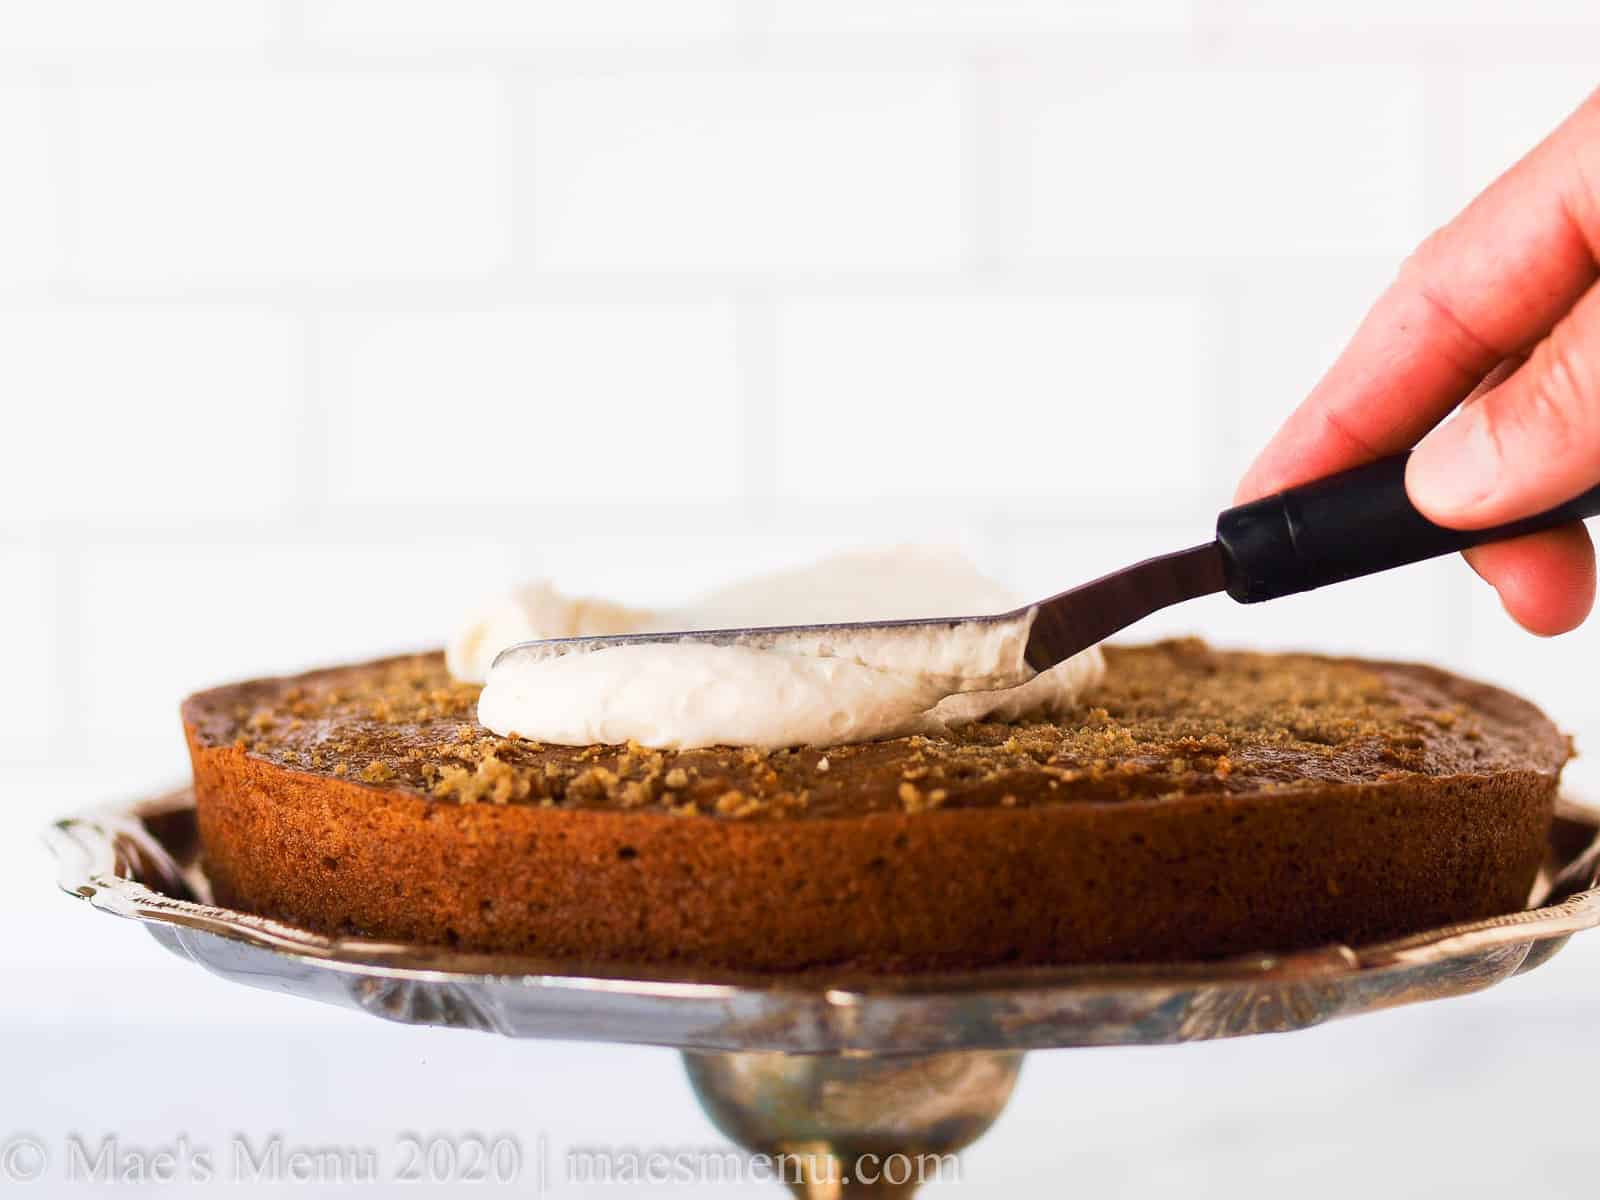
Spread 1-2 tablespoons of frosting on your cake stand or base. Place the cake that you leveled off on top of the frosting.
Spread about ¾ cup of icing on top of the leveled cake, out to about ½” from the sides of the cake. Don’t worry if any of the crumbs are in the frosting.
Step 8:
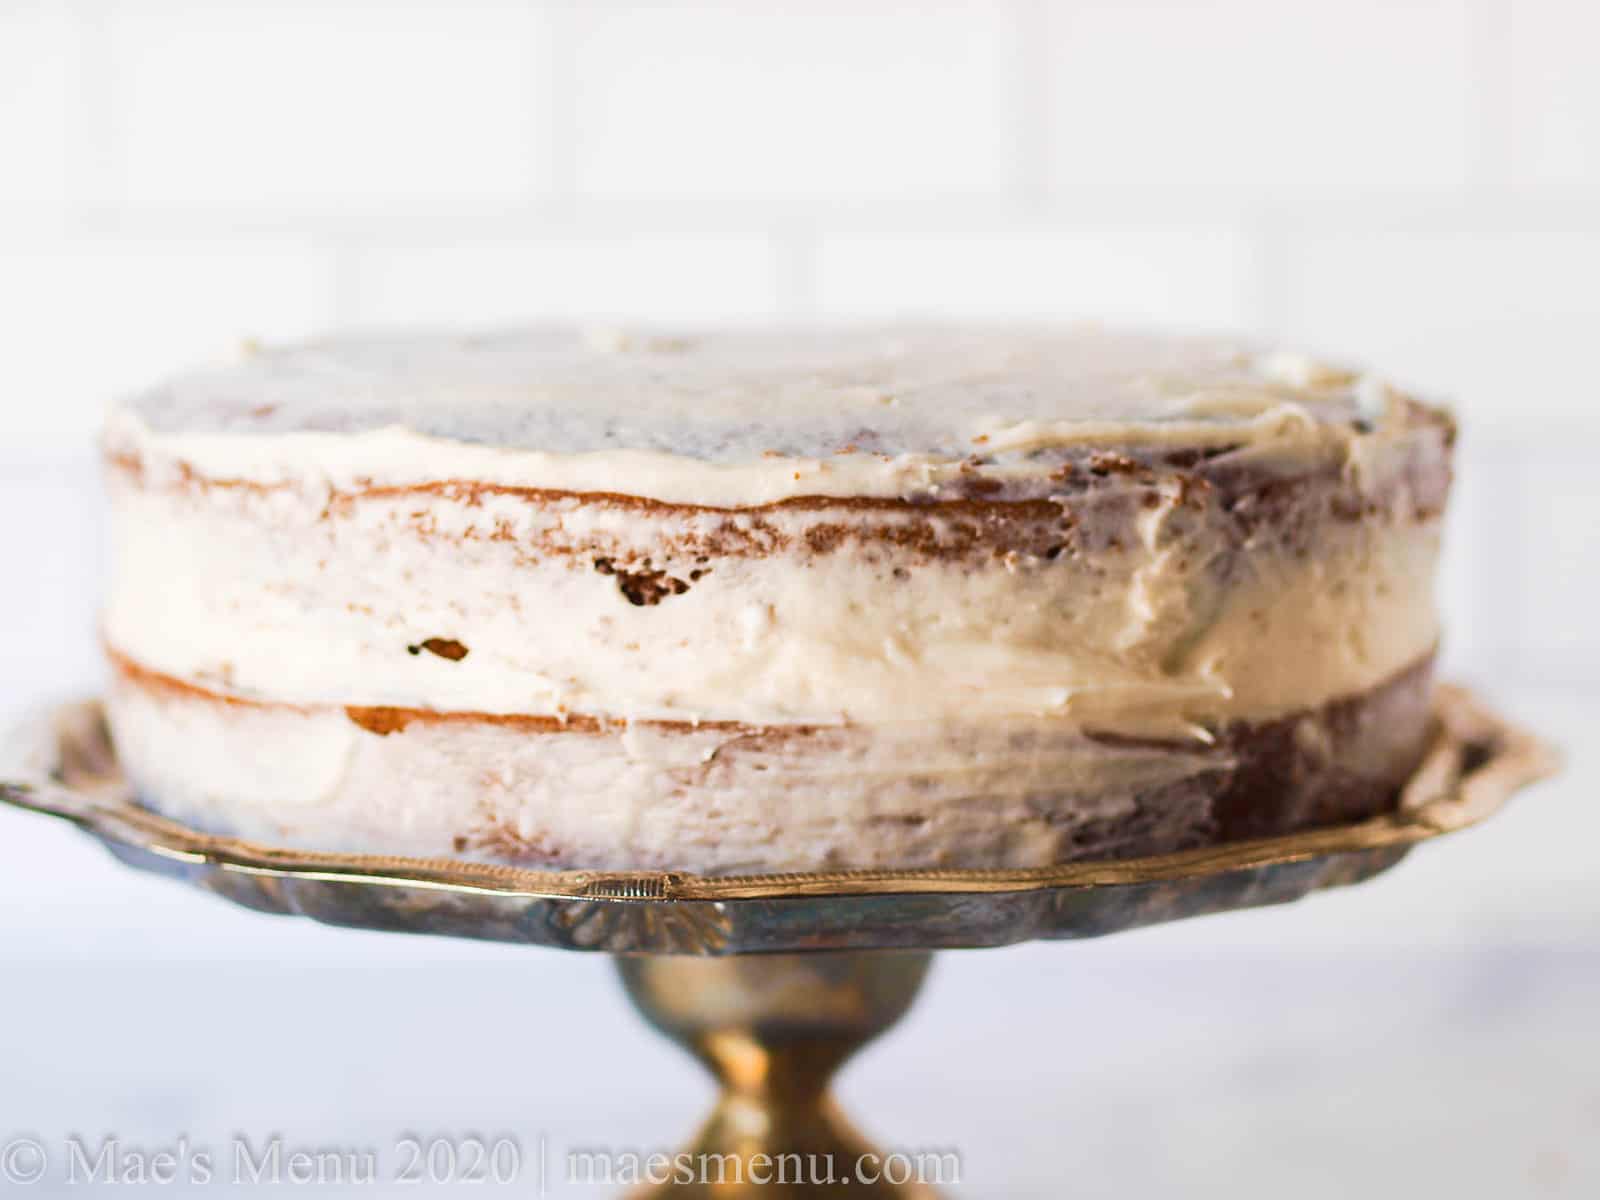
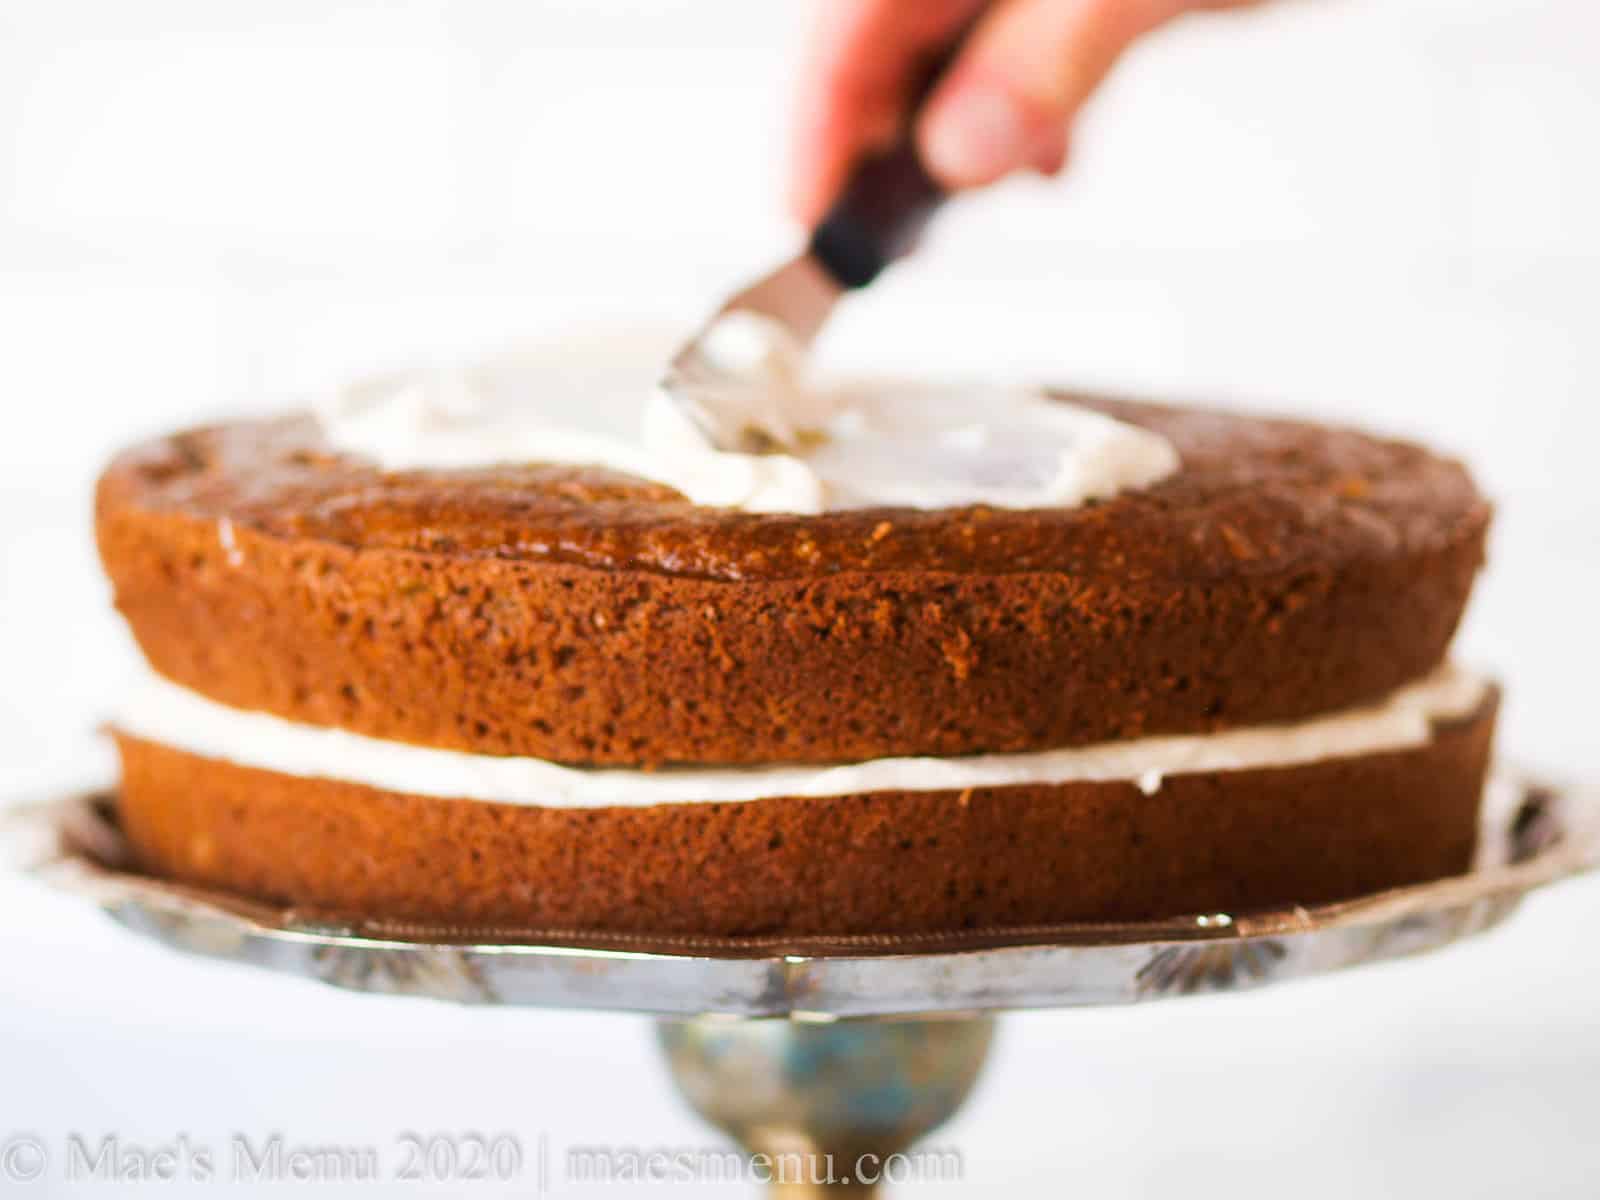
Evenly place the second cake on top of the base cake. Lightly coat the top and sides of the 2-tiered cake with a thin coating of icing (this is called the “crumb coating”). Don’t worry if any of the crumbs get in the frosting.
Move the cake to the refrigerator and let chill for 15-25 minutes. This will help the crumb coating set.

Step 9:
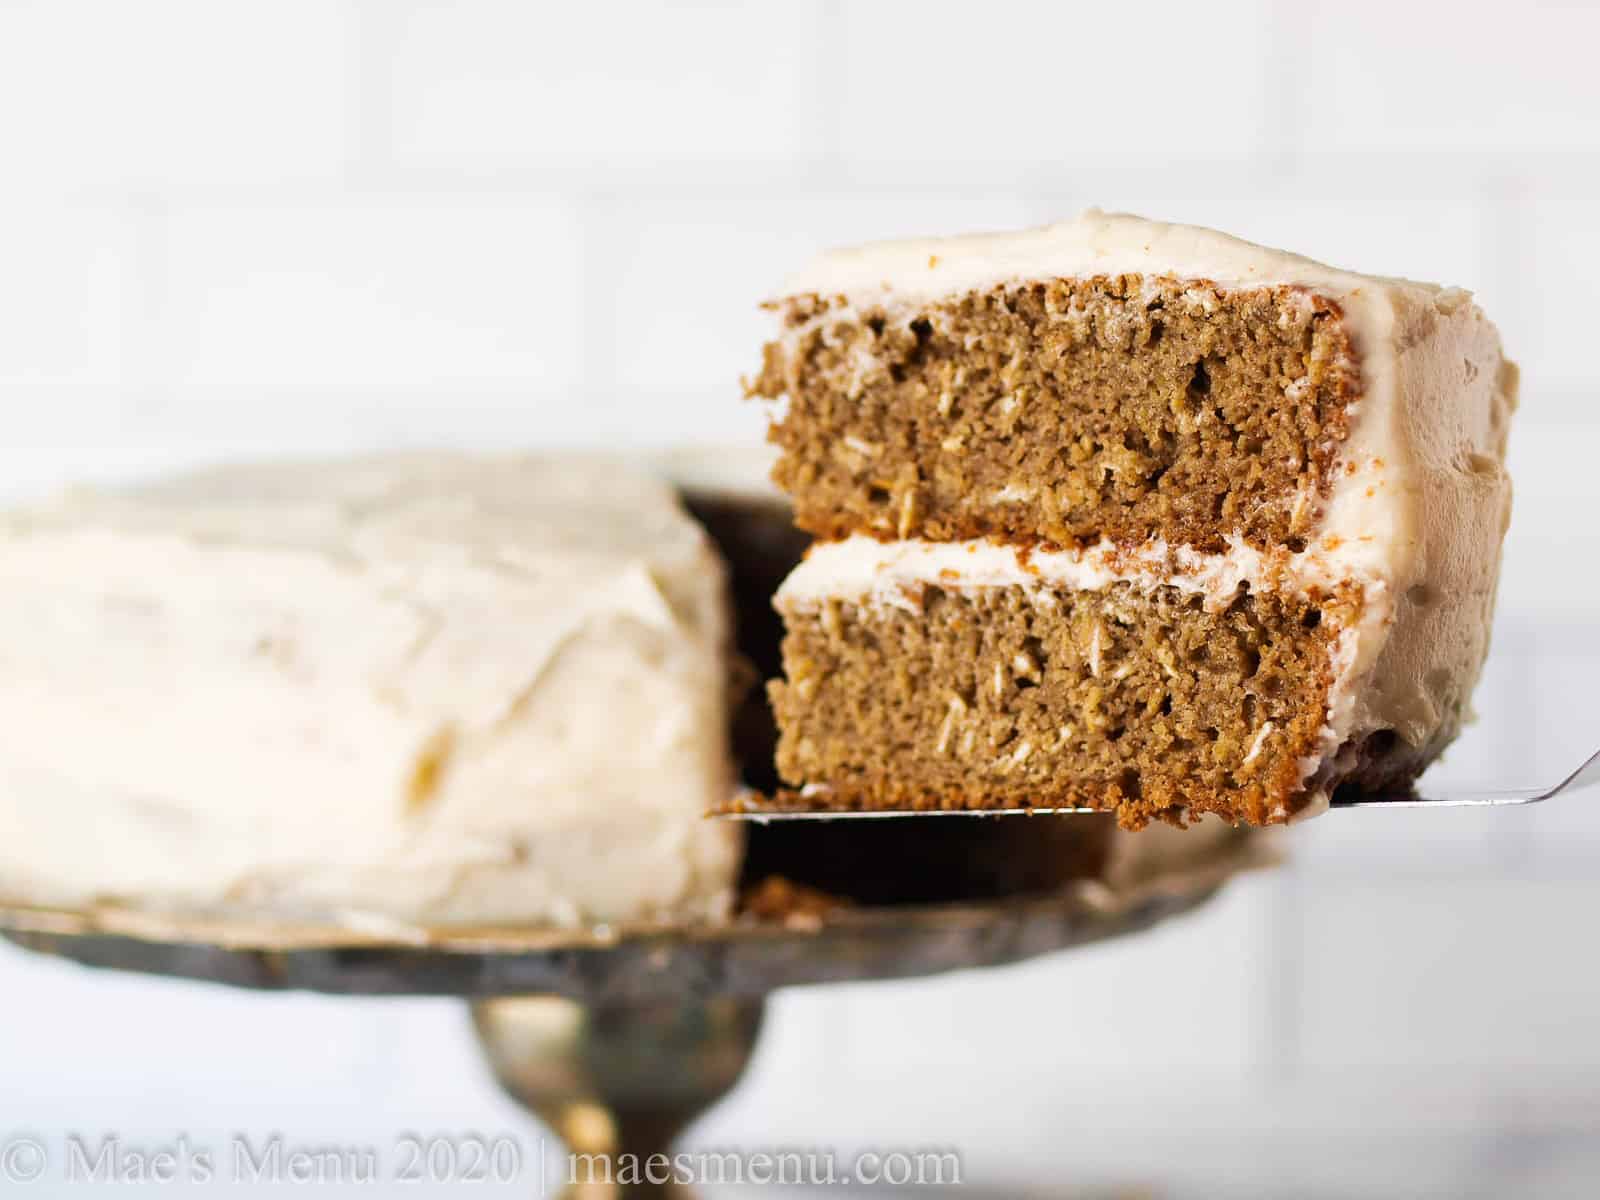
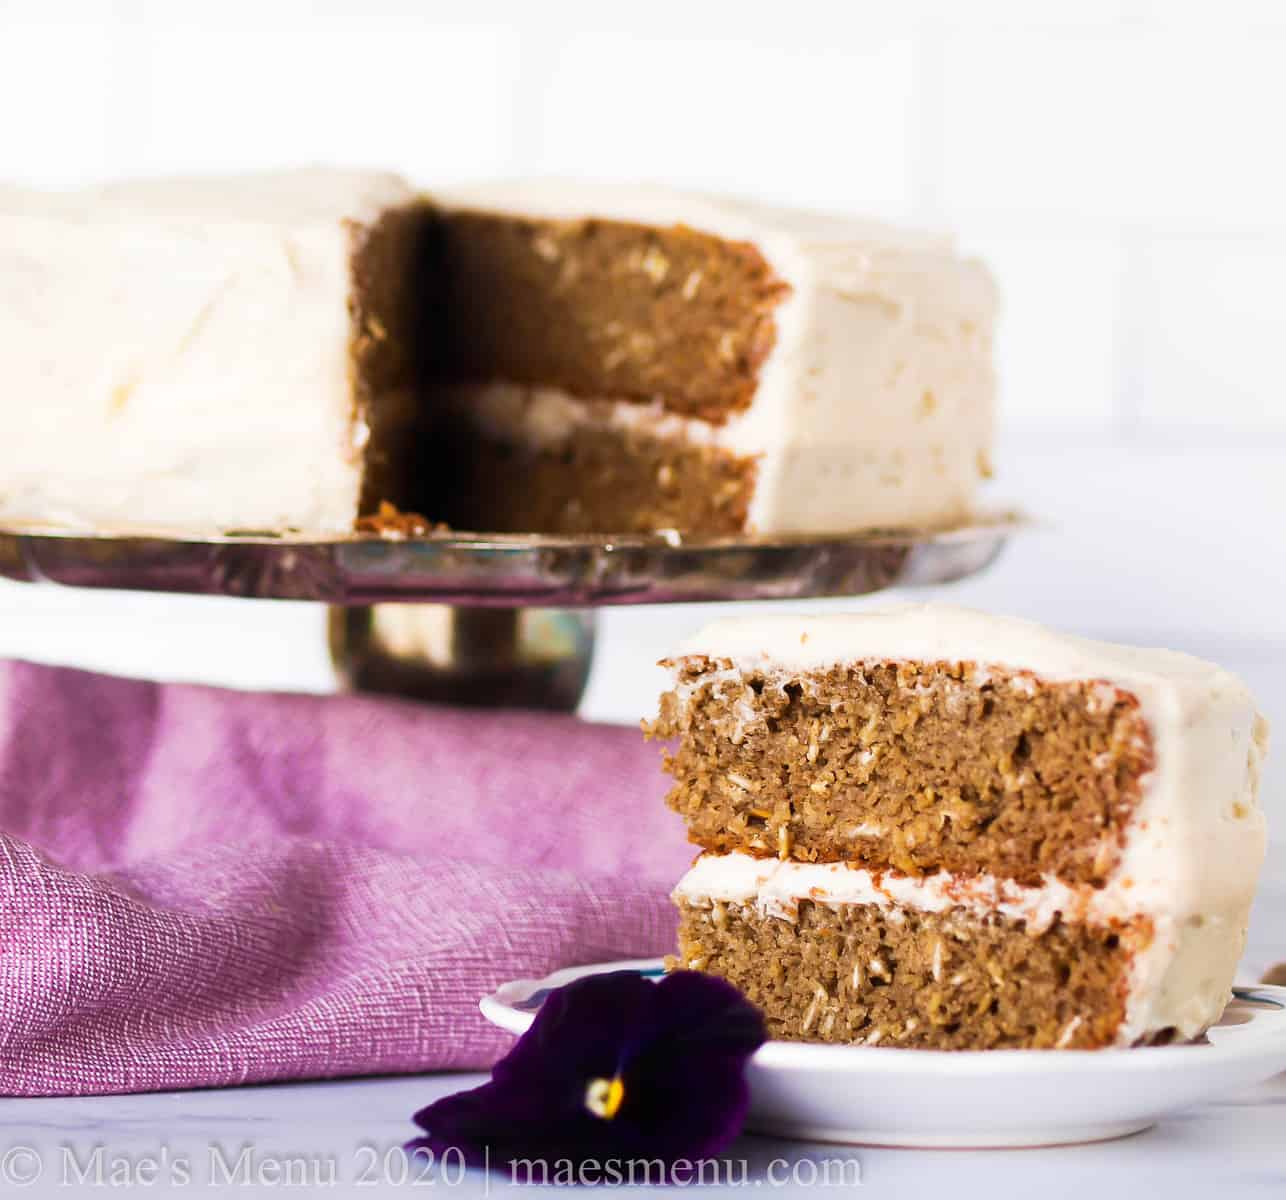
Remove the cake from the fridge. Spread the remaining of the frosting on the sides and top of the cake. Pipe a pattern on if you’d like, smooth out the sides, or leave it natural like I did.
Serve immediately or let the cake chill for 1-2 hours before serving. Enjoy!
More baking recipes:
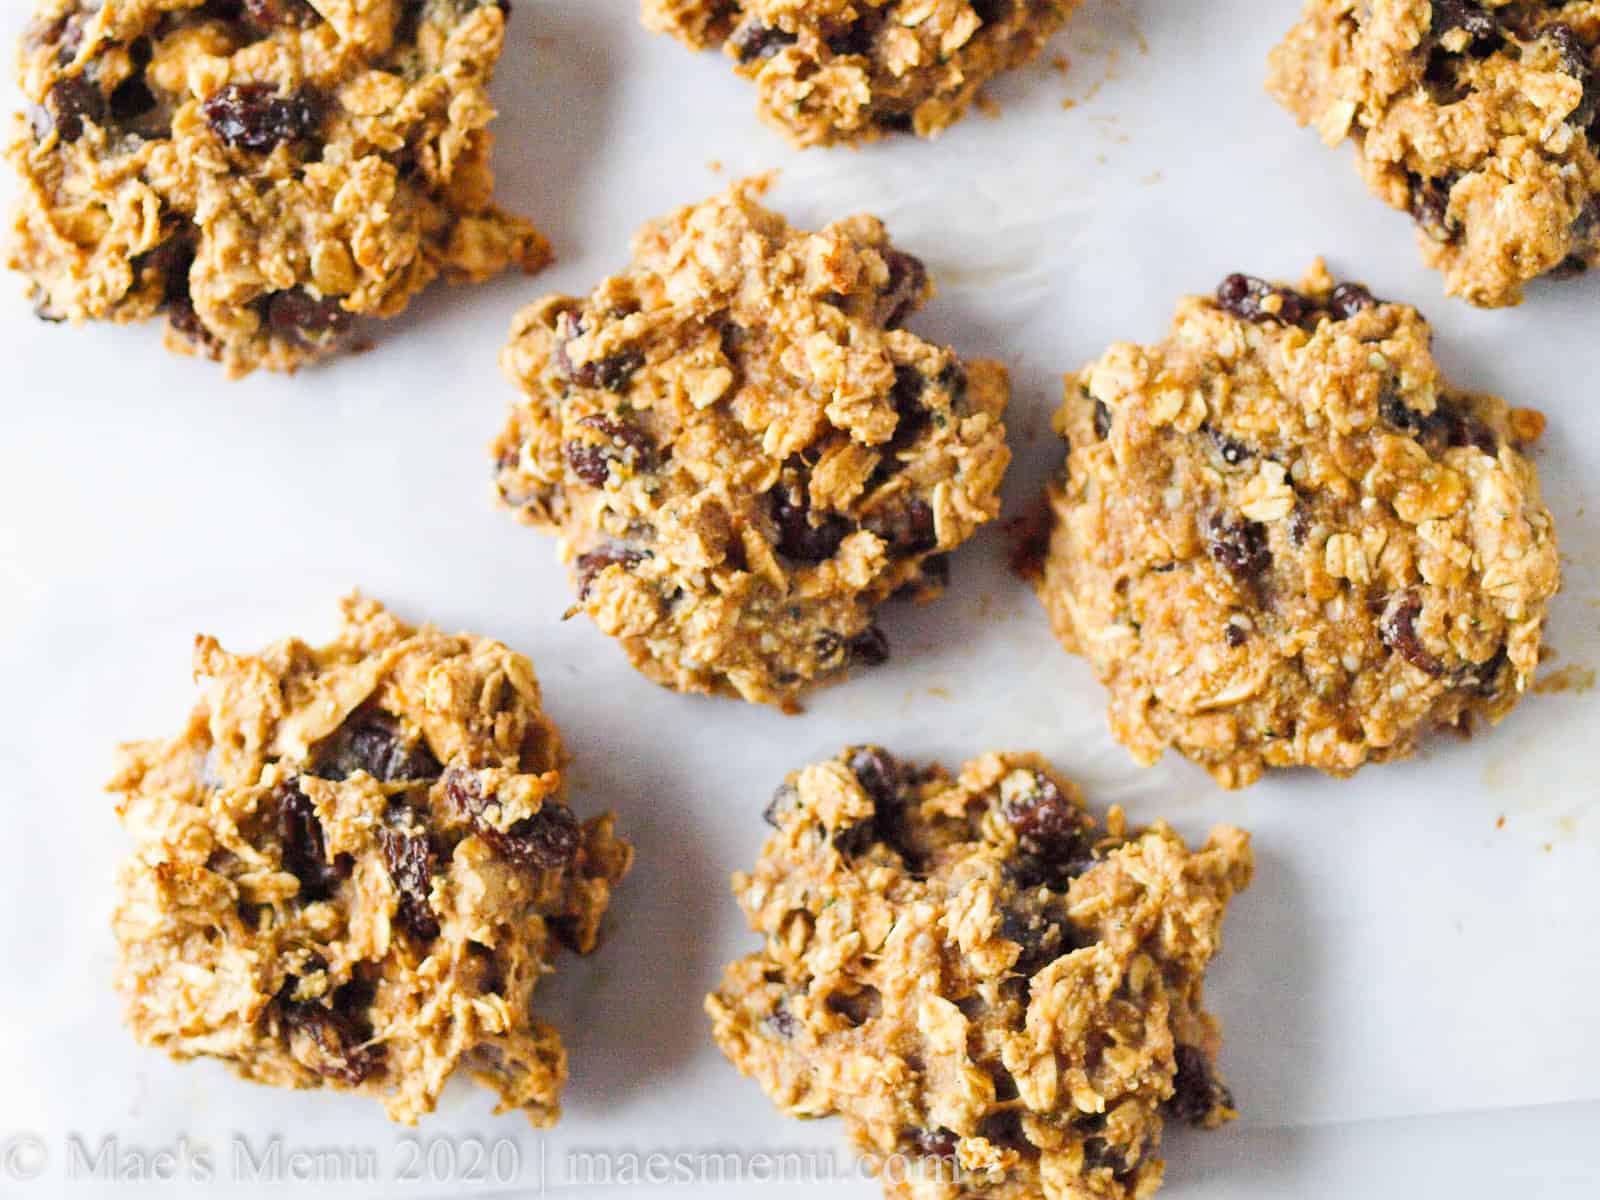
- Oat Protein Cookies
- Lemon Poke Cake
- Vegan Coffee Cake
- Gluten-Free Peach Cobbler
- Date Cake with Rum Toffee Sauce
- Gluten-Free Zucchini Bread
- Double Apple Cake (Gluten-Free!)
- Easy Fudgy Date Brownies (Gluten-Free!)
- Gluten-Free Spiced Pumpkin Muffins
Banana Oatmeal Cake Recipe (Gluten-Free & Lower Sugar!)
Ingredients
- ½ cup melted coconut oil
- 3 jumbo eggs
- 1 ½ teaspoon pure vanilla extract
- ¾ cup unsweetened almond milk
- 4 ½ large or about 3 ¼ cup overripe bananas
- ¾ cup granulated white sugar
- 1 teaspoon salt
- 1 ½ teaspoon ground cinnamon
- 2 ¼ teaspoon baking soda
- 3 ¾ cups + 1 ⅛ cup old fashioned oats DIVIDED
Frosting:
- ½ cup unsalted butter softened
- 8 oz. cream cheese softened
- ¾ teaspoon pure vanilla extract
- 4 cups powdered confectioner's sugar
Instructions
- Preheat the oven to 350 degrees Fahrenheit. Spray two 8” round cake pans with coconut oil spray or grease with coconut oil or butter.
- Add the coconut butter, eggs, vanilla, almond milk, bananas, sugar, salt, cinnamon, baking soda, and 3 ¾ cups oat to the blender in the order listed. Top the blender with the blender lid and run the blender on medium speed for about 1 minute, tamping down the blender as you go, or until the batter is smooth and creamy and the oats are blended in.
- Fold the additional 1 ⅛ cups oats into the batter (you can do this directly in the blender) with a rubber scraper or spatula until the oats are evenly distributed throughout the batter.
- Divide the batter between the two cake pans and bake for 33-36 minutes, or until the cakes are cooked through and a toothpick inserted into the center of the cake comes out clean.
- Let the cakes cool completely on a wire rack. Turn the cakes out of the pan and slice the dome off the top of one of the cakes so it’s leveled off and flat on top.
- Make the frosting: In the bowl of a stand mixer fitted with a whisk attachment, cream together the butter and cream cheese until they are light and fluffy, or about 30-45 seconds..
- Scrape down the sides of the bowl. Add the vanilla extract and powdered sugar and whisk, starting on a slow speed and building up, for 30 seconds - 1 minute, or until the frosting is thick and fluffy and holds its shape on the end of the whisk attachment. Scrape down the sides of the bowl and whisk for 10-15 seconds more.
- Transfer the frosting into a frosting bowl.
- Frost the cake: Spread 1-2 tablespoons of frosting on your cake stand or base. Place the cake that you leveled off on top of the frosting.
- Spread about ¾ cup of icing on top of the leveled cake, out to about ½” from the sides of the cake. Don’t worry if any of the crumbs are in the frosting.
- Evenly place the second cake on top of the base cake. Lightly coat the top and sides of the 2-tiered cake with a thin coating of icing (this is called the “crumb coating”). Don’t worry if any of the crumbs get in the frosting.
- Move the cake to the refrigerator and let chill for 15-25 minutes. This will help the crumb coating set.
- Remove the cake from the fridge. Spread the remaining of the frosting on the sides and top of the cake. Pipe a pattern on if you’d like, smooth out the sides, or leave it natural (like I did).
- Serve immediately or let the cake chill for 1-2 hours before serving. Enjoy!
Notes
Nutrition
Oat Protein Cookies
Easy Double Apple Cake (Gluten-Free!)
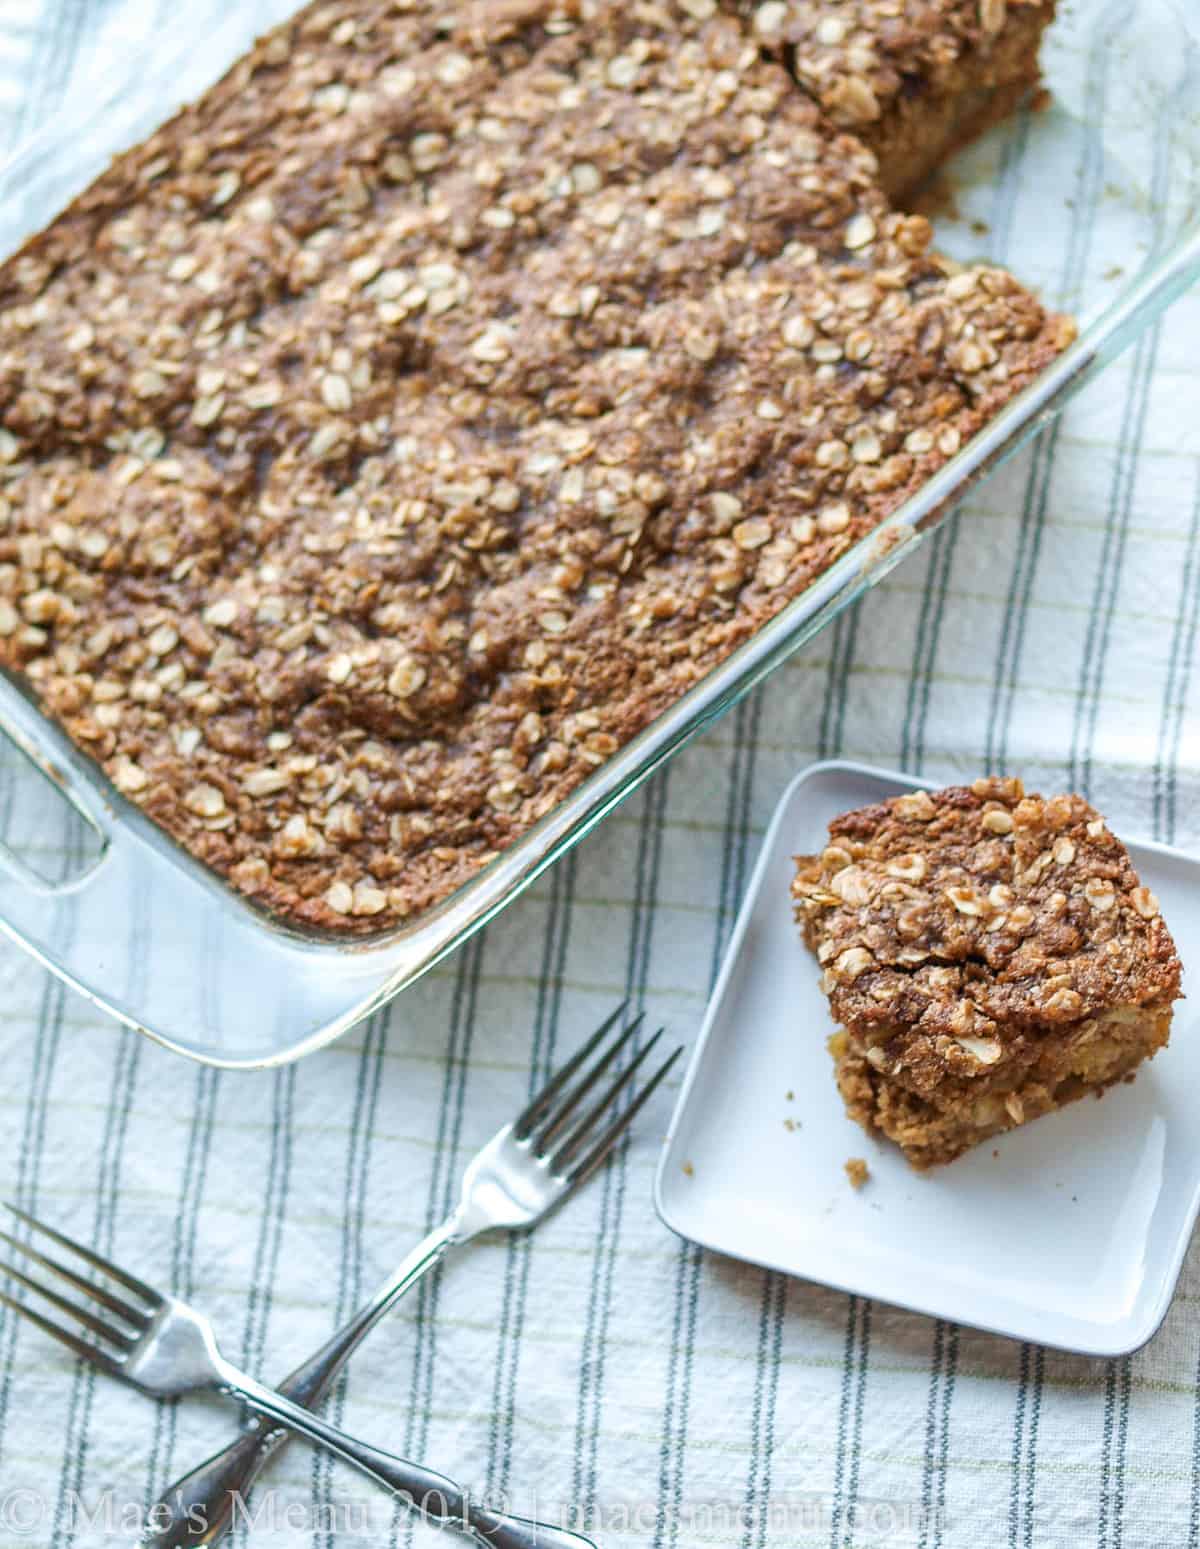
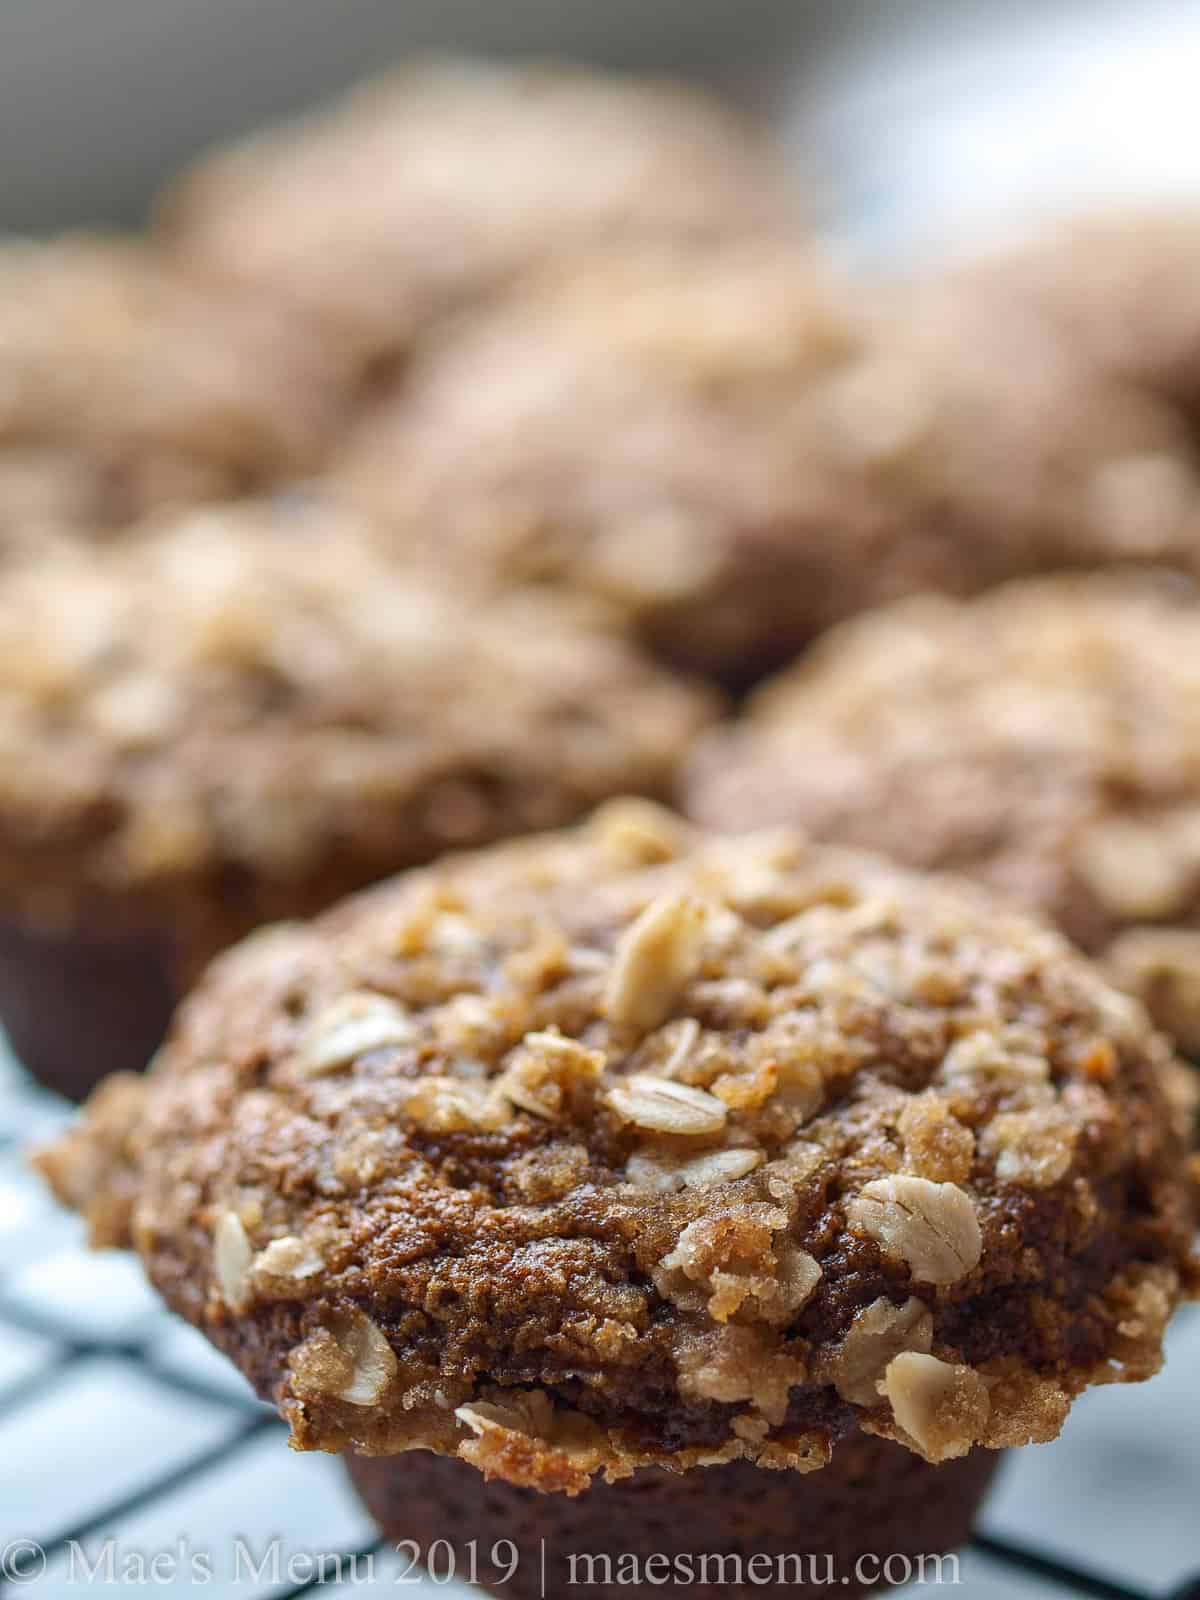
Easy Pumpkin Spice Blender Muffins (Gluten-Free!)
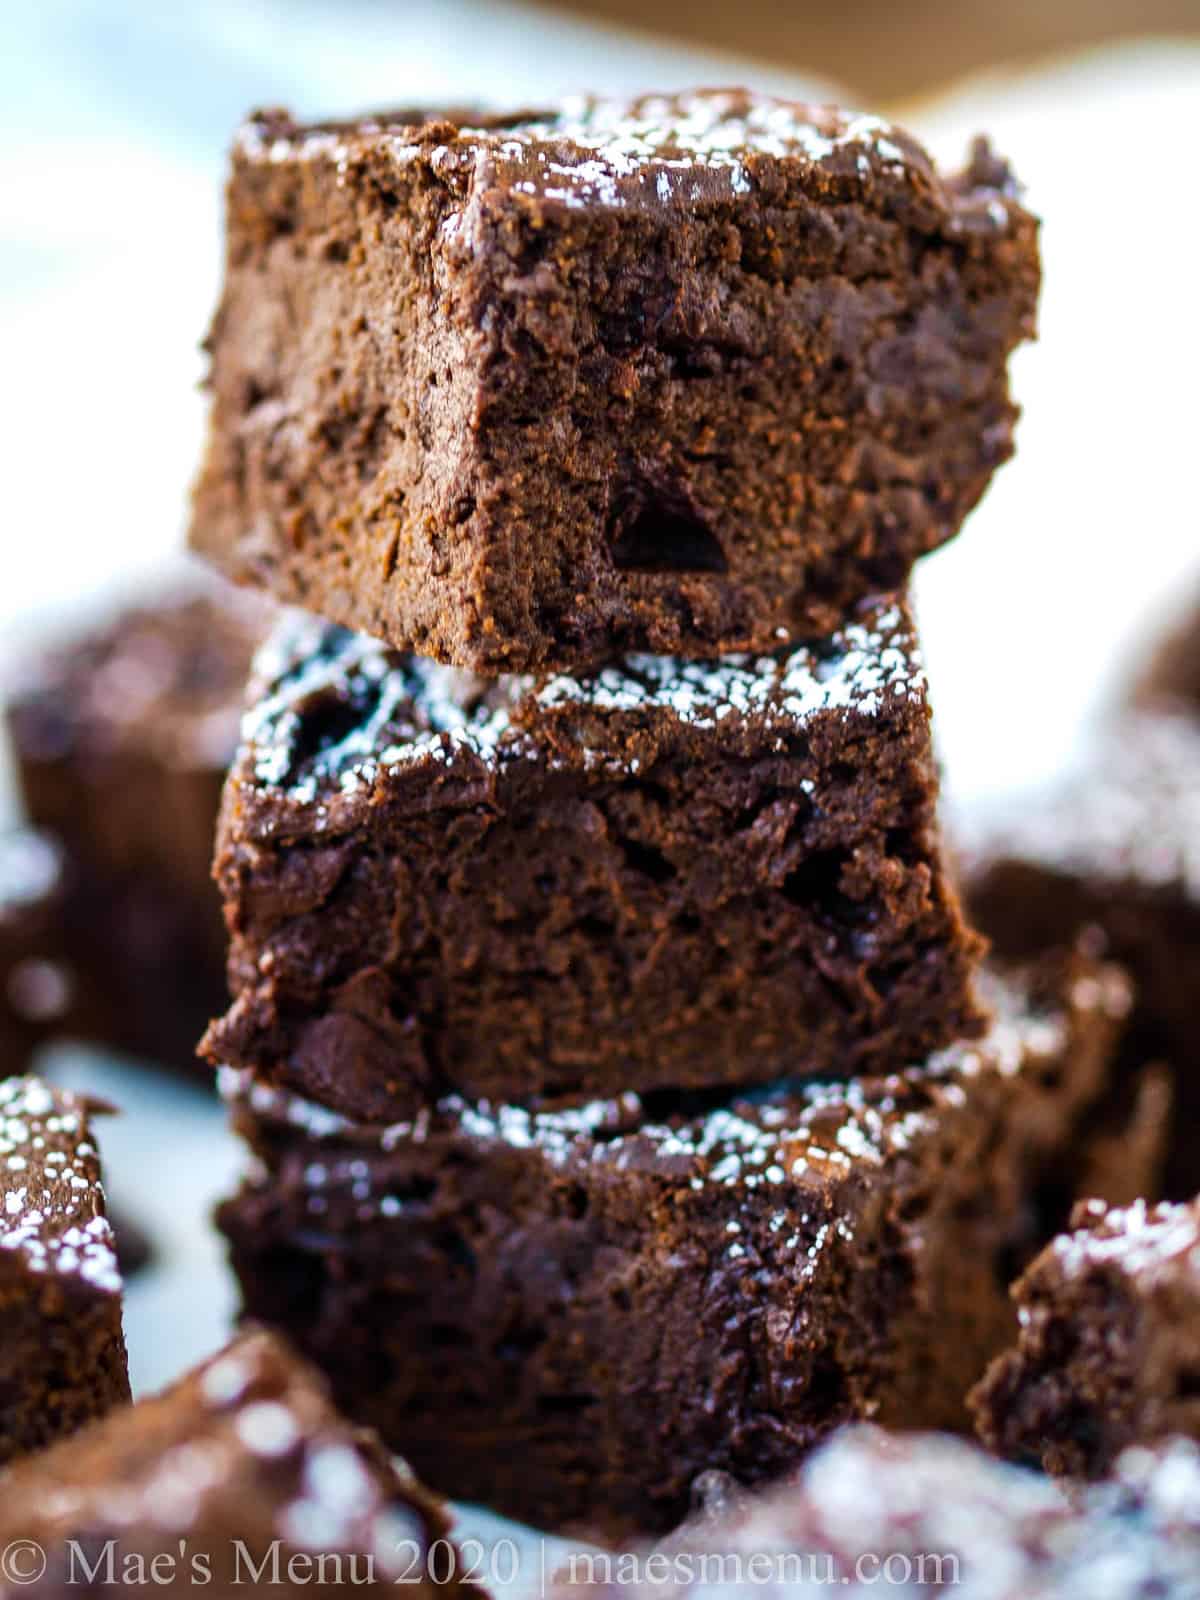
Easy Fudgy Date Brownies (Gluten-Free!)
Oatmeal Blender Pancakes (Gluten-Free!)


Hi. I just discovered and just made your no yeast bread. It's still cooling down. I saw this banana cake recipe. But wondering two things. First..as I don't want eggs, I was wondering if I could replace with yogurt as there is baking soda or flax eggs? Second out of curiosity, I understand that baking soda has to react with acidity to work..but I don't see any acid product like vinegar .etc..in your recipe..how is it rising? This question is to satisfy by apprentice baker curiosity.😊
Hi Mala,
Thanks so much for your comments! I hope you love the no yeast bread. 🙂
Great questions about the banana cake! I can't say for sure how it would work because I haven't personally tested it myself, but I recommend flax eggs over yogurt, as you need a binding agent for the cake.
Also, I use baking soda in the recipe because of the acid in the bananas. Great catch and question, though! An important distinction between baking soda and baking powder.
Best,
Chelsea
Wow!!! Super easy!! And yummy! This is a new favorite for my gluten free friends!
Hi Grace, so glad that you liked it! Thanks for sharing.
Best,
Chelsea
This is the best gluten-free cake I’ve ever had!!! Love the simple ingredients and the ease of using a blender! Amazing!
Hi Sarah!
Oh, I am so glad to hear it! It's an oldie but goodie recipe. 🙂 Thanks so much for reviewing and sharing!
All the best,
Chelsea