Cool off this summer with delicious, yet easy and Healthy Yogurt Popsicles! These family-friendly treats are ready in only 5 minutes (plus freezing time)!


This recipe was originally published June 23, 2020. It was most recently updated on July 7, 2021.
Just say "no" to the added high fructose corn syrup, dyes, and other hard to pronounce ingredients in store-bought popsicles Healthy Yogurt Popsicles! With just 4 easy steps and 4 ingredients, these family-friendly popsicles are ready in under 5 minutes (plus freezing time)!
In this post, I share the recipe, recipe pro-tips, serving suggestions, and more. To skip straight to the recipe, just click "jump to recipe" at the top left of this post. To browse the different sections of this post, just click the headings in the table of contents below.
Table of Contents

This post may contain affiliate links. As an Amazon Associate, I earn from qualifying purchases. Please see my disclosure policy for details.
Summer is heating up! Let's cool off with these creamy and dreamy yogurt popsicles! 😍
Made with all-fruit jam, plain yogurt (dairy or nut!), and a natural liquid sweetener (honey, maple syrup, etc.) , these processed sugar-free popsicles are easy to make, refreshing, and delicious.
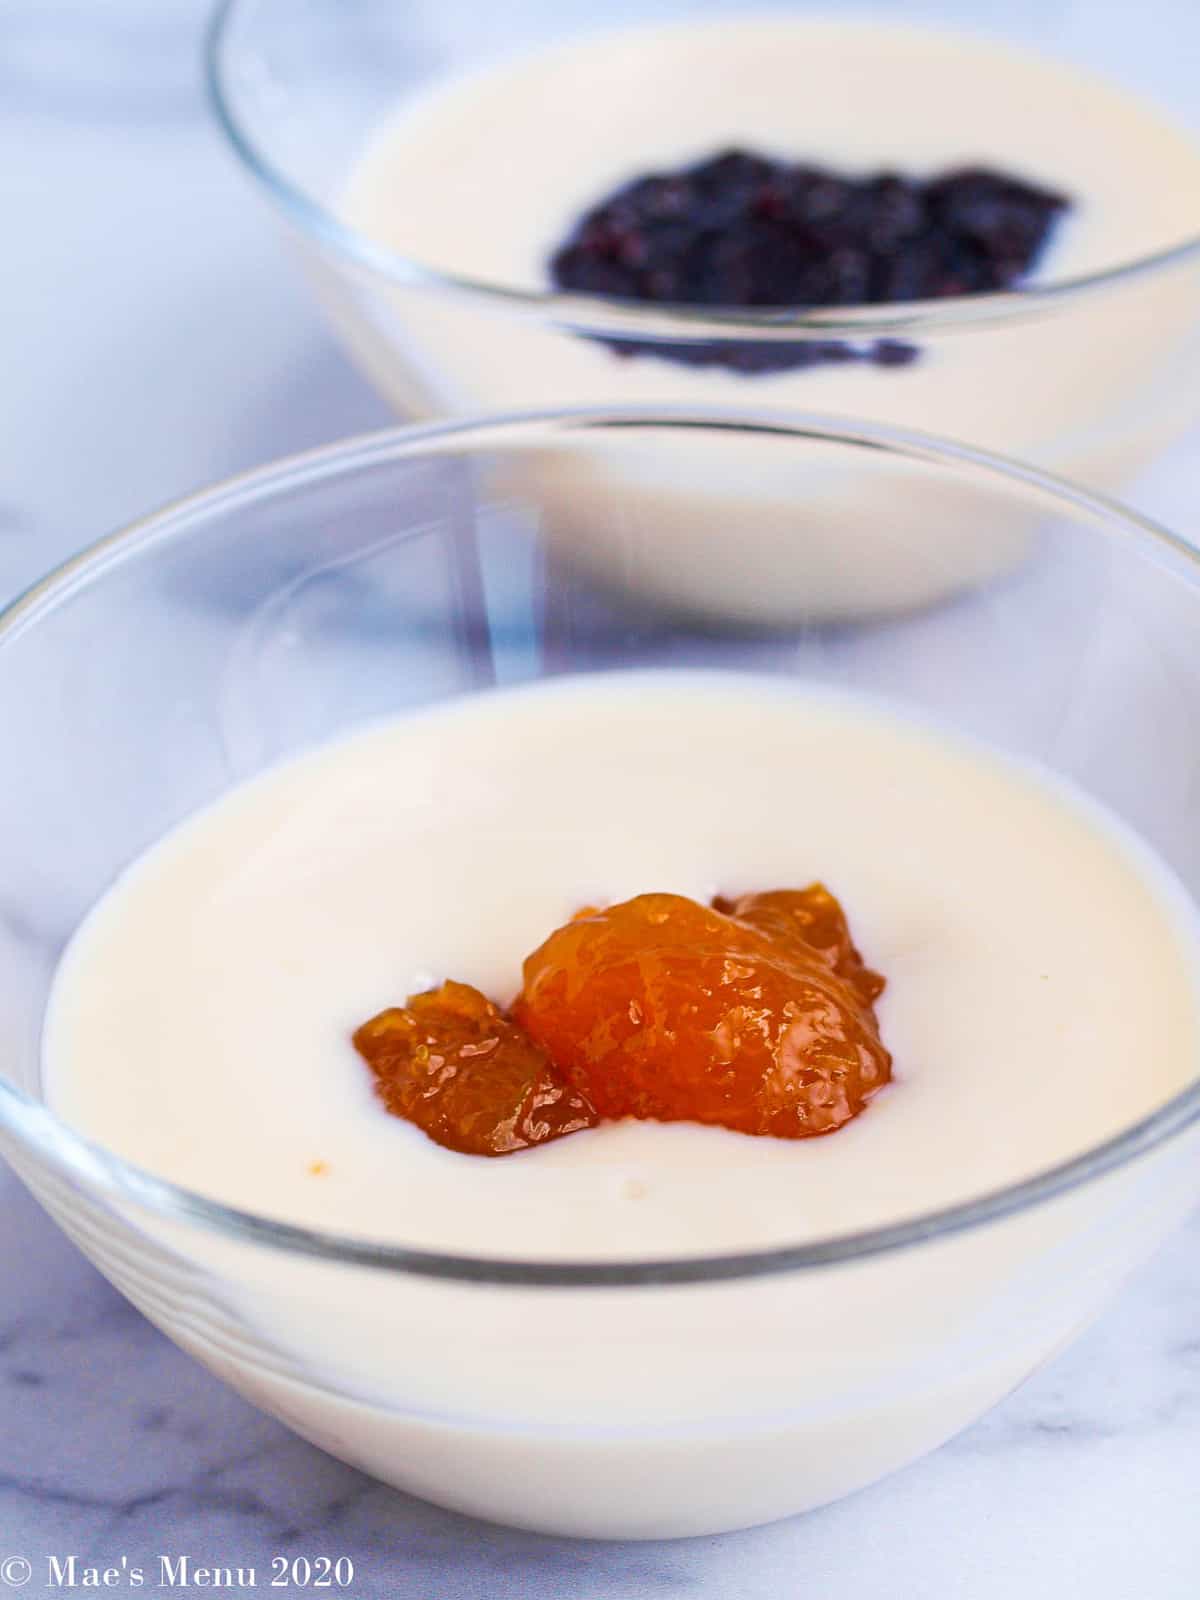
Choose your favorite jam for these popsicles or go for a selection of flavors for variety.
You don't need any expensive appliances for this recipe: just a mixing bowl, measuring cups, whisk or spatula, and popsicle molds.
Kids love helping make this yogurt popsicle recipe, too! With the simple steps and rewarding results, there isn't a lot for them to not like. Parents will like that they're low in sugar and full of good-for-you ingredients, as well.
Serve these popsicles at your next pool party, 4th of July party, or just because on a warm afternoon. They'll be sure to be a hit!

These healthy popsicles are...
- Creamy
- Cooling
- Naturally sweet
- Ready in just 5 minutes (plus freezing time)!
... and just begging to be added to your summer snack repetoire!
Ingredients
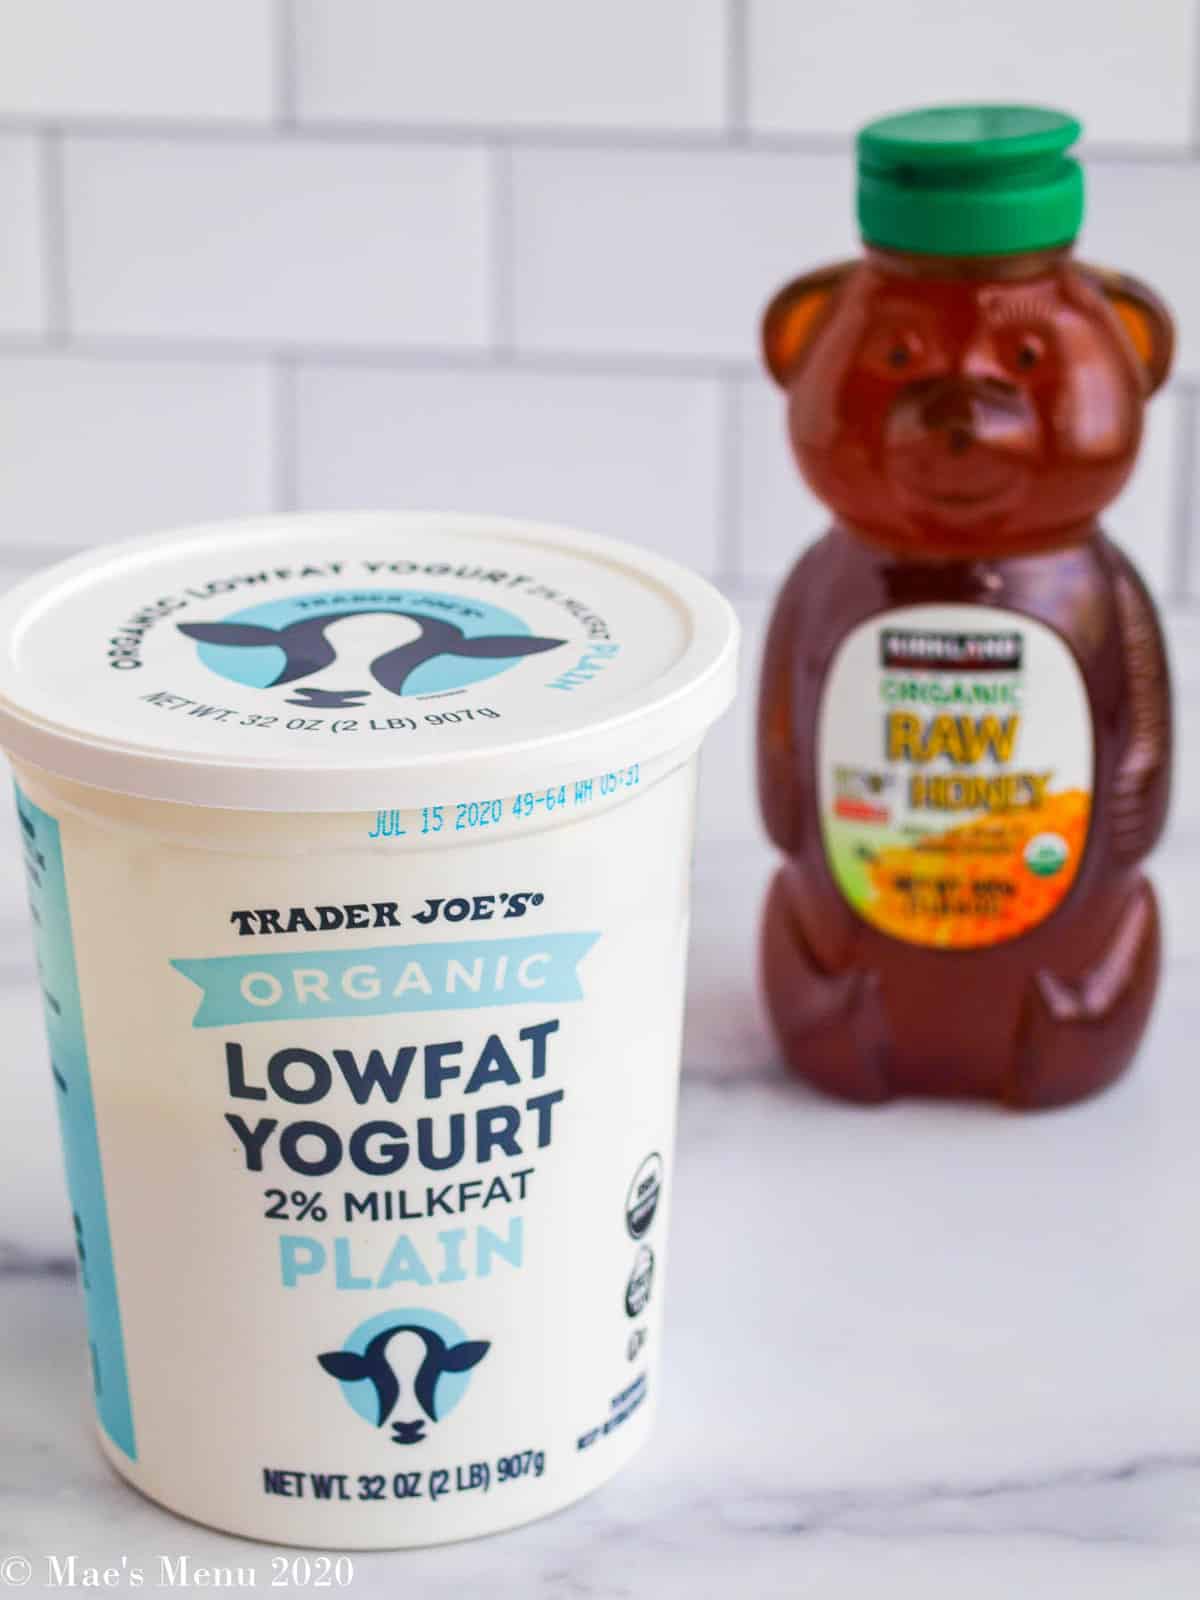
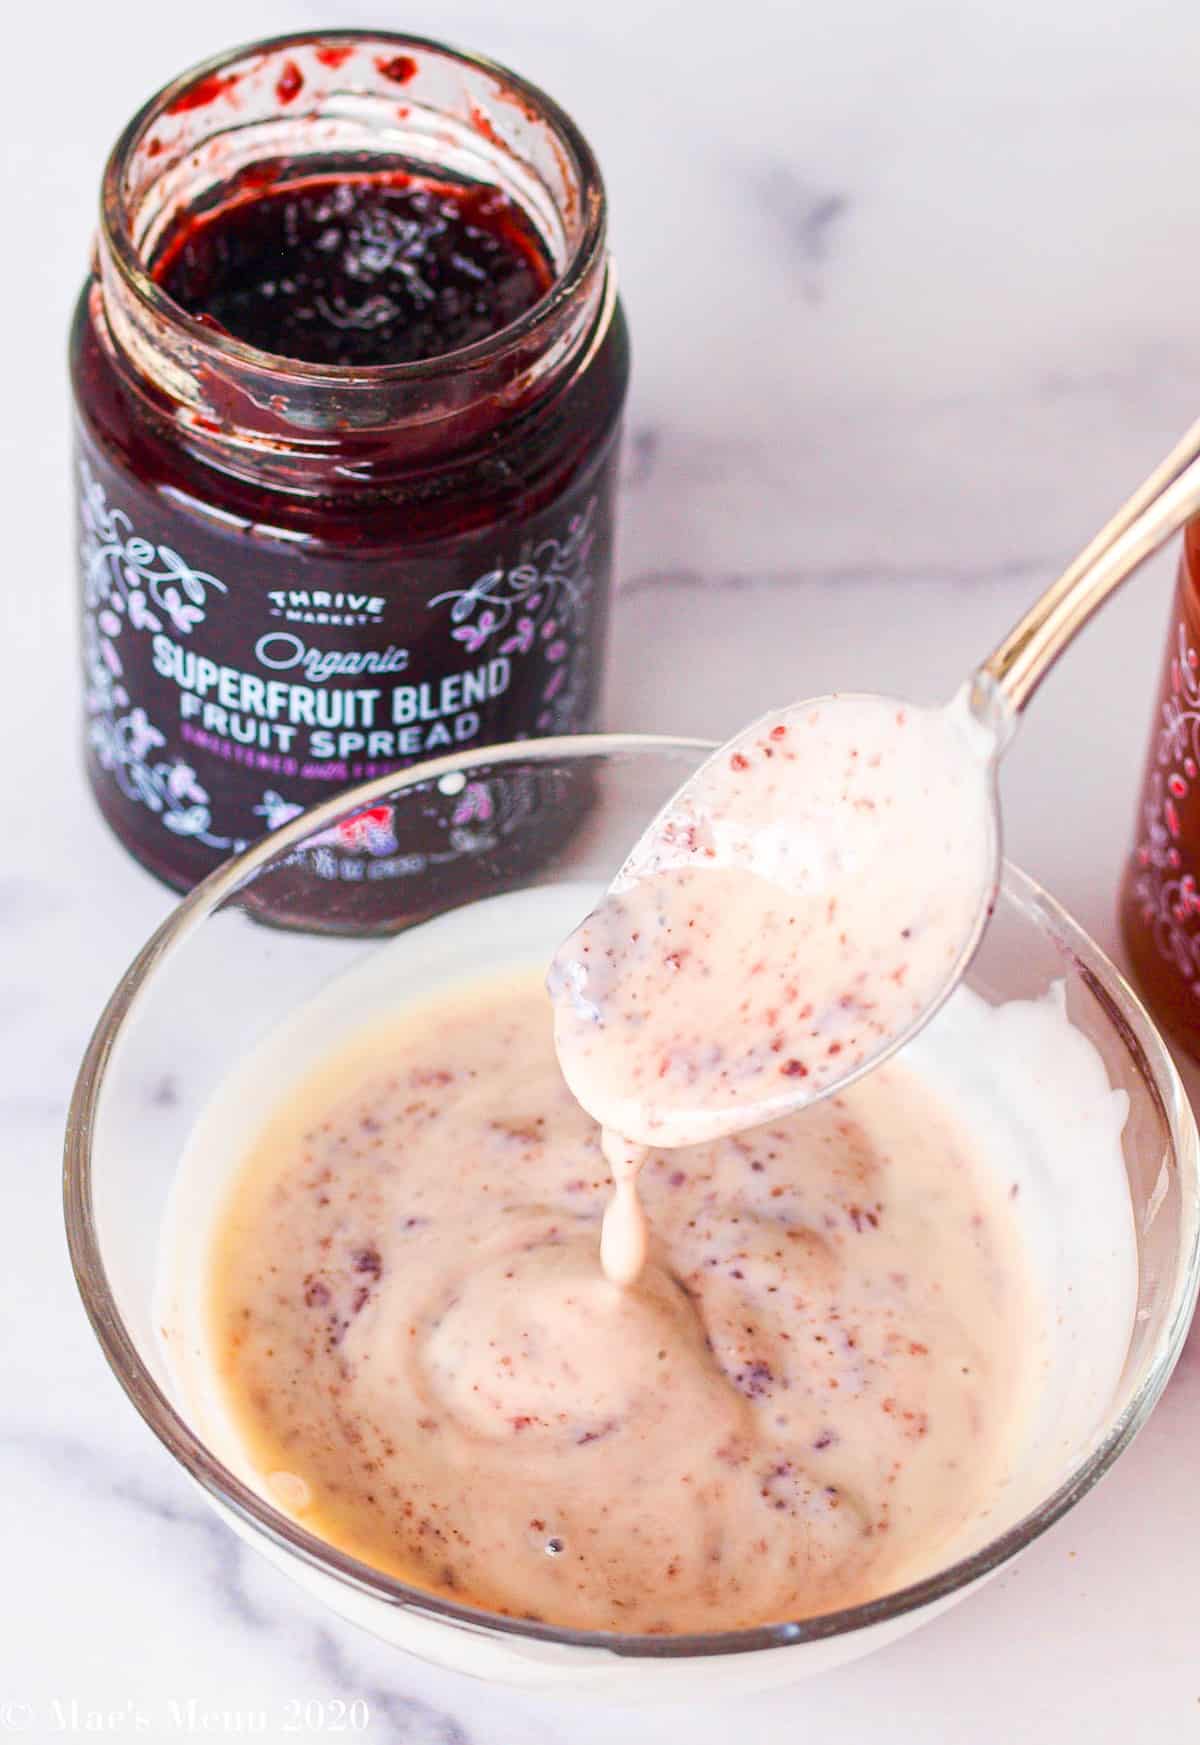
- Fruit spread, preserves, or jam - 100% fruit; no sugar added preferably. I love Thrive Market's jam.
- Unsweetened plain yogurt -- dairy, nut yogurt, or even coconut yogurt work! If you use dairy milk, choose 2% or whole milk yogurt for the best results.
- Natural liquid sweetener -- maple syrup, honey, or agave
Substitutions
- Yogurt -- vanilla yogurt can work in place of plain yogurt. You will likely want to reduce your sweetener to 1-1 ½ tablespoons, however.
- Chia jam -- chia jam can substitute for the traditional jam. If your jam isn't strongly sweetened, you'll probably want to use more than 3 tablespoons of the honey or maple syrup.

How to make healthy yogurt popsicles
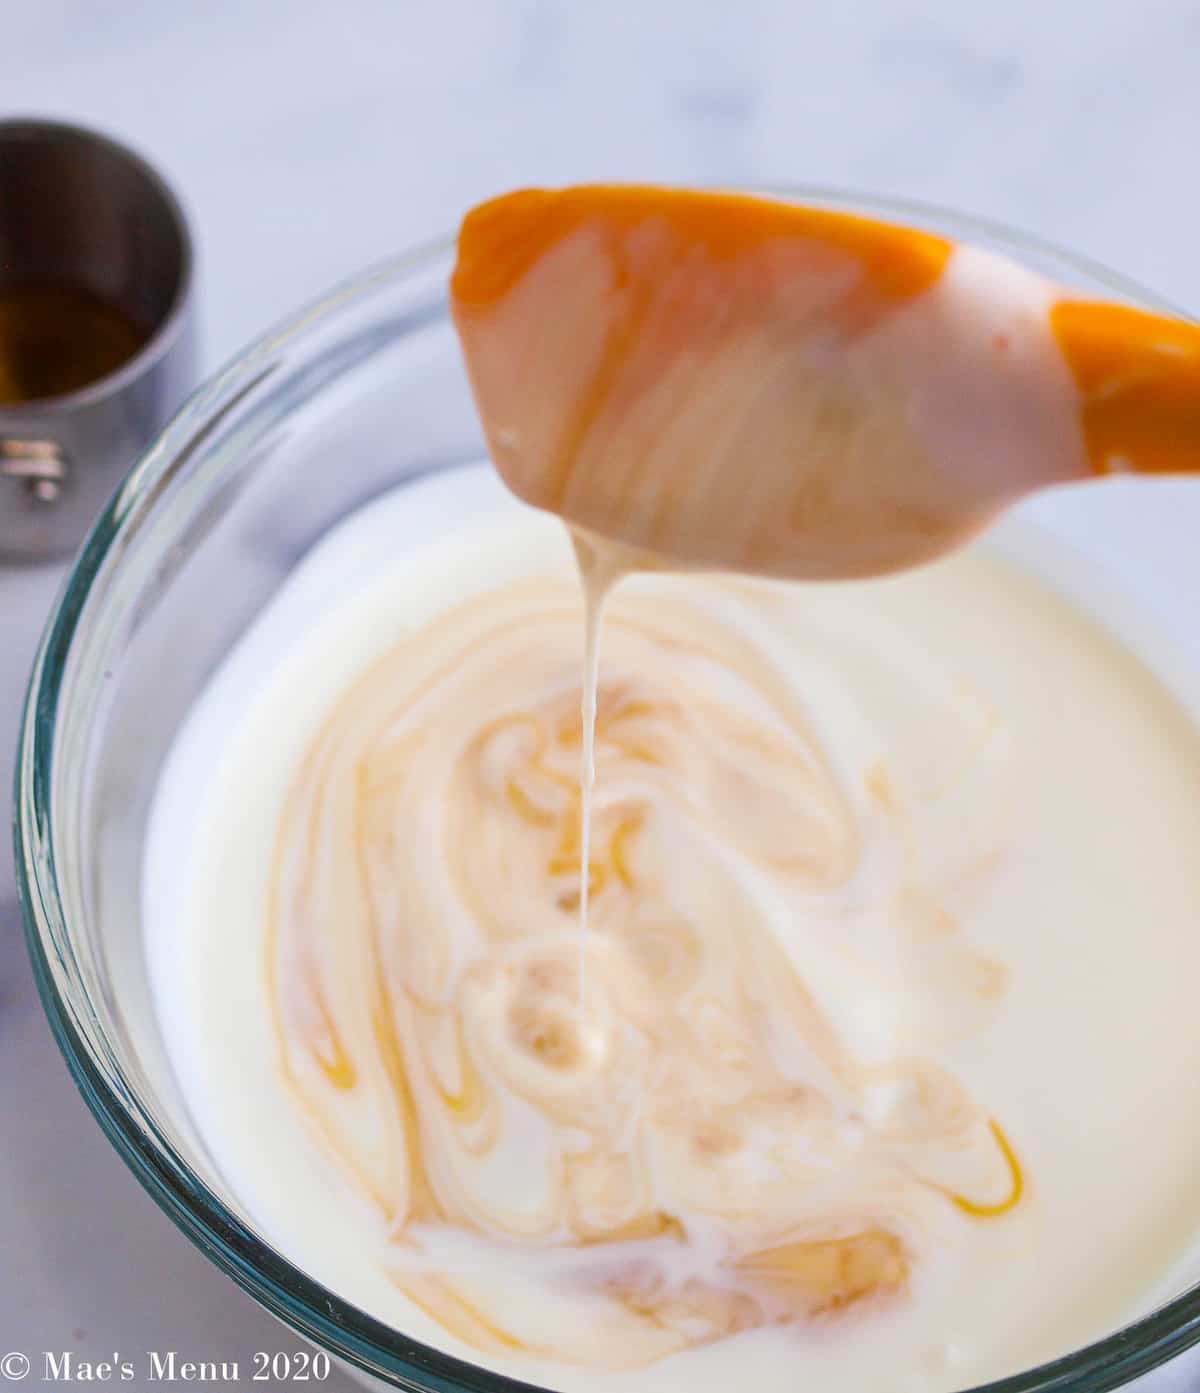
- In a medium-sized mixing bowl, stir together the yogurt and liquid sweetener until combined.
- Add the jam or fruit spread to the yogurt and gently mix in until the jam is evenly distributed through the yogurt. If making multiple popsicle flavors, divide the yogurt between different bowls before mixing in the jam.
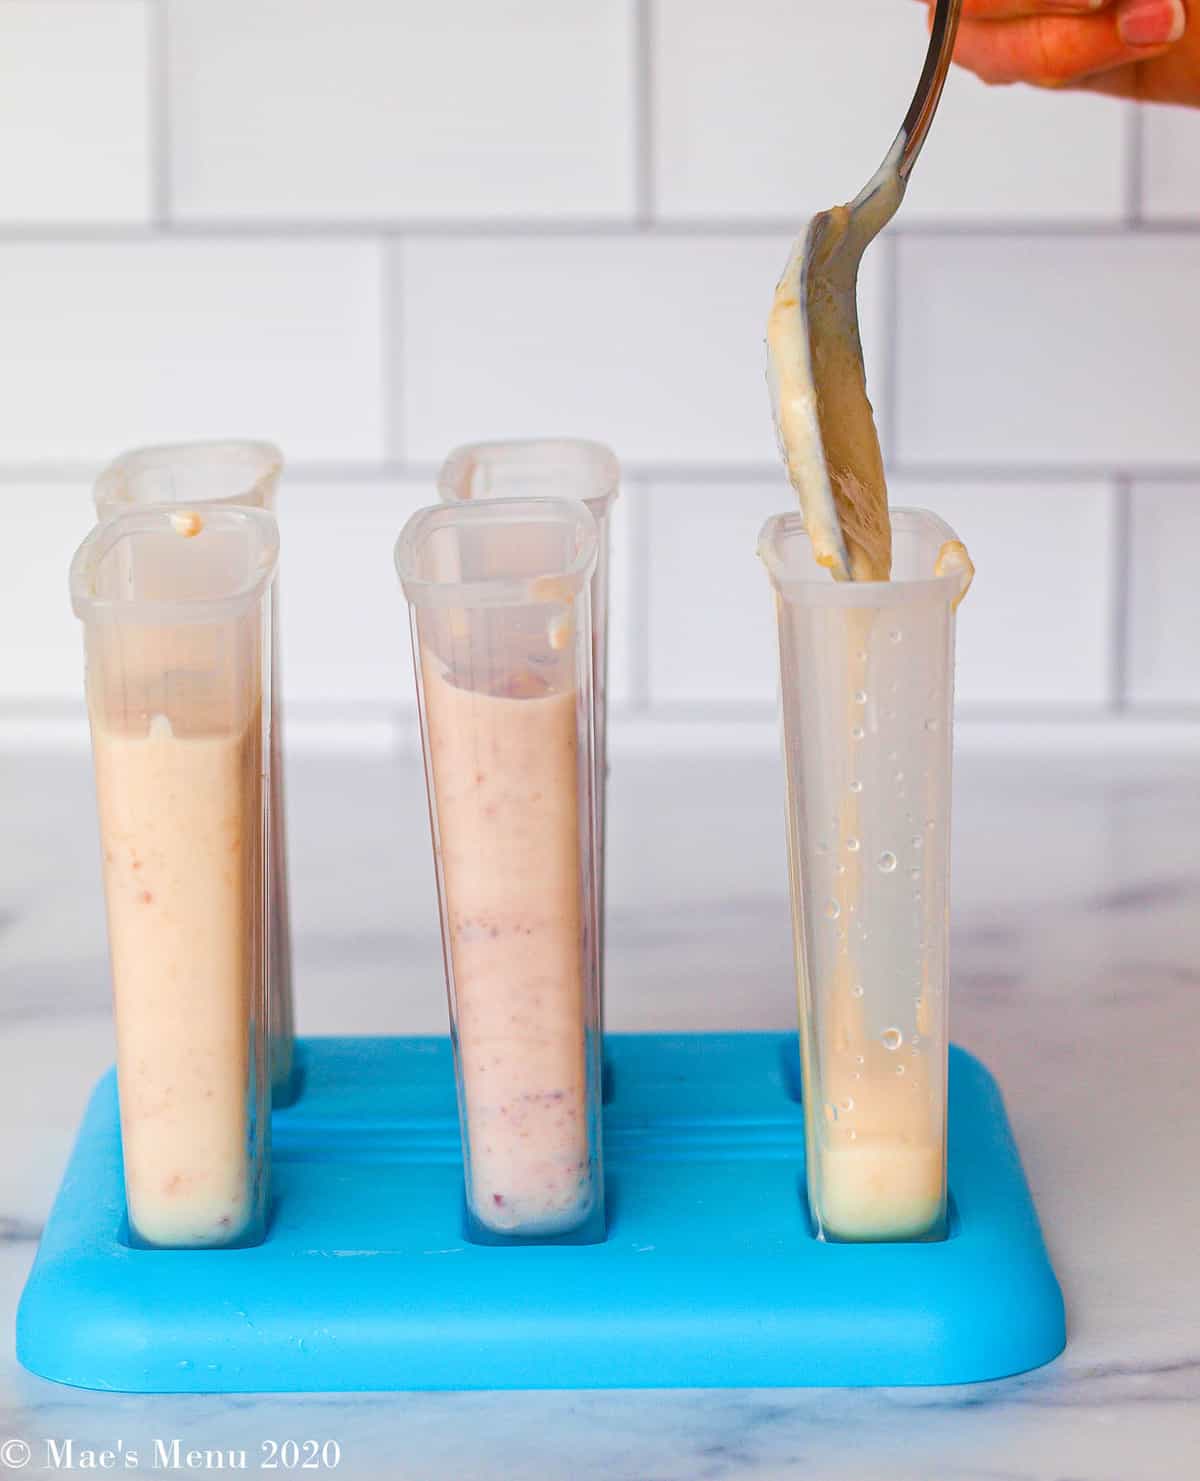
- Carefully spoon or funnel the yogurt into the popsicle molds.
- Add the popsicle sticks to the molds and move the popsicles to the freezer. Freeze the popsicles for 4-6 hours, or until frozen.

Recipe pro-tips
- Make the popsicles ahead of time - these popsicles will take at least 4 hours to freeze, if not 6 hours. I recommend making them at least the night before or early morning before you plan on enjoying them.
- Warm the jam to make it easier to stir in - if your jam is too thick to spread it warm it slightly in the microwave before stirring it into the yogurt. 50% heat for 20-30 seconds should do the trick.
- Read the jam labeling - not all jam is processed sugar-free so you will want to check out the label if this is a concern for you. All-fruit jam, fruit juice sweetened fruit spread, fruit spread, or sugar-free jam will keep this recipe free of processed sugar. Thrive Market's fruit spread is processed sugar-free and organic!
- Adjust the sweetener to taste - start by mixing in the lower amount of sweetener, sample the mixture, and mix in more to your liking.

FAQs
To remove a popsicle from the mold, just run the frozen mold under lukewarm water for 15-45 seconds, or until the popsicle releases with a gentle tug from the mold. If it still won't release, rinse the mold under lukewarm water again until it has a clean release.
Yes, you can use Greek yogurt to make these popsicles. Just follow the recipe as directed, substituting Greek yogurt for plain yogurt. The thicker yogurt will give the popsicles a slightly firmer texture and will add more protein to them.
You can often find popsicle molds at Target, other general merchandise big box stores, or on Amazon!
You will know if the popsicles are frozen through when the popsicle stick doesn't budget when you tap it on the side. Furthermore, if the popsicle breaks into two or isn't firm enough to release from the mold, it is not frozen through.
Here's how to make homemade popsicle molds: pour the yogurt mix into paper cups. Place food-safe wooden popsicle sticks in the center of the yogurt. Freeze the popsicles for 4-6 hours. Remove the popsicles from the freezer, peel the paper cup off the popsicles, and enjoy!
Recommended jam flavors for this recipe
This recipe is pretty flexible so you can use your favorite flavor of fruit spread. Here are some of my favorites:
- Blueberry
- Blackberry
- Peach
- Strawberry
- Mixed berry
- Cherry
- Pineapple
- Apricot
- Raspberry
You can even use orange marmalade or lemon curd in this recipe, but either will likely add processed sugar to the recipe.
Storage directions
Popsicles keep frozen in the molds for 1-2 months. You can also remove the popsicles from the molds and then freeze them in a gallon-size freezer-safe container for 1-2 months.
If freezing in a freezer-safe bag, just move them to the bag quickly so they don't melt and then freeze back together when they are back in the freezer.
Save this Recipe for Later on Pinterest

Tools needed to make this recipe
More healthy summer sweets and treats
- Gluten-Free Peach Cobbler
- Mango Popsicles
- Protein Popsicles
- Coconut Date Energy Balls
- Blueberry & Peach Crisp (Gluten-Free & Vegan!)
- Peanut Butter & Jelly Larabars

Healthy Yogurt Popsicles
Cool off this summer with delicious, yet easy and Healthy Yogurt Popsicles! These family-friendly treats only take 3 ingredients and have no processed sugar!
Use whichever type of yogurt (dairy, nut, coconut, etc.) you prefer and check your fruit spread or preserves bottle for added processed sugar to keep this popsicles processed sugar-free! Adjust the amount of sweetener in the recipe to our taste.Ingredients
- 1 ¾ cup 2% or whole milk plain yogurt or nut milk yogurt
- 3 - 4 tablespoons maple syrup agave, or honey
- ⅓ cup 100% fruit spread or jam of choice
Instructions
- In a medium-sized mixing bowl, stir together the yogurt and maple syrup, honey, or agave until combined.
- Fold the jam into the yogurt mixture until combined.
- Carefully spoon ⅓ cup of the yogurt into each of popsicle molds.
- Place the handles on top of the popsicle molds or the wooden sticks in the popsicles and freeze for 4-6 hours, or until the popsicles are frozen through.
Notes
- To make these popsicles vegan, use a non-dairy yogurt and maple syrup or agave.
- To make multiple flavors of these popsicles, divide the sweetened honey between small mixing bowls and then stir in different flavors of jam into each mixing bowl.
- To pop the popsicles out of the molds, run lukewarm water over the outside of the mold or until the popsicle releases with a gentle tug from the mold. If it still won't release, rinse the mold under lukewarm water again until it has a clean release.
- These popsicles last in the freezer for up to 2 months. You can also remove the popsicles from the molds and then freeze them in a gallon-size freezer-safe container for 1-2 months.
- If the jam is chunky doesn't mix easily, just pop the jam in the microwave on 50% heat for 20-30 seconds, or until it liquifies, and then fold it into the yogurt.
- Greek yogurt can substitute for the plain yogurt.

