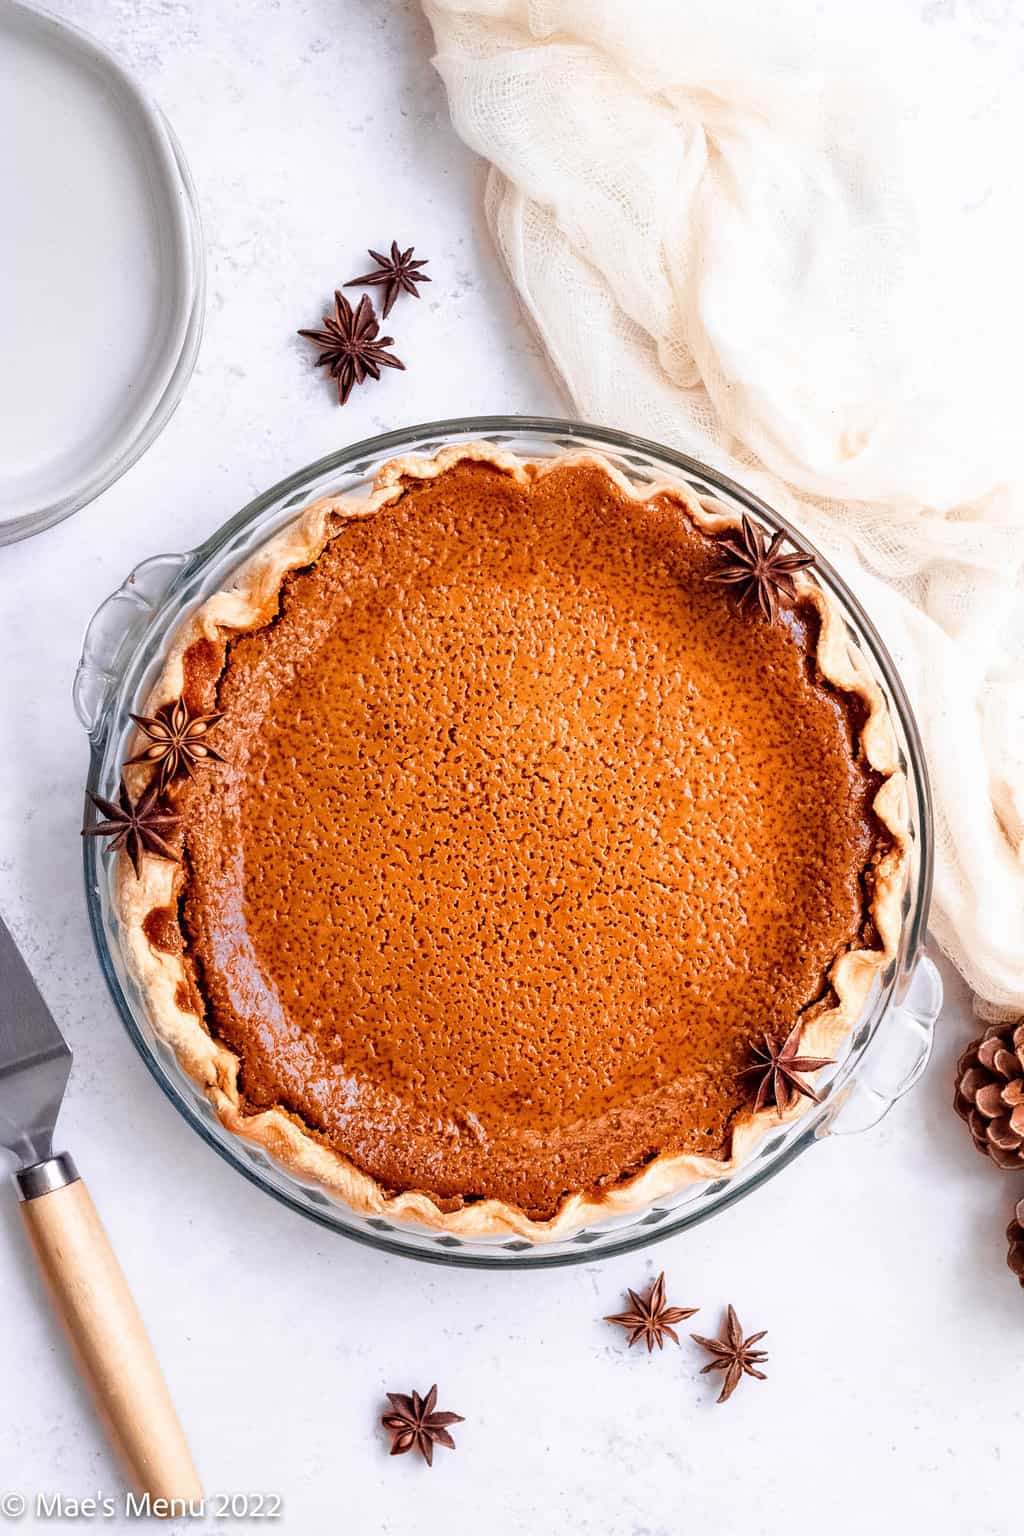
You'll never miss dairy with this pumpkin pie made with coconut milk! With a luscious and rich filling, this non-dairy pumpkin pie recipe will be a hit even with dairy eaters!
This recipe was originally published in November 2019. It was updated with new photos and recipe information July 2022.
This post may contain affiliate links. As an Amazon Associate, I earn from qualifying purchases. Please see my disclosure policy for details.
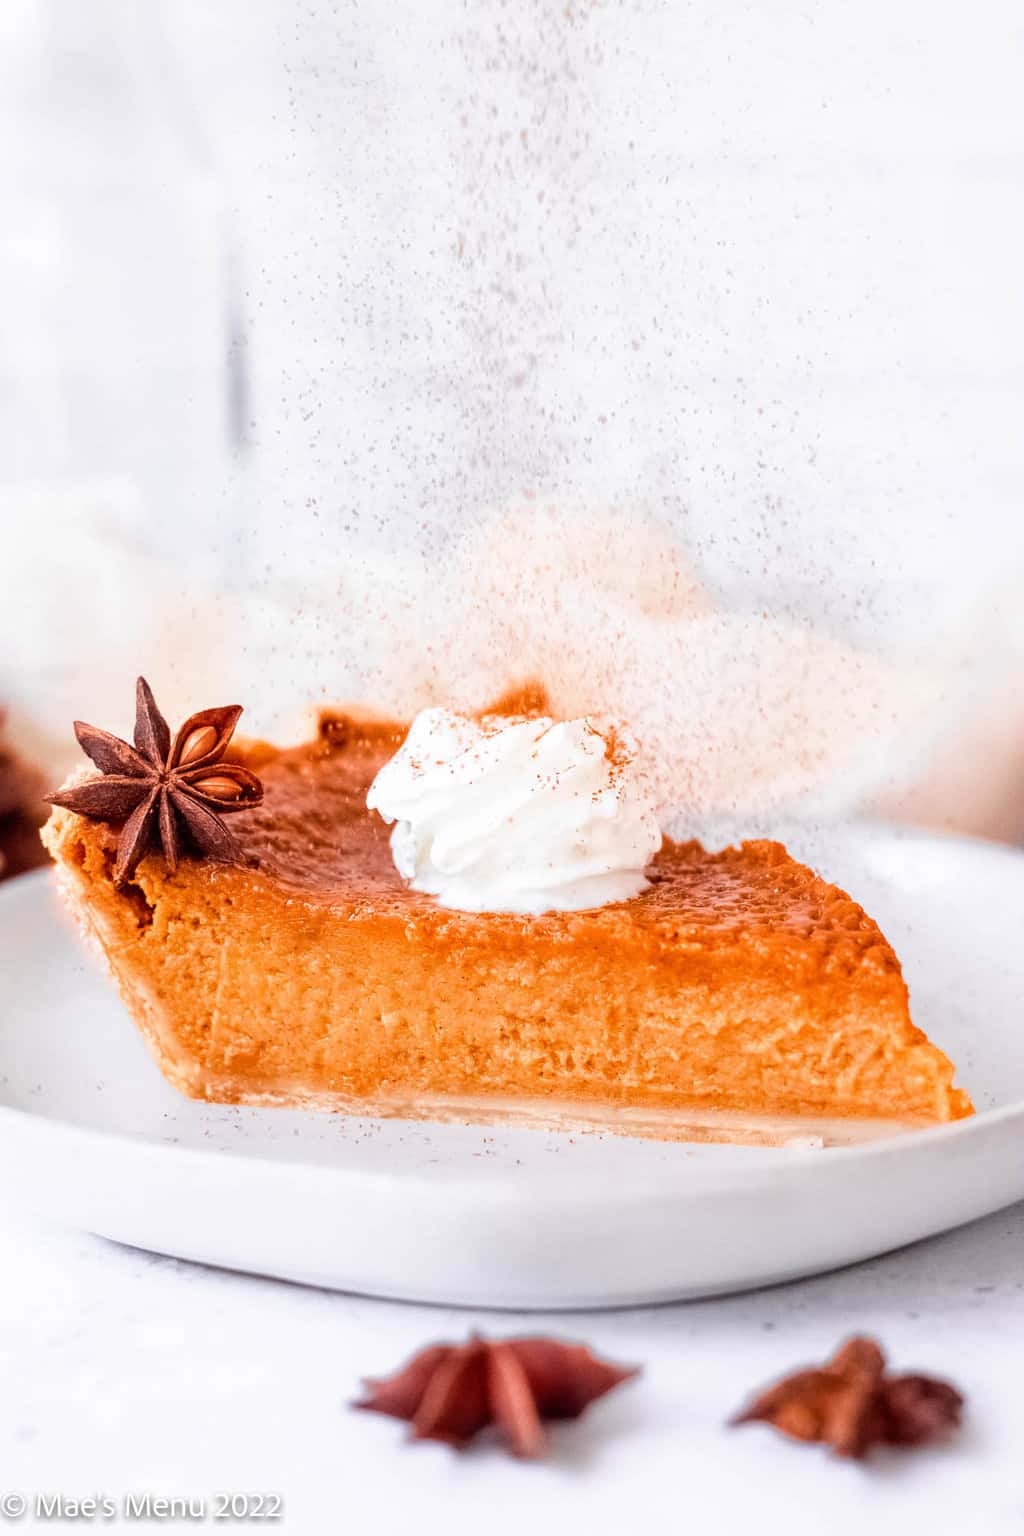
If you've been dairy free for any period of time, you know how tricky it can be to navigate life avoiding lactose! Especially when it comes to desserts. It seems that lactose or dairy is even in the most unsuspecting of foods.
There is no other time that dairy seems so omnipresent as it does at the holidays. Almost every dish at the typical Thanksgiving or Christmas table abounds with milk, cream, cheese, butter, or a combination of all of the above.
This year, make a pumpkin pie recipe that everyone will love and you'll be able to stomach! This pumpkin pie recipe is made without condensed milk or evaporated milk but still has all the flavor, plus some!
Save this pumpkin pie recipe for later on Pinterest:
Why you will love this dairy-free pumpkin pie recipe:
- Rich & silky - this dairy-free pumpkin pie filling is nothing short of spectacular! I would even go as far to argue that it is richer than your classic pumpkin pie made with evaporated milk. Coconut milk, brown sugar, and a touch of lemon zest combine to create a texture and flavor experience that is out of this world.
- Smooth and light - since the pie filling calls for a touch of flour to thicken it up, we'll add in a small amount of baking powder to keep the pumpkin from getting too dense. The result? A light and dreamy filling that has converted even non-pumpkin pie eating folks!
- Full of pumpkin flavor & warm spices - with a generous addition of pumpkin pie seasoning and brown sugar, this pumpkin pie flavor is warm, spicy, and dimensional with hints of molasses and citrus. It truly is one-of-a-kind!
Looking for more dairy-free Thanksgiving recipes? Then, check out my dairy-free cornbread, mashed butternut squash, blistered green beans, candied whipped sweet potatoes, and dairy-free pumpkin banana muffins (easy dairy-free adaptations available!).
Ingredients
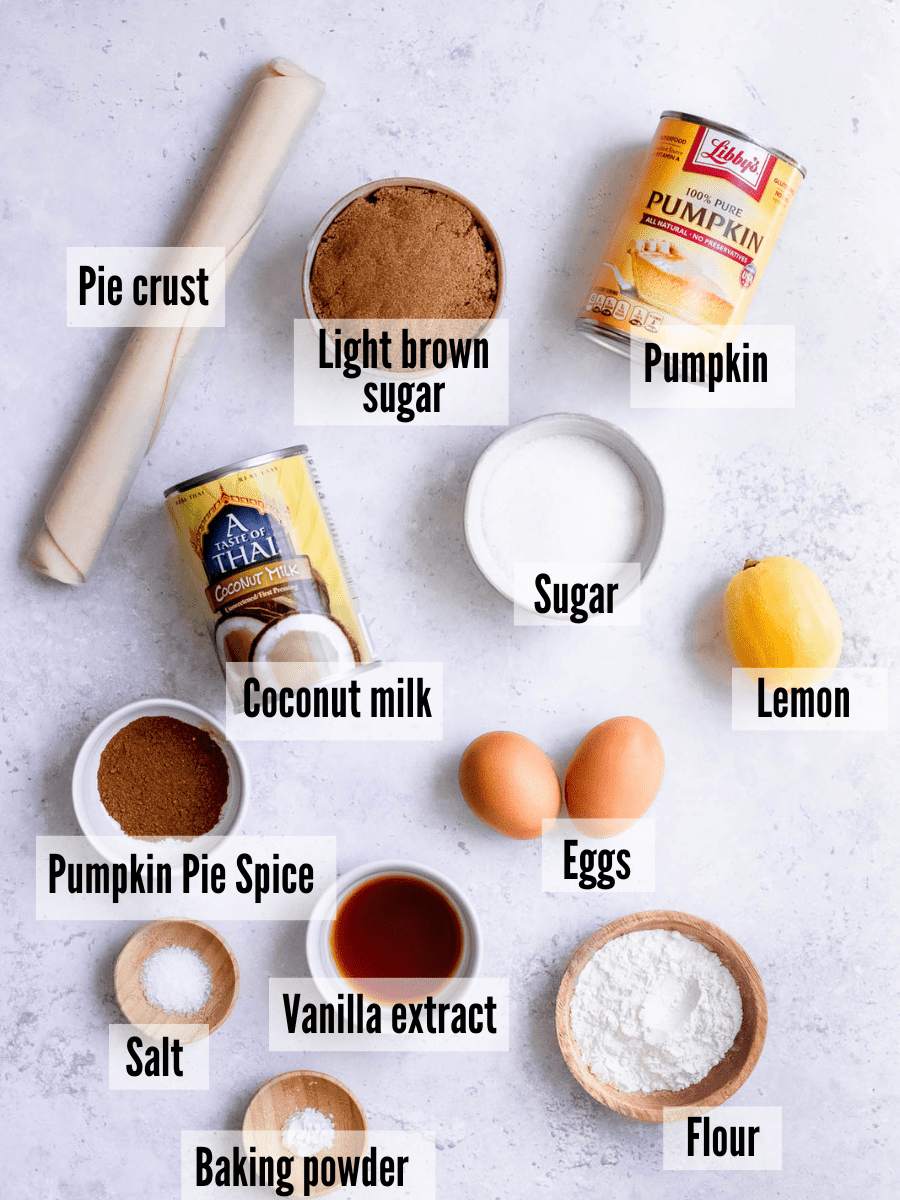
This coconut milk pumpkin pie is chockfull of delicious, yet easy to find ingredients:
- Canned pumpkin puree: want pure pumpkin pie puree, not pumpkin pie filling.
- Coconut milk: full-fat coconut milk is best for this recipe. Light coconut milk will leave the filling too thin and coconut cream will make the filling too heavy and thick.
- Eggs: binds the pie filling together as it bakes.
- Light brown sugar: adds a rich molasses flavor to the pumpkin pie filling.
- Granulated sugar: adds sweetness.
- Pumpkin pie spice: what is a pumpkin pie without this classic spice? It adds that classic savory and warm dimension we know and love!
- Baking powder: just a touch adds a lightness to the pie filling that I can't get enough of.
- Lemon zest: my secret ingredient! Lemon zest may sound unorthodox or even weird, but trust me on this: it adds a memorable dimension to the filling without overpowering the filling with lemon flavor.
- All-purpose flour: if you are also gluten-free or limiting your gluten, you can also use 1-to-1 gluten-free flour (you'll also want to use a gluten-free crust-- see my notes below!).
Options for our dairy-eating friends:
If you are not avoiding dairy, this recipe can also be made by substituting the same amount of half & half or evaporated milk for the coconut milk. Even if you do eat dairy, however, I recommend trying this pumpkin pie with coconut milk first. The flavor is so delicious you'll likely never miss the dairy!
Using a dairy-free pie crust:
In order to keep this recipe completely dairy-free, you will want to make sure that you use a dairy-free pie crust. You can do this by making your own homemade pie crust with shortening, or you can purchase a dairy-free pre-made pie crust.
If purchasing a pre-made frozen or refrigerated pie crust, know that not all crusts are dairy-free, so you will want to double check the ingredients label before purchasing. You can also just purchase a vegan pie crust, or one of these dairy-free pie crusts.
A note on gluten-free pie crusts: if you are gluten-free and would like to make a dairy-free and gluten-free pumpkin pie, you can make such a pie using the pumpkin pie filling below with a homemade gluten-free and vegan pie crust.
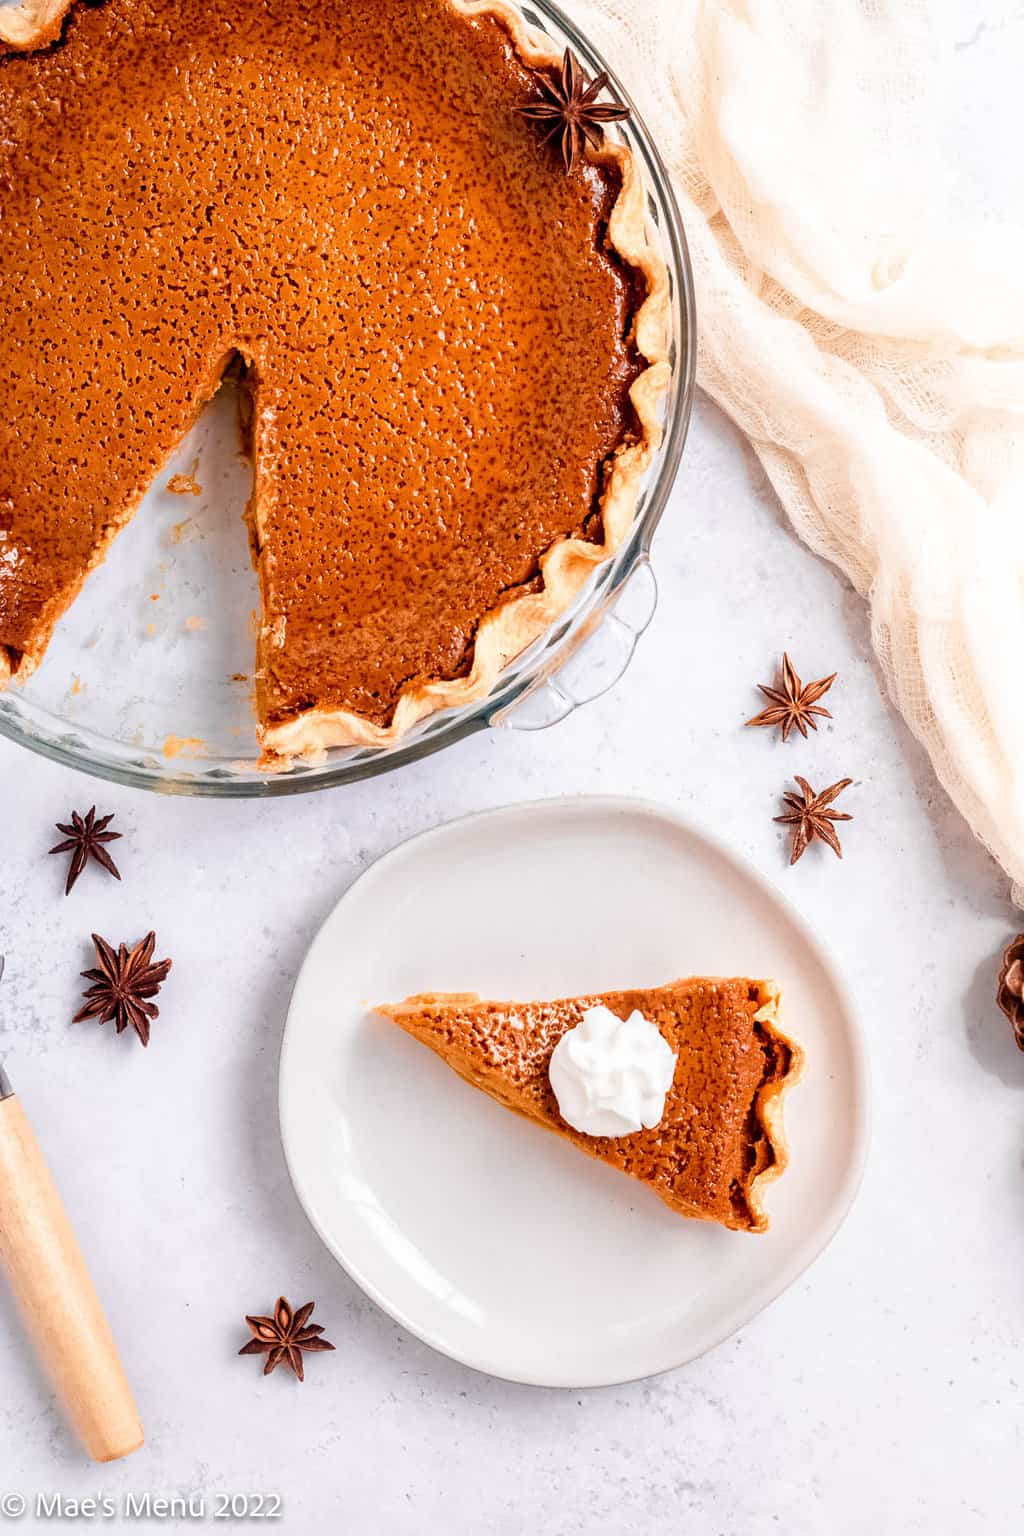
How to make a dairy-free pumpkin pie:
For the complete recipe and measurements, scroll to the recipe card at the bottom of this post.
- Preheat the oven to 425 degrees Fahrenheit.
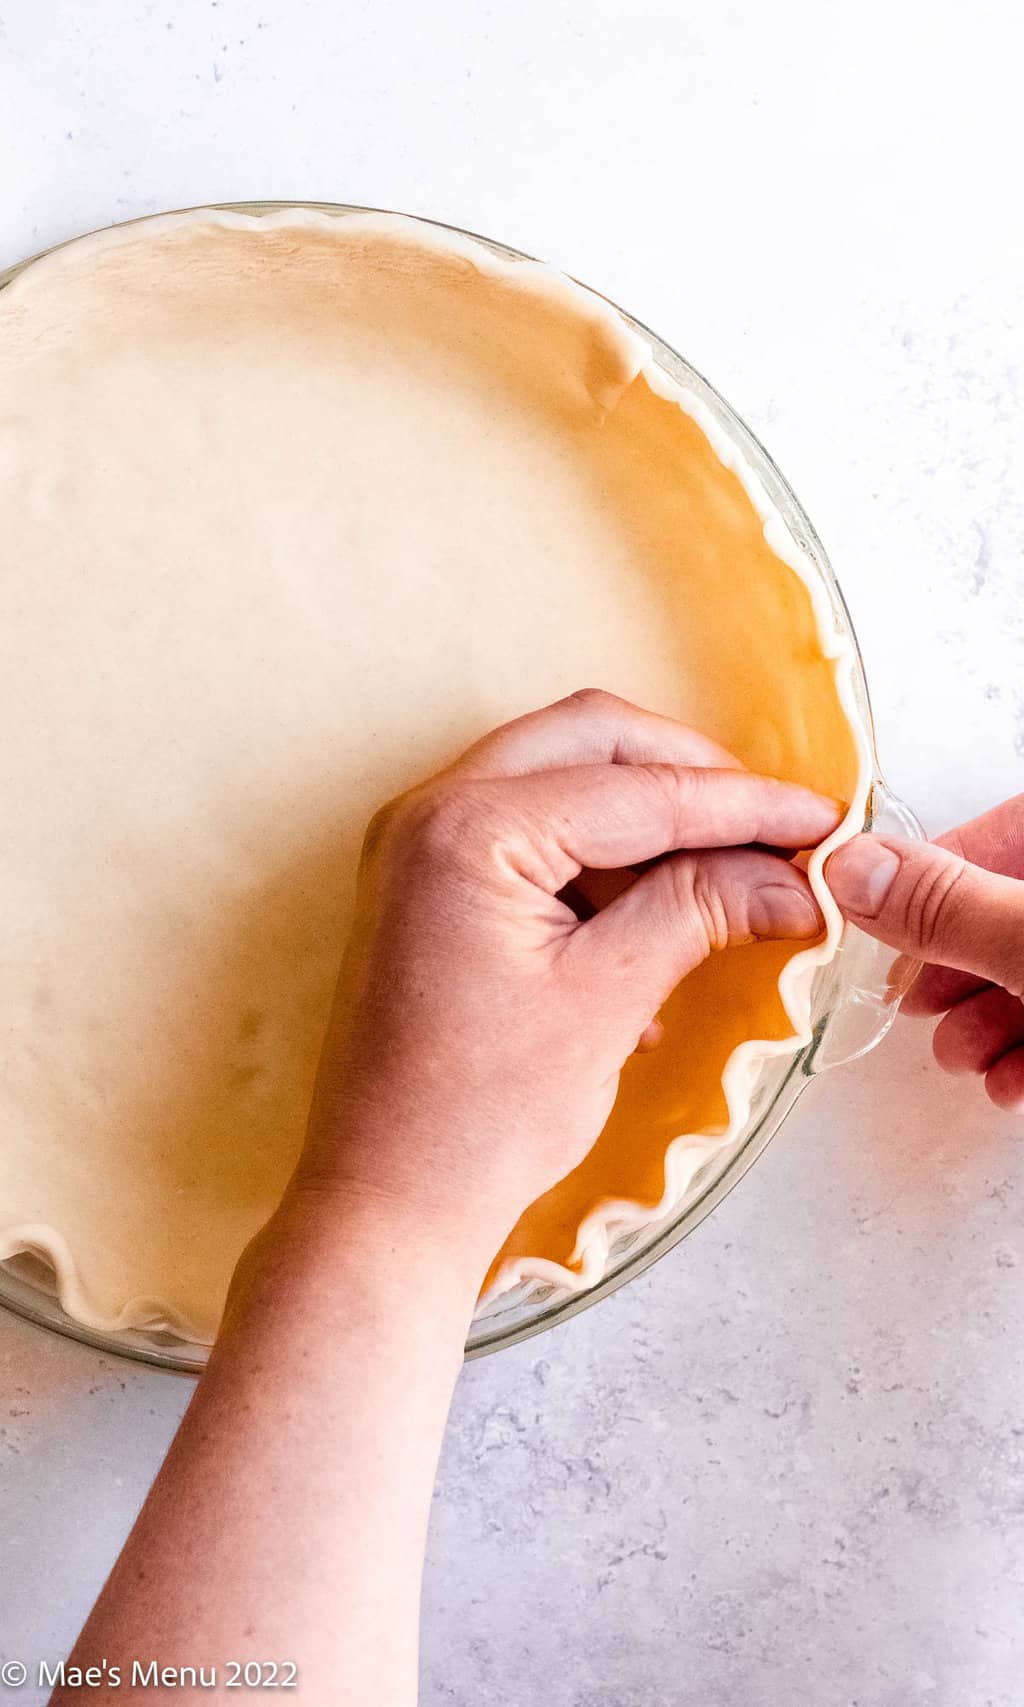
- Make the pie crust or, if you are using a pre-made pie crust, roll out the crust and crimp it in the pie pan.
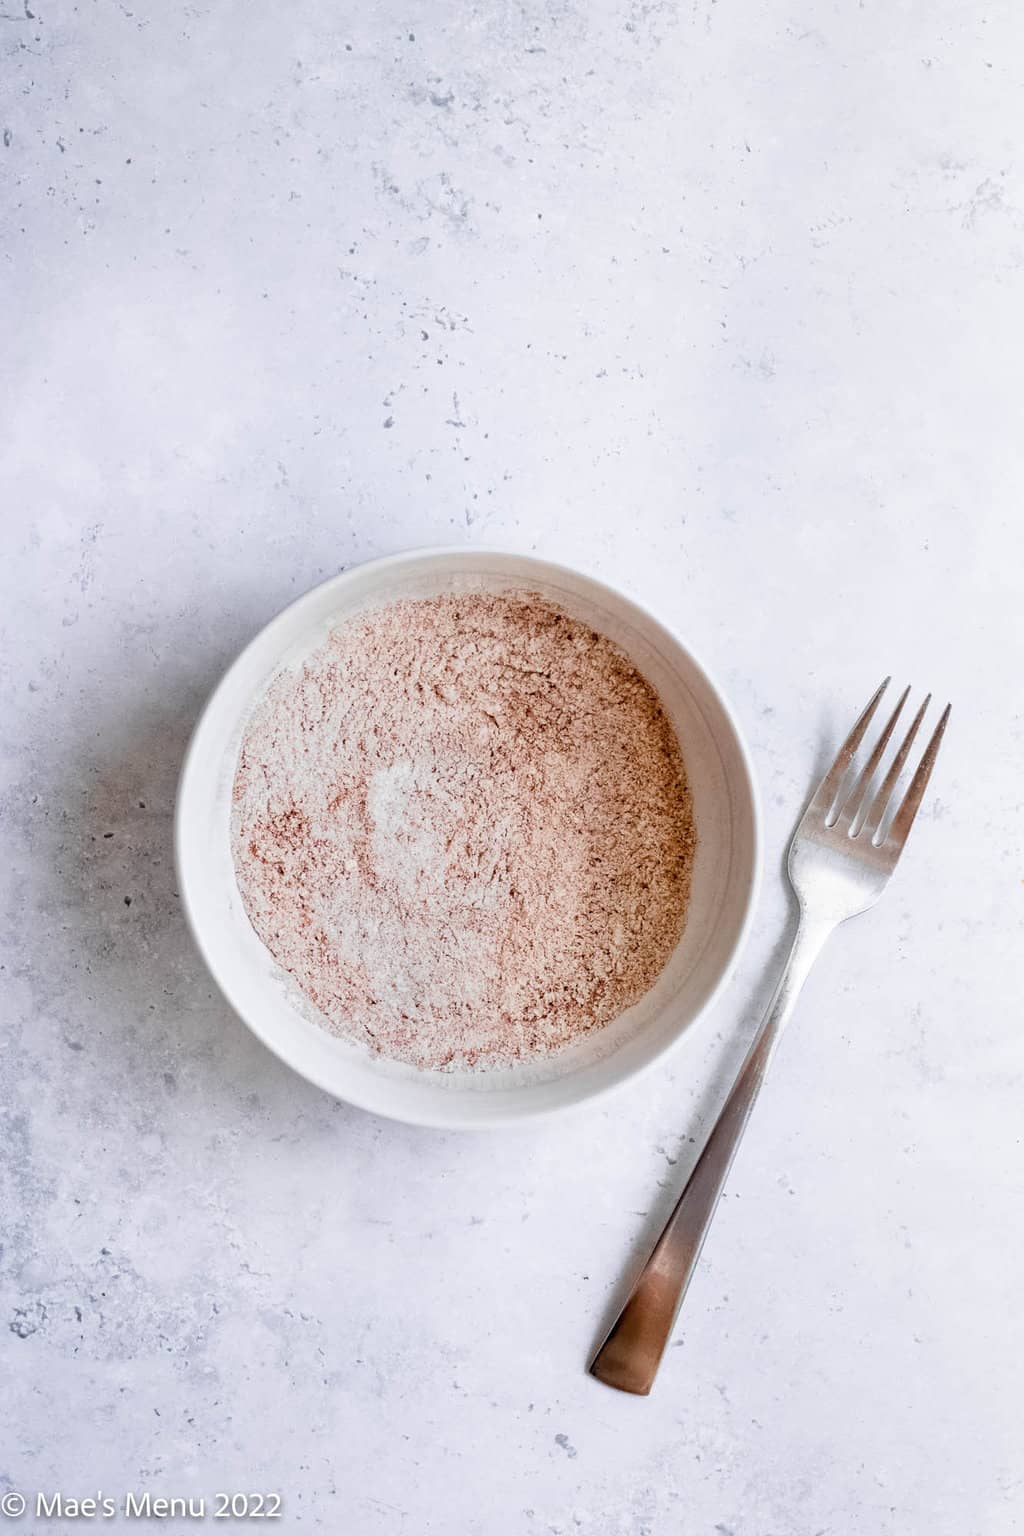
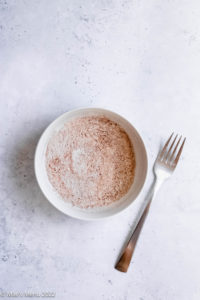
- In a small mixing bowl, whisk together the flour, baking powder, pumpkin pie spice, and salt until combined.
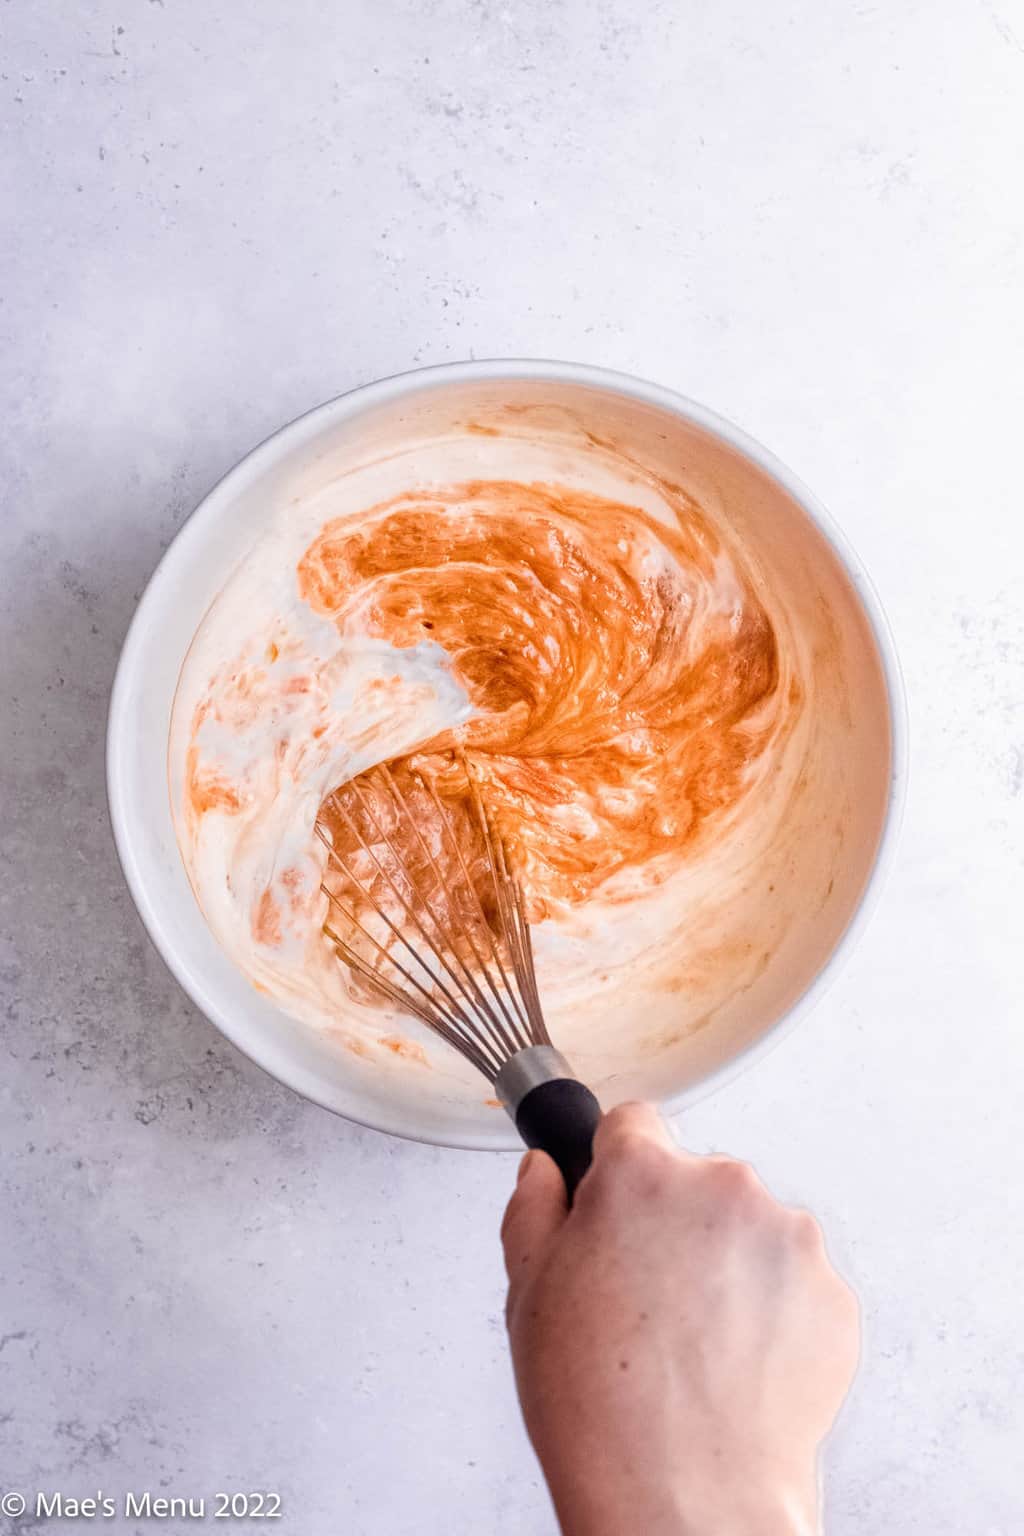
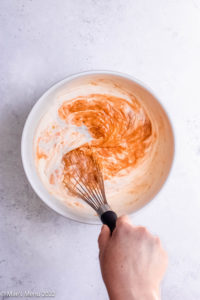
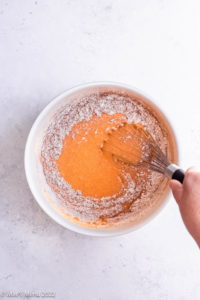
- Make the dairy-free pumpkin pie filling: in a large mixing bowl, whisk together the eggs, vanilla, granulated sugar, brown sugar, lemon zest, coconut milk, and pumpkin pie filling until smooth.
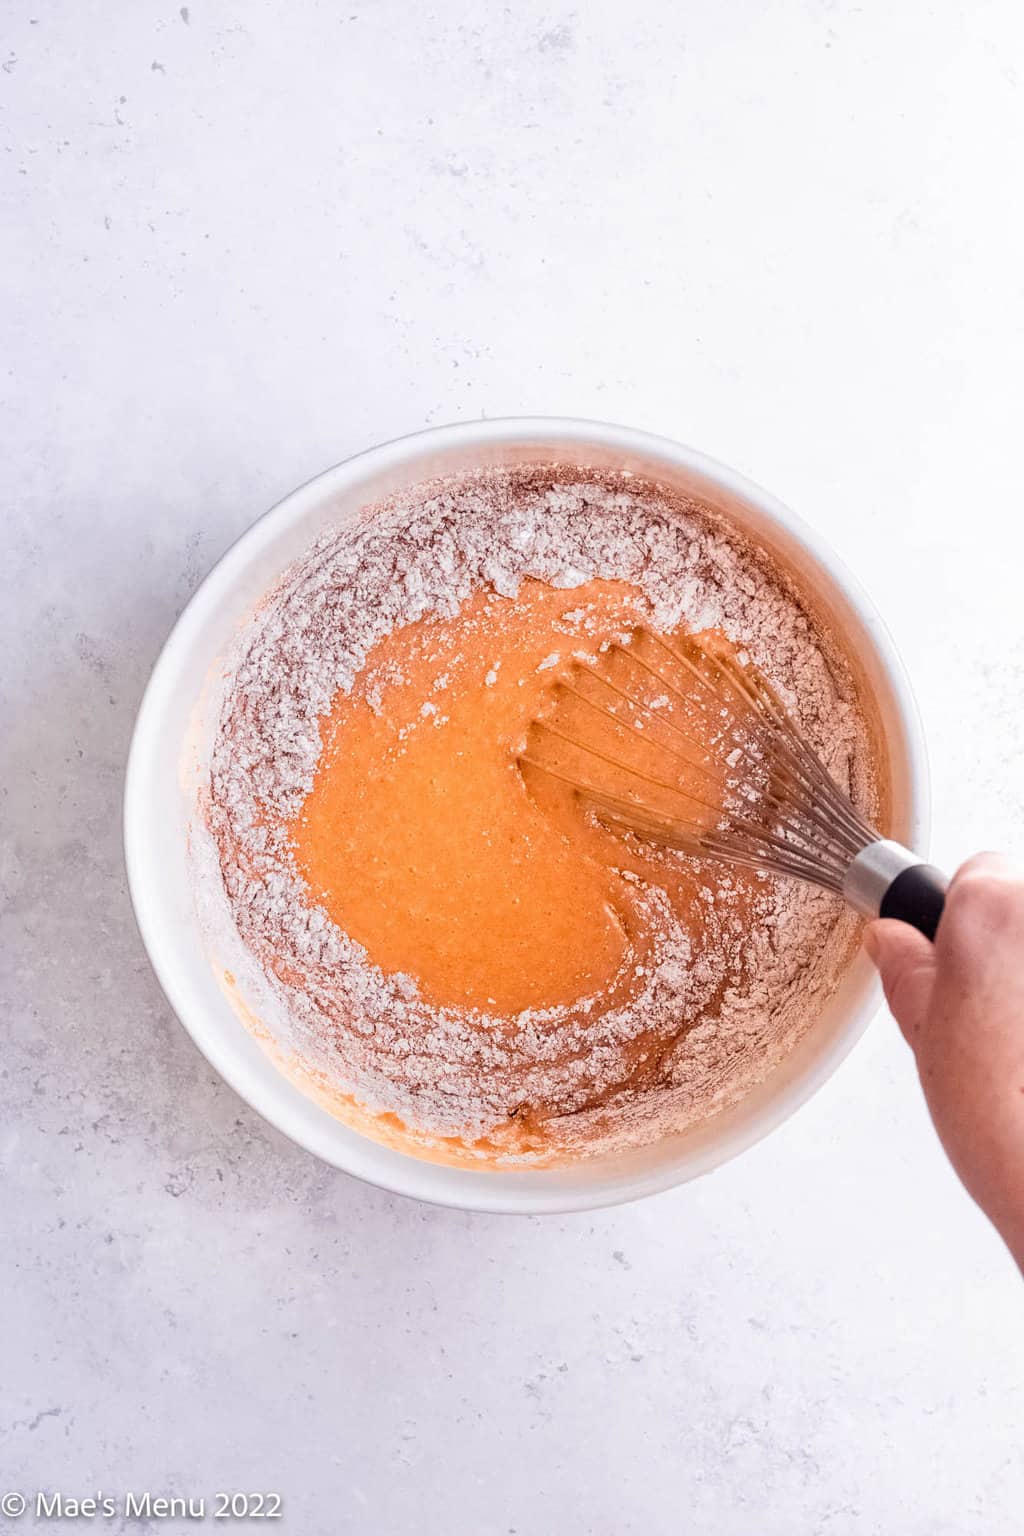
- Whisk the flour mixture into the pumpkin mixture until combined.
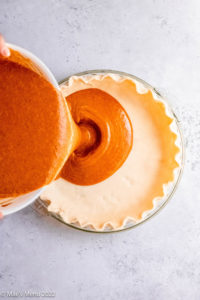
- Pour the pumpkin pie filling into the prepared pie shell.
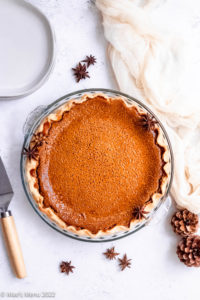
- Bake the oven at 425 degrees for 15 minutes. Reduce the heat to 350 and bake the pie until the center of the pie doesn't jiggle when moved.
- Remove the pie from the oven and cool the pie completely before serving!
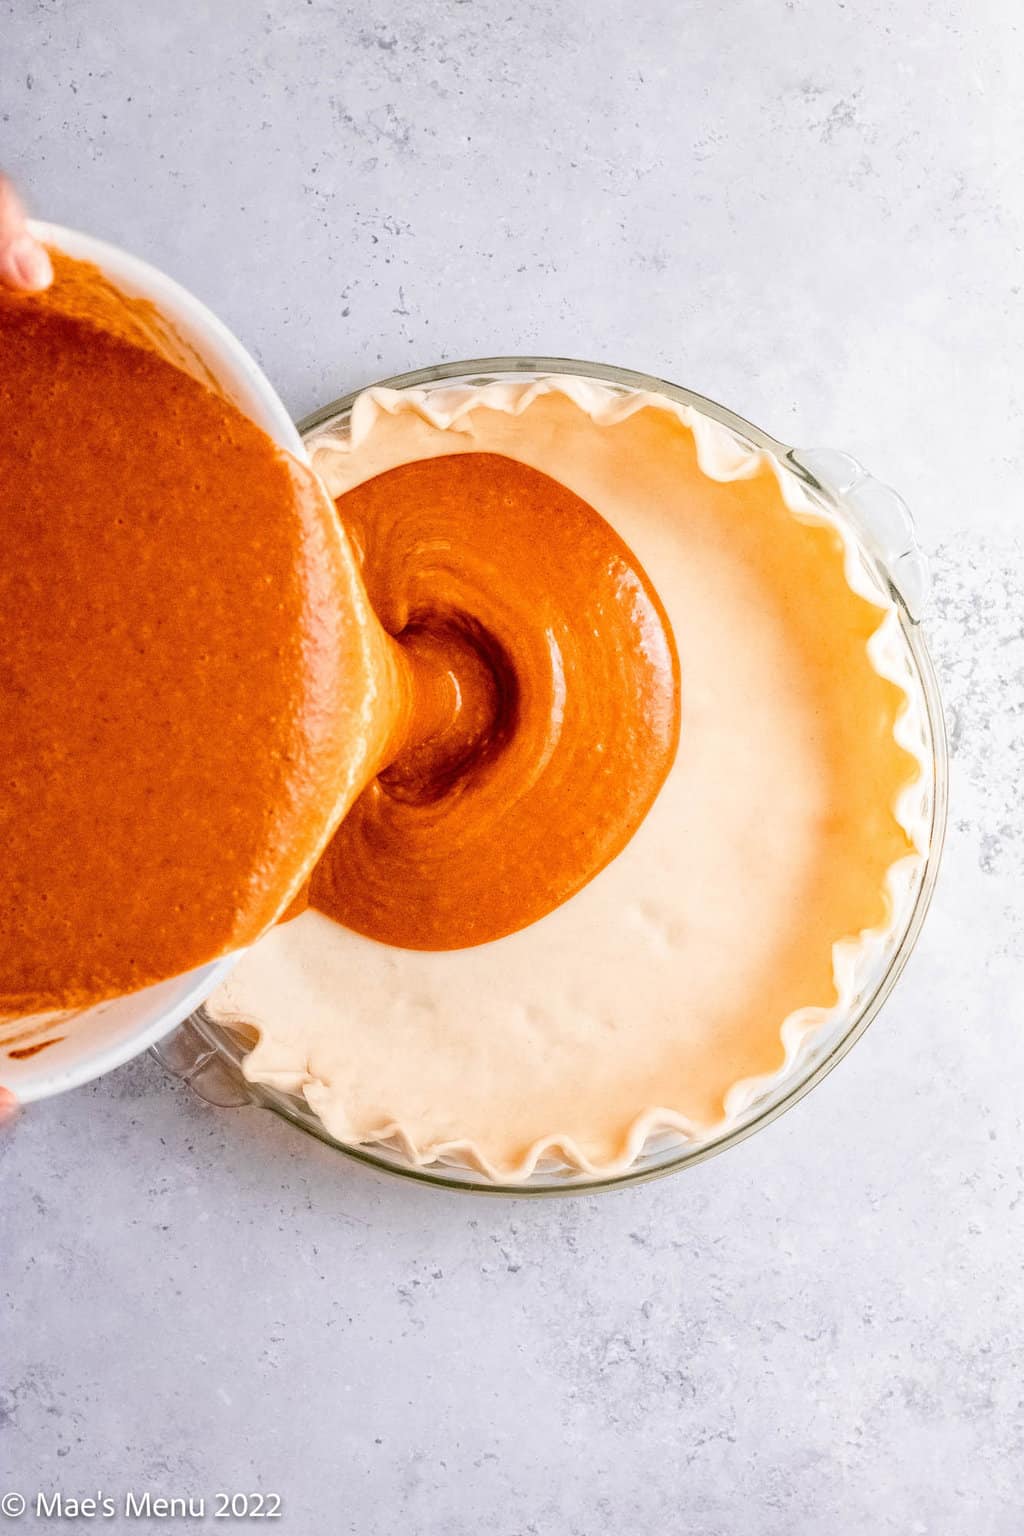
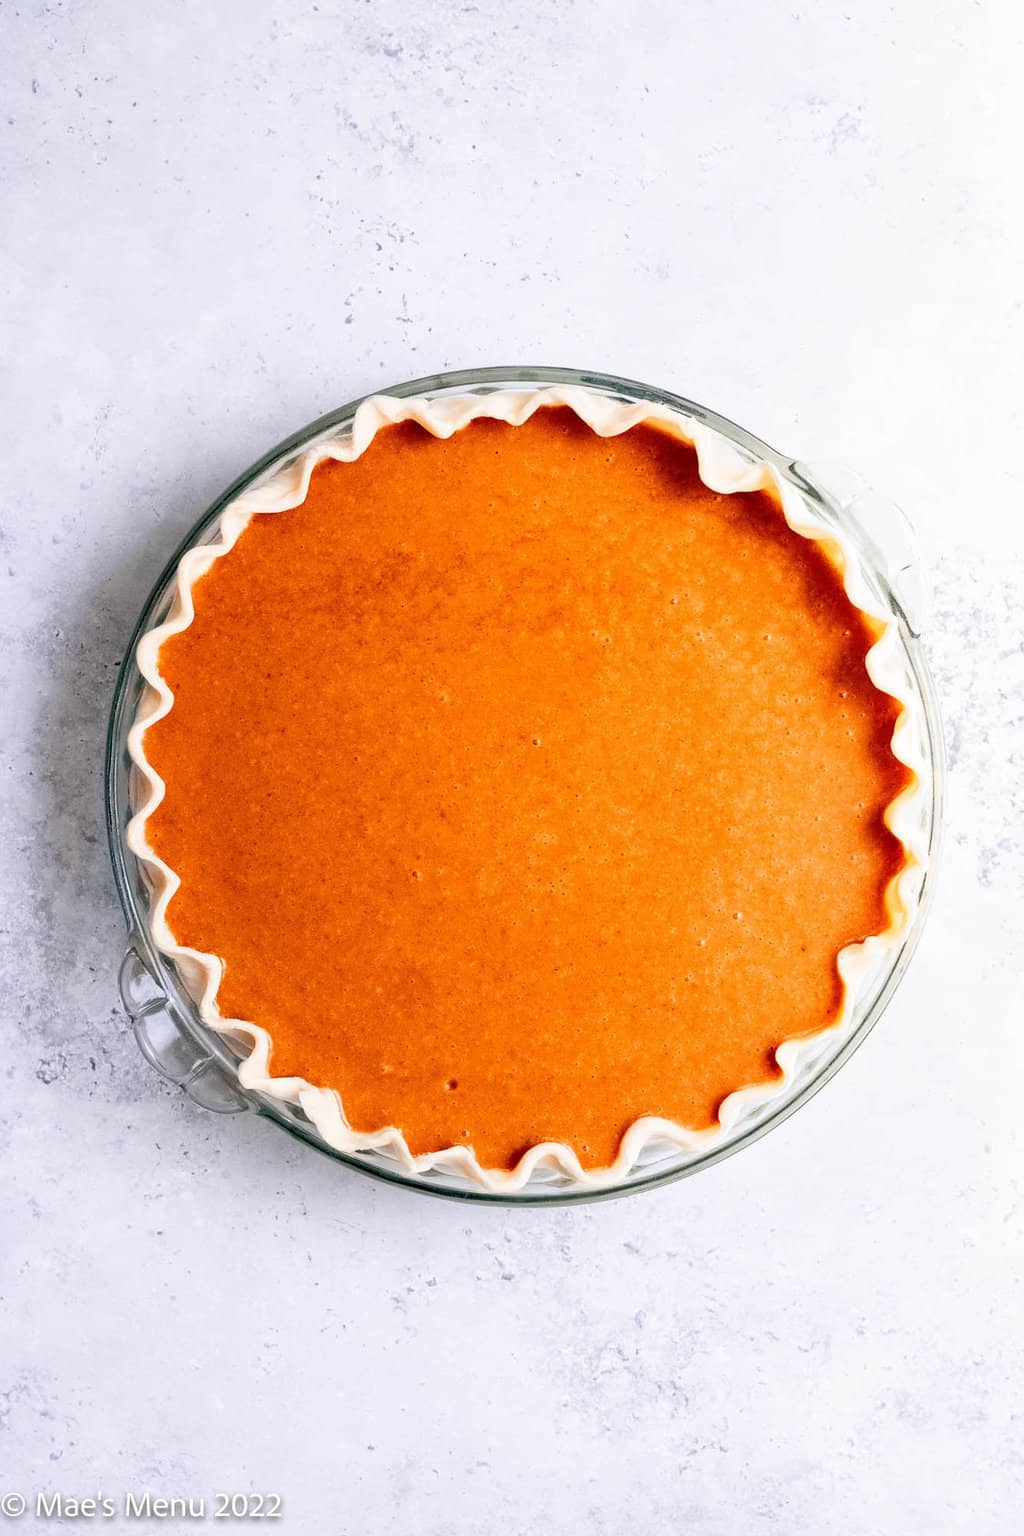
Giving the pumpkin pie time to fully cool.
When the pumpkin pie comes out of the oven, the filling will still not have fully set (i.e., it will be runny and likely very disappointing), so you will want to wait until the pie has fully cooled to enjoy it.
To speed up the cooling process, you can move the uncovered pie to the refrigerator after it cools on a wire rack at room temperature for 1 hour. You'll know the pumpkin pie is fully cooled when the center of the filling is firm and cool to the touch.
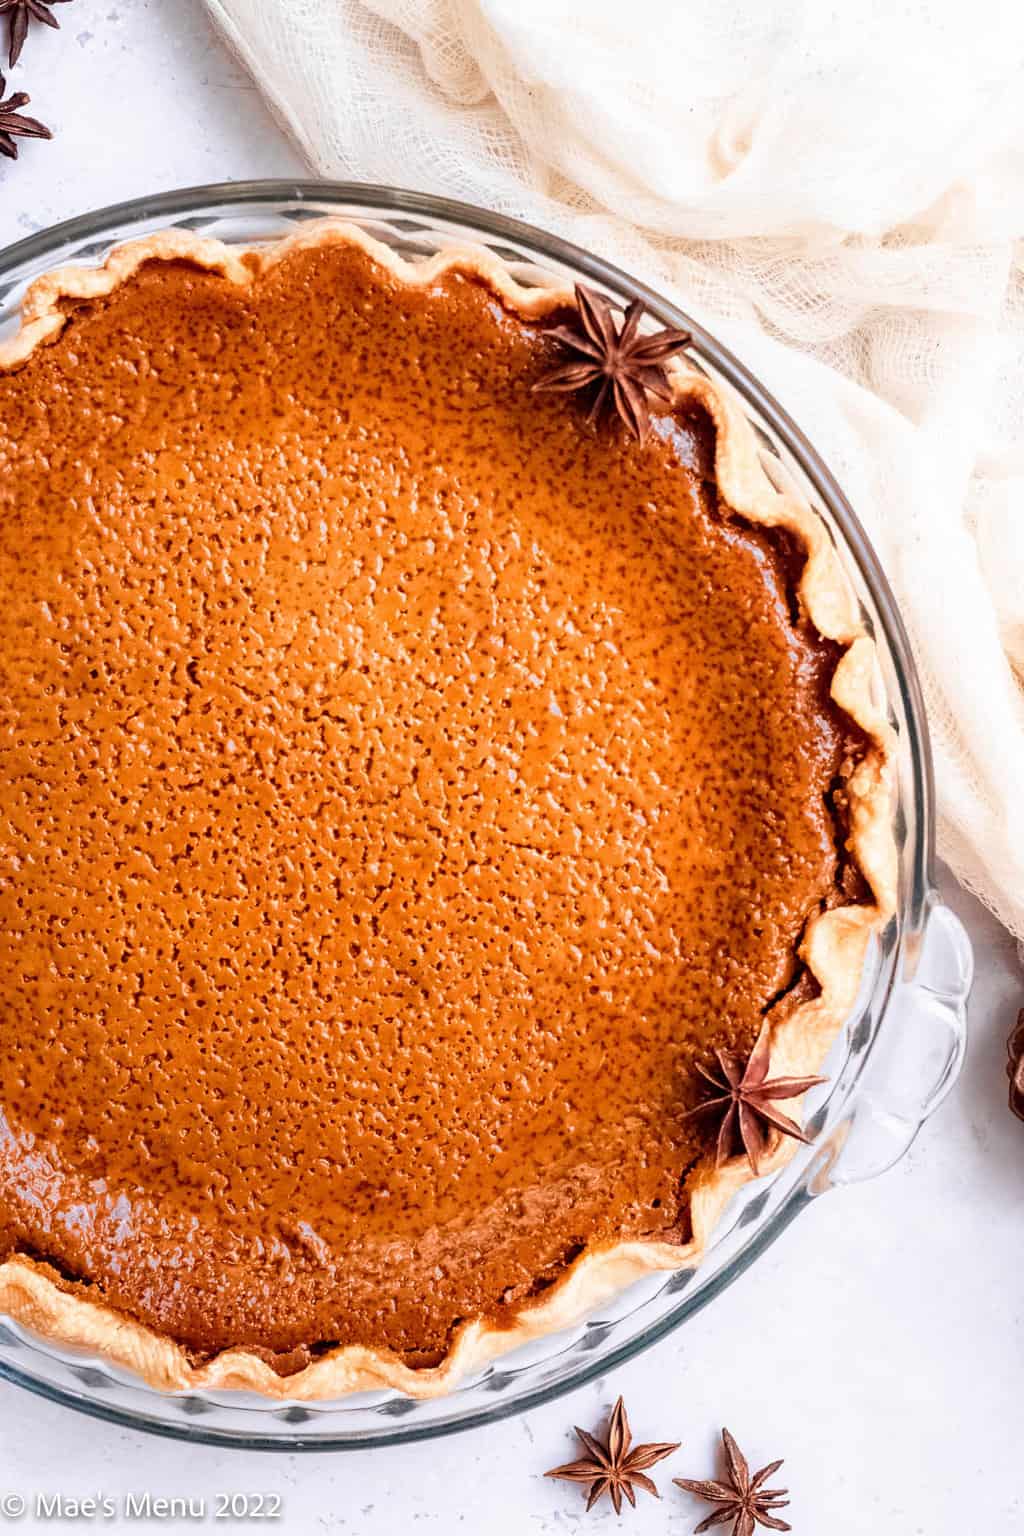
Dairy-free serving suggestions:
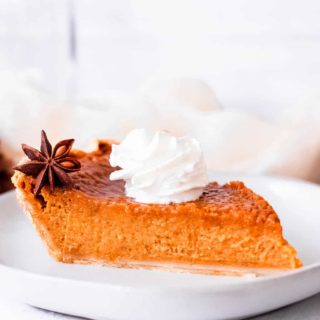
Just because we may not be eating dairy doesn't mean we have to skip on whipped cream or ice cream on top of our pumpkin pie!
Thankfully, there are many dairy-free substitutes:
- Whipped cream: substitute dairy-free Coco Whip or coconut cream whipped with powdered sugar.
- Ice cream: substitute coconut milk or almond milk vanilla ice cream.
Storage directions:
This pie will keep covered in the refrigerator for 4-5 days. I recommend covering pie with aluminum foil or plastic wrap.
Unfortunately, this pie does not freeze well.
Common FAQs:
Most common pumpkin pie recipes do call for either evaporated milk, sweetened condensed milk, or half & half, meaning that they do contain dairy. If a pie is made with coconut milk and a dairy-free pie crust, as this one is, it does not contain dairy, however.
My favorite evaporated milk substitute for pumpkin pie is coconut milk. It is rich, creamy, nutty, and naturally lightly sweet. It, along with the pumpkin and warm spices, is a match made in heaven. If you do not have coconut milk, a dairy-free whipping cream (such as Silk non-dairy whipping cream) can substitute for the coconut milk.
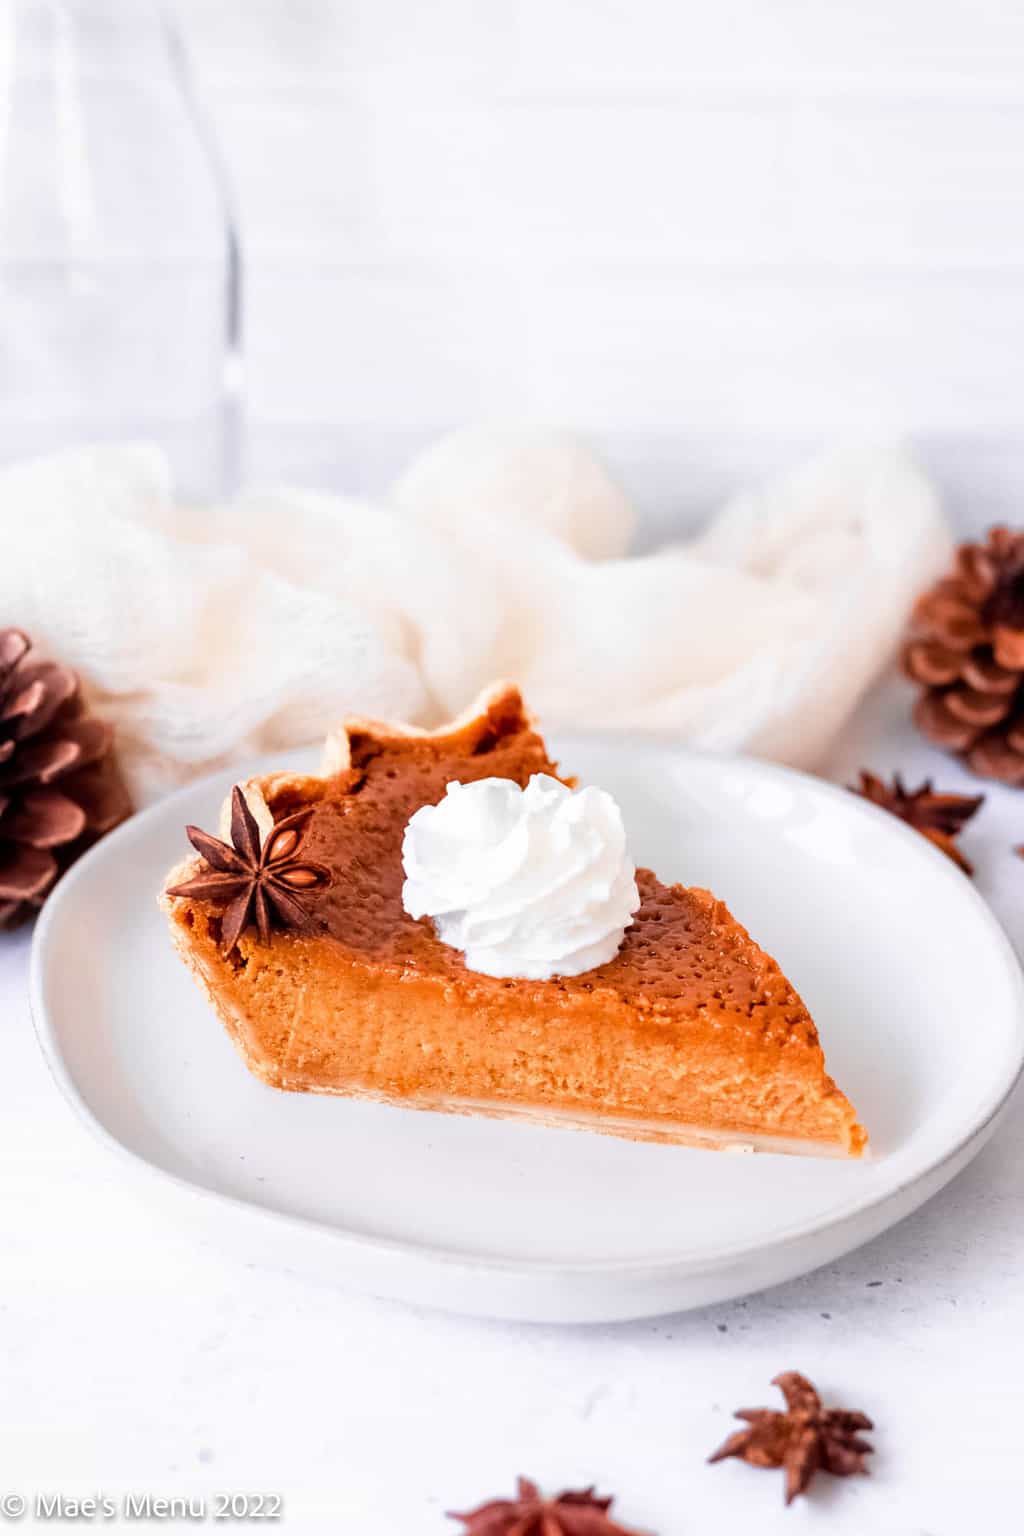
Tools you will need to make this pumpkin pie recipe with coconut milk:
- Large mixing bowl
- Whisk
- Silicone spatula
- Rolling pin
- Microplane rasp grater
- Pie pan
- Wire cooling rack
More delicious pumpkin recipes:
- Banana Pumpkin Muffins
- Pumpkin Spice Blender Muffins
- Gluten-Free Pumpkin Cookies
- Gluten-Free Pumpkin Oatmeal Cookies
- Peanut Butter Pumpkin Dog Treats
- Pumpkin Pasta Sauce
- Pumpkin Risotto
- Pumpkin Sausage Soup
- Sauteed Pumpkin Parmesan Chicken
More dairy-free baking recipes:
- Dairy-Free Banana Bread
- Dairy-Free Banana Muffins
- Dairy-free Chocolate Chip Cookies
- Dairy-free Blueberry Muffins
If you made and liked this recipe, don't forget to rate the recipe and let me know how it went for you in the comments! It always makes my day to hear from you!



Please share your recipe comments and feedback. It helps us create better content and helps other readers find what they're looking for.